How to Map Brows Accurately for PMU Clients
A polished healed result starts long before the first pass of pigment. Knowing how to map brows accurately gives you a repeatable design process, but it does not mean forcing every face into the same template. The goal is a brow shape that respects bone structure, muscle movement, existing hair growth, and the client’s realistic treatment plan.
For PMU artists, mapping is where technical skill meets visual judgment. A sharp outline can look perfectly balanced while the client is lying down, then appear too high, too narrow, or uneven once they sit up and animate. Treat brow mapping as a series of checks, not a one-time set of lines.
Start With Positioning, Lighting, and a Clean Canvas
Map with the client seated upright or reclined only slightly, with their head centered and supported. Gravity changes the brow and eyelid position significantly in a fully reclined treatment position, especially on mature skin or clients with hooding. You can make small refinements when they recline, but establish the primary architecture while they are upright.
Use bright, even lighting that does not cast a shadow across one side of the face. Remove makeup and surface oils thoroughly, then assess the natural brow pattern before applying any pre-draw product. Existing hairs are useful information, but they are not always the correct guide. Over-tweezing, old tattoo work, and inconsistent hair direction can pull a design away from the client’s true facial balance.
Before you map, have the client look straight ahead with a relaxed forehead. Ask them to raise their brows, frown, smile, and return to neutral. This quick movement check shows whether one brow sits higher because of habitual expression, stronger frontalis activity, or eyelid asymmetry. Do not chase a temporary expression with your outline.
How to Map Brows Accurately Using Core Landmarks
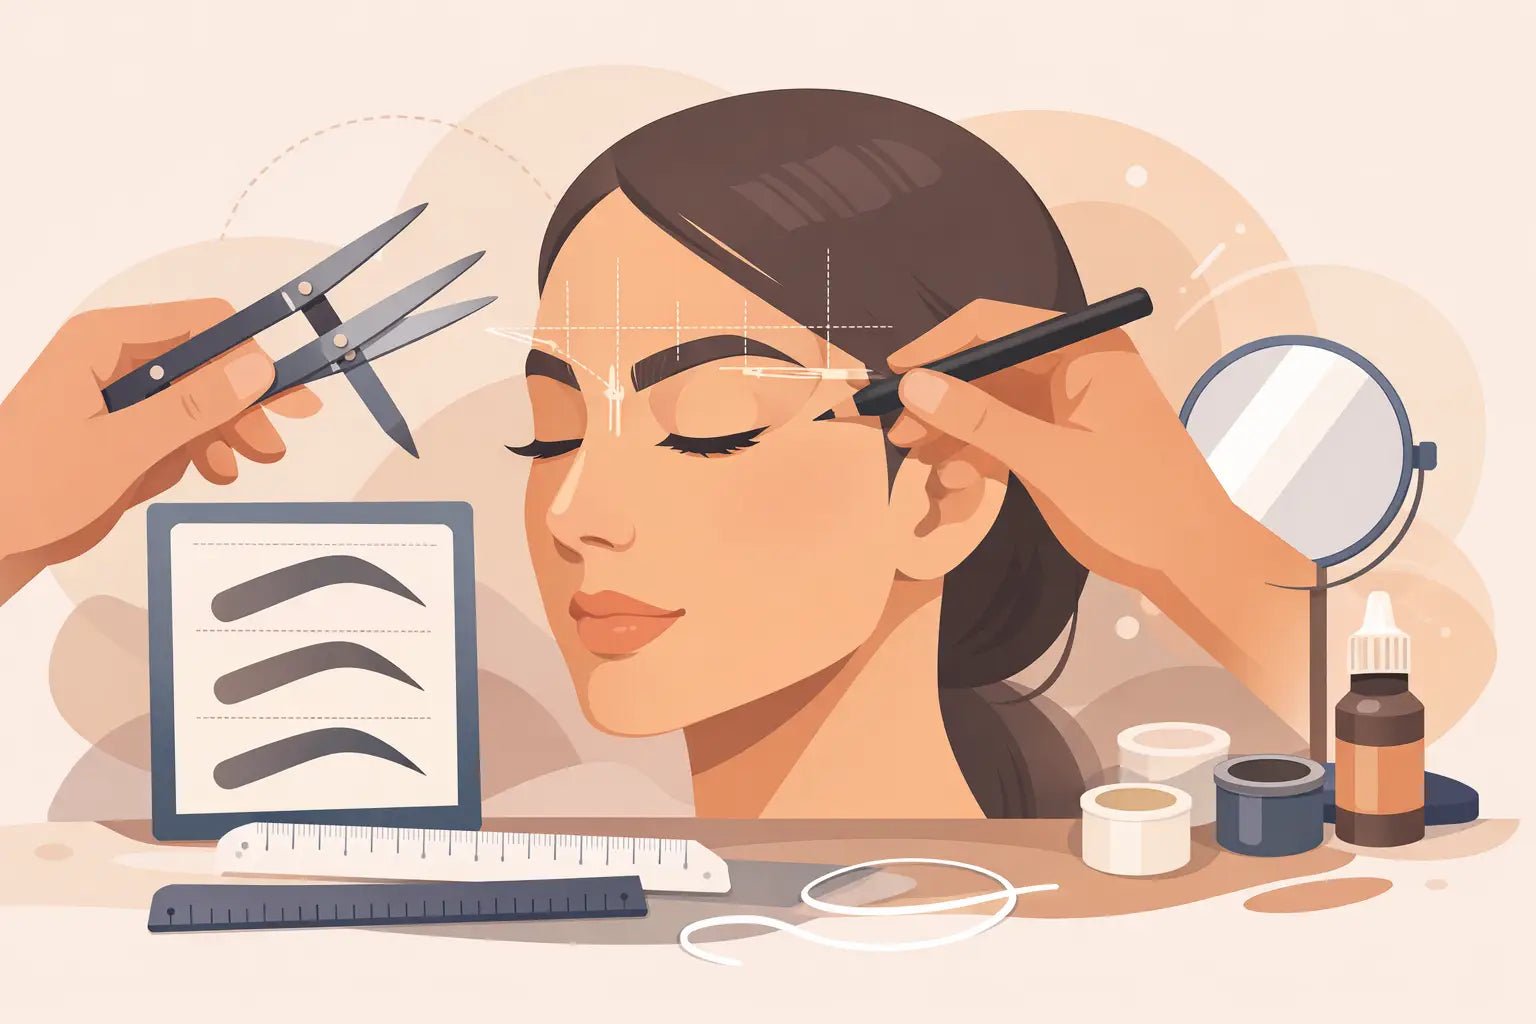
Begin with the center of the face. Mark a vertical reference line through the glabella, nose bridge, philtrum, and center of the chin. This line is a reference, not an instruction to make both brows identical. Most faces have natural asymmetry, so your job is to create visual harmony from the front rather than mathematical sameness from every angle.
A mapping string coated lightly with pre-ink is efficient for creating clean, visible reference lines. Stretch it taut. A loose string creates blurred marks and makes a precise map harder to read. For artists who prefer a ruler, choose one with clear millimeter markings and flexible placement, but confirm every ruler measurement against the face rather than relying on its curve alone.
Establish the three primary points on each brow:
- The head, usually aligned from the nostril through the inner corner of the eye, then adjusted for the client’s nasal bridge, eye spacing, and desired softness.
- The arch, commonly found from the nostril through the outer edge of the iris when the client looks forward. This is a starting reference, not a fixed rule.
- The tail, often aligned from the nostril through the outer eye corner. Keep it controlled and avoid dropping it below the lower edge of the brow head unless the client’s natural structure supports it.
Build the Shape From the Bottom Line First
Many artists find the most reliable workflow is to create the lower outline first, then build the upper outline to achieve the intended thickness. The bottom line gives the brow its anchor and helps you judge the relationship between the brow, lid space, and orbital bone.
Work from the head toward the arch and through the tail in a controlled curve. Avoid a dramatic peak unless the client’s natural brow and facial structure genuinely call for it. A well-placed arch often looks subtle on the map but reads defined once the pigment heals. Overbuilding the arch is difficult to correct and can date the result quickly.
Then connect the upper line, keeping the front of the brow less boxed. A squared head may suit a small number of clients and certain makeup preferences, but it can look heavy after cosmetic tattooing. For most PMU work, a gently structured front creates a more wearable healed result.
Thickness depends on the client’s brow bone, existing density, skin quality, age, and long-term maintenance preferences. A very thin brow may leave too little room for a soft pixelated effect, while an overly wide brow can overpower fine features or migrate visually as skin changes. More pigmentable space is not automatically better design.
Check Symmetry in More Than One Position
After both outlines are mapped, step back. Do not judge symmetry from six inches away. View the client from directly in front at normal conversation distance, then inspect the design closer. Compare the brow heads, arches, tails, thickness, and overall visual weight.
Use your string or ruler to verify heights and key points, but let the face have the final say. One eye may sit slightly higher. One brow bone may project more. One side may have a fuller frontalis muscle. If you force equal measurements onto unequal anatomy, the brows can look less balanced rather than more balanced.
Ask the client to sit upright if they have shifted during the process. Have them relax, then make natural expressions again. If an arch lifts dramatically with movement, you may need to lower or soften the mapped apex. If one tail disappears into a hooded lid when the client smiles, refine its angle before beginning the procedure.
Photograph the pre-draw straight on, with the client upright and neutral. A photo can reveal a tail discrepancy or uneven thickness that your eye adapted to while working. It also creates a useful consultation record and lets the client approve the design with a clear view of the proposed result.
Work With Asymmetry Instead of Fighting It
No client has perfectly matching brows, and promising perfect symmetry sets the wrong expectation. Explain that PMU can improve balance, but it cannot change skeletal structure, muscle pull, or eyelid position. This is especially relevant for clients with facial asymmetry, brow ptosis, scarring, previous tattoo saturation, or significant hair loss.
For a naturally higher brow, you may make the lower brow slightly fuller, adjust the arch placement, or keep the higher side from being over-elevated. The right correction depends on the face. Adding height to the lower brow is not always the answer because it can reduce lid space and create a surprised expression.
Previous PMU requires even more restraint. Map around the existing work only if its color, placement, and saturation allow it to be incorporated safely. If an old tail sits too low or the prior shape is too wide, a new outline cannot erase it. Be direct about whether correction, lightening, or removal should come before a fresh procedure.
Keep Your Mapping Tools Consistent and Hygienic
Precision tools should make your process faster, not add uncertainty. Use a fine-tipped skin marker for detailed outline work, high-visibility mapping string for central and horizontal references, and a reliable brow ruler for point-to-point comparison. Disposable or properly disinfectable tools matter as much as clean lines. Mapping happens before the skin is opened, but it is still part of a professional treatment setup.
Set up your mapping supplies with the same intention you bring to cartridges, pigments, anesthetics, and PPE. Keep your work area organized so you are not reaching across the client or interrupting the consultation to search for a marker. That consistency improves both hygiene and client confidence.
Inkbox Artistry is built by permanent makeup artists for artists, and the right mapping tools support the part of the service clients notice first: a design that looks considered, balanced, and specific to them.
Know When to Stop Refining
Over-mapping is real. Repeatedly redrawing both brows can make lines muddy, confuse the client, and lead you to correct details that were already visually balanced. Once your reference points align, the proportions suit the face, and the client has approved the pre-draw in an upright position, commit to the design.
Accurate brow mapping is not about producing mirrored brows on a ruler. It is about creating a shape that holds together in movement, photographs cleanly, complements the client’s features, and gives your pigment work a confident foundation.