How to Choose PMU Needles for Cleaner Results
A beautiful brow, lip blush, or eyeliner result can be compromised long before pigment selection becomes the issue. If the needle configuration is too aggressive, too broad, or poorly matched to the technique, artists may see unnecessary trauma, inconsistent saturation, and less predictable healing. Learning how to choose PMU needles means making a technical decision that supports your hand speed, machine, pigment, and client’s skin - not simply choosing the smallest cartridge in the tray.
For working artists, needle selection should become part of treatment planning. The right cartridge helps you place pigment with control and confidence. The wrong one can make even a solid technique feel harder than it needs to be.
Start With the Treatment Area and Desired Finish
Your treatment goal is the best starting point. A hairstroke brow, powder brow, lip blush, and eyeliner service may all use cartridges labeled for PMU, but they demand different levels of precision, coverage, and pigment flow.
For fine hairstrokes, artists commonly reach for a single needle configuration. A 1RL or tight single-point cartridge can create crisp, controlled lines when paired with the right machine settings and hand movement. This is not automatically the best option for every skin type, though. Mature, thin, oily, or highly textured skin may not hold delicate strokes as predictably as balanced skin, and an artist may need to adjust the technique or recommend a softer, more suitable effect.
For pixelated powder brows, a round shader configuration provides more coverage than a single needle while retaining detail around fronts, borders, and transitions. Small round shaders are useful for building controlled density without creating heavy blocks of color. Larger groupings can work efficiently through the body and tails, but the trade-off is less precision in tight design areas.
Lips typically call for smooth saturation with minimal trauma. Small round shaders and magnum-style configurations are often selected depending on the artist’s technique, the client’s lip shape, and whether the focus is a soft blush or more concentrated color. For eyeliner, fine round liner groupings remain a common choice because the lash line leaves little room for correction.
How to Choose PMU Needles by Diameter
Needle diameter affects how the skin responds and how pigment is delivered. It is often shown in millimeters, such as 0.18 mm, 0.20 mm, 0.25 mm, 0.30 mm, or 0.35 mm. Smaller is not always better. Each diameter has a place in a professional setup.
Fine diameters, such as 0.18 mm to 0.25 mm, can support detailed work and delicate implantation. They are frequently chosen for hairstrokes, fine eyeliner, and precise work near a border. Because they are more delicate, they may require a lighter, steadier approach and can be less forgiving when an artist uses excessive pressure or tries to force saturation too quickly.
Mid-range diameters around 0.25 mm to 0.30 mm are versatile choices for many PMU services. They offer a balance of detail, stability, and pigment delivery, making them useful for powder brows, soft shading, and lip work. Many artists keep these sizes as reliable daily options because they perform across a wider range of skin types and treatment styles.
Larger diameters may implant more pigment efficiently and offer greater strength, but they can also create more trauma if technique, machine speed, or depth is not adjusted. They can be appropriate for fuller saturation or thicker skin, yet they should never be chosen just to finish faster. Faster passes are only productive when the skin remains calm and the work heals cleanly.
Taper Changes the Way the Needle Feels
Taper refers to the length of the needle point. This detail has a direct effect on pigment flow, skin entry, and the amount of control you feel during a pass.
A short taper tends to feel more direct and can deliver pigment efficiently. It may suit artists who want stronger implantation with fewer passes, especially in certain shading applications. However, it can be less delicate on sensitive or thin skin when paired with an aggressive technique.
Long tapers are commonly favored for refined PMU work because they allow a more gradual entry into the skin. They can support softer pixels, crisp lines, and controlled pigment placement. The trade-off is that long-taper needles often demand more disciplined machine control and a better understanding of stretch, depth, and movement. They are not a shortcut to cleaner work.
Extra-long tapers can produce exceptionally fine results in experienced hands, particularly for detailed liner or hairstrokes. But precision tools magnify technique. If your angle, speed, or pressure is inconsistent, a highly delicate configuration may lead to patchy implantation rather than better results.
Choose the Right Configuration, Not Just the Needle Count
The letters and numbers on a cartridge describe its grouping. Understanding these codes makes ordering easier and keeps your setup consistent across appointments.
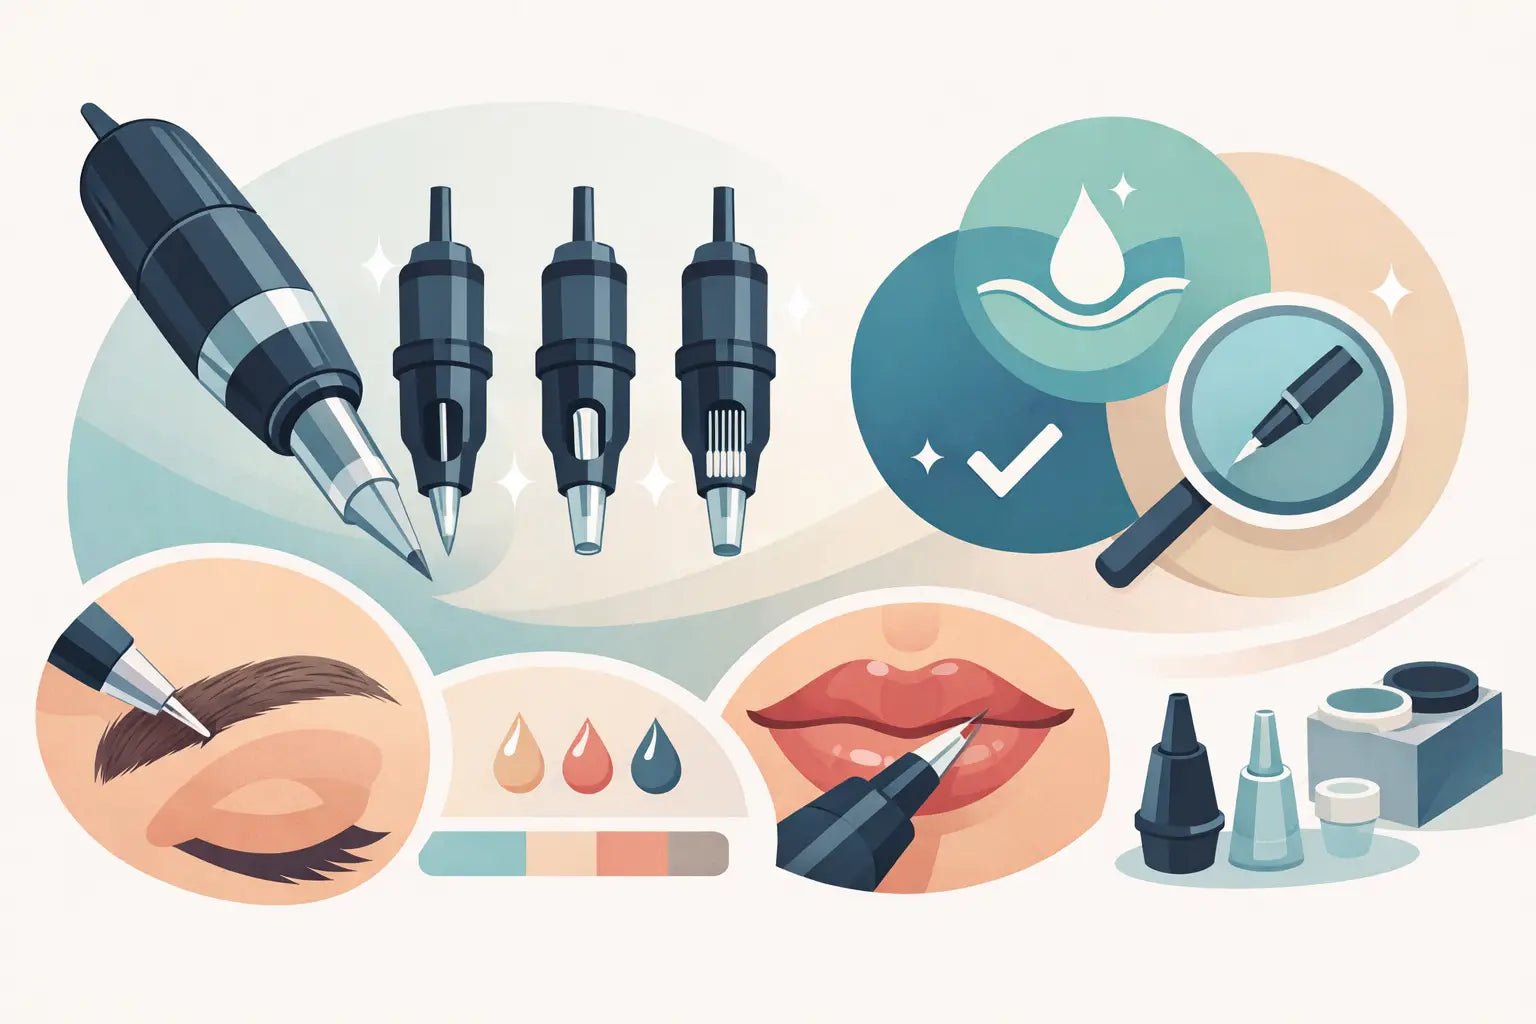
A round liner, often marked RL, places needles in a tight circular grouping. It is generally used for lines, detail, hairstrokes, and eyeliner. A round shader, or RS, has a more open grouping that can create softer diffusion and is commonly used for pixel shading, powder brows, and smaller lip areas.
Magnum configurations cover more surface area and can be useful for lips or broader shading techniques. Curved magnums may provide a softer edge because the needles are arranged in an arc rather than a straight line. Flat configurations create a more linear contact point and can suit specific machine methods, though they require confidence in skin stretch and direction.
Needle count matters, but it should not be your only buying filter. A 3RS and a 5RS do not simply offer “more” or “less” coverage. They change how quickly pigment is placed, how soft the edge appears, and how much room you have to maneuver through small design zones. Keep a range in your workstation rather than expecting one cartridge to perform every role.
Match the Cartridge to Your Machine and Technique
A premium cartridge cannot correct a poorly balanced machine setup. Before adding a new needle configuration to client services, test it on practice material and evaluate how it performs with your specific machine, stroke length, voltage range, and preferred hand speed.
A machine with a longer stroke may hit more firmly and can feel very different with a fine single needle than it does with a small shader. A shorter-stroke machine may support soft, gradual layering but may need different speed or movement to achieve saturation. Your technique also matters. Whip shading, pendulum shading, pointillism, linear passes, and circular movements each place pigment differently.
Pay attention to cartridge construction as well. A reliable membrane helps reduce backflow risk and supports a cleaner setup, while a stable needle bar helps prevent unwanted vibration. Needle quality should be consistent from cartridge to cartridge. If one box produces variable performance, loose groupings, or unreliable pigment flow, it costs more than it saves.
Read the Skin Before You Open the Cartridge
The same client design can require different needle choices based on the skin in front of you. Oily skin may need a thoughtful plan for retention and a technique that avoids overworking. Thin or mature skin calls for restraint, lighter pressure, and careful observation of tissue response. Dense, resilient skin may tolerate a different configuration, but it still does not benefit from repeated trauma.
Avoid choosing a needle based only on what created a strong result on a previous client. Skin condition, medication history, sun exposure, previous tattoo work, and aftercare compliance all affect the outcome. Work within your training, follow the cartridge manufacturer’s instructions, use sterile single-use products, and adjust when the skin tells you to slow down.
Build a Focused Needle Inventory
A well-stocked PMU needle drawer does not need every configuration on the market. It needs intentional options you know how to use. For many artists, that means keeping fine single needles for detail work, a few small round shaders for brows and lips, and selected larger shaders or magnums for saturation where appropriate.
Choose trusted professional cartridges with clear labeling, sterile packaging, dependable membranes, and consistent manufacturing. Inkbox Artistry curates professional PMU supplies so artists can source the configurations and tools that fit their service menu without compromising on daily reliability.
The best needle is the one that gives you controlled implantation while respecting the client’s skin. Keep testing, document what heals well across skin types, and let healed results - not a trend or a product label - refine your choices.