How Brow Mapping Rulers Improve PMU Precision
A strong brow procedure can lose its polish before the machine is even switched on. If the pre-draw is uneven, too wide, or disconnected from the client’s natural structure, even excellent pigment selection and clean implantation will not fully correct it. Brow mapping rulers give PMU artists a repeatable reference point for building symmetry with more confidence, especially when time, client expectations, and facial asymmetry are all in the chair with you.
For cosmetic tattoo professionals, the ruler is not there to replace trained judgment. It is there to make that judgment easier to measure, communicate, and reproduce. Used properly, it supports a more controlled design process from consultation through final approval.
Why Brow Mapping Rulers Belong in a Professional Kit
Brows are sisters, not identical twins, but clients still expect intentional balance. Natural bone structure, muscle movement, hair growth, previous tattoo work, and healed scar tissue can all affect where a brow should begin, peak, and finish. A clear mapping system helps you identify those differences before you commit to the design.
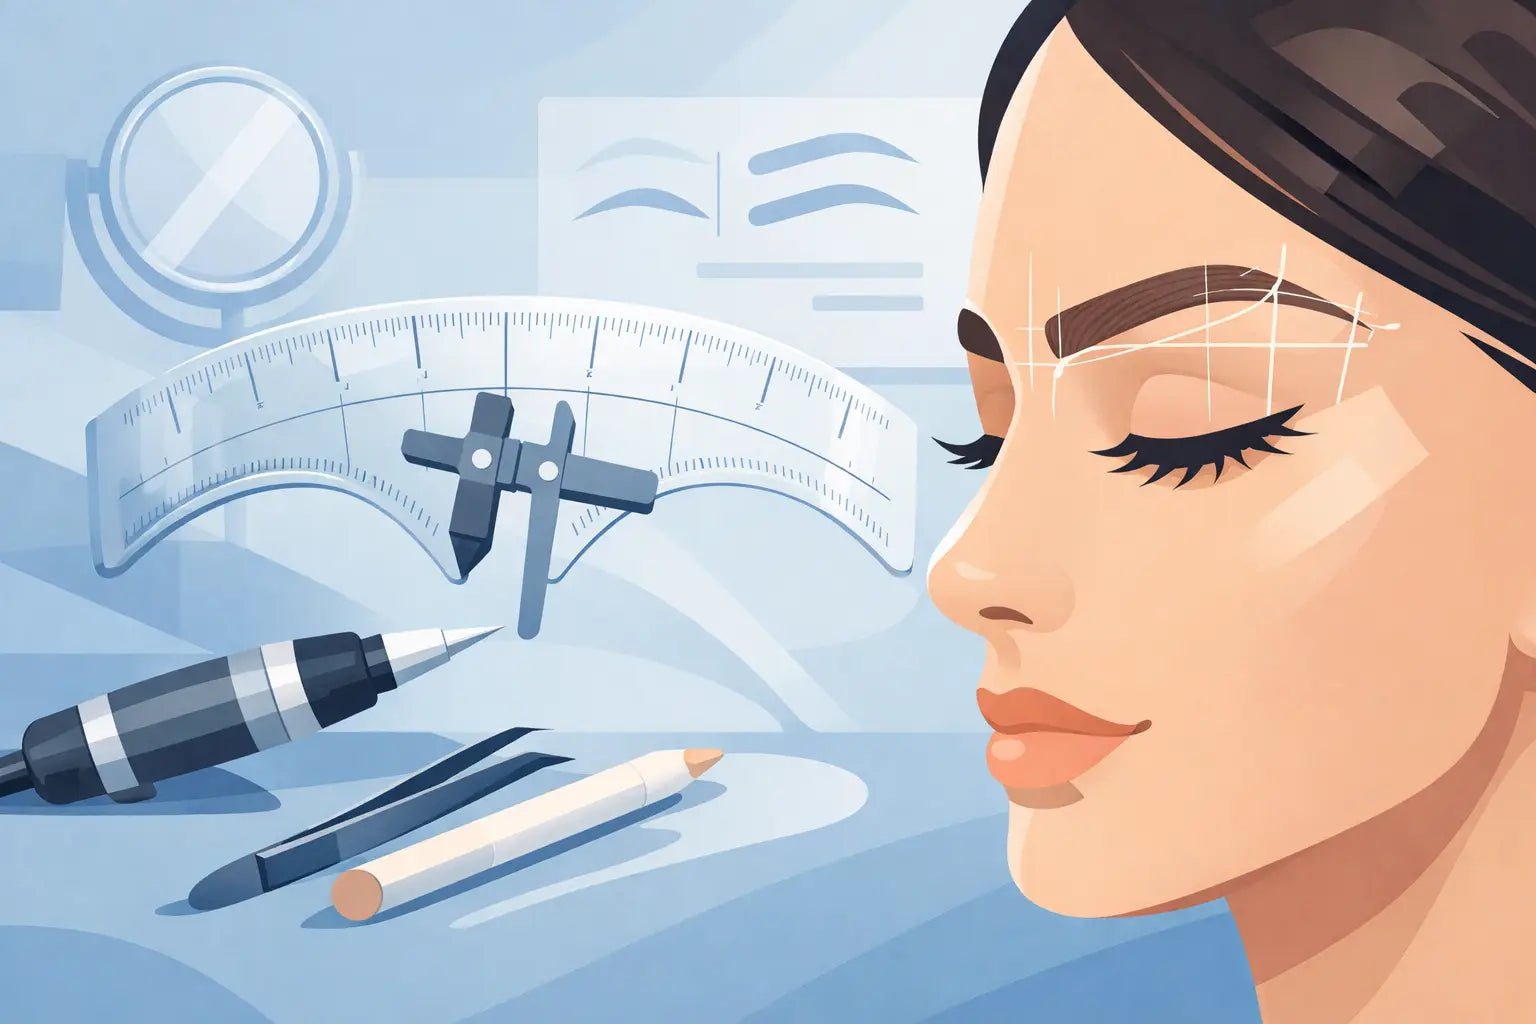
Brow mapping rulers are especially useful when you need a fast visual baseline. They can help establish the brow start, arch, tail, overall length, and vertical position relative to key facial landmarks. For artists who perform several appointments a day, that consistency reduces unnecessary back-and-forth during the pre-draw and makes the service feel more organized for the client.
They also improve consultation language. Rather than asking a client to assess two brows by instinct alone, you can show the reference marks and explain why a tail has been adjusted or why one arch needs to sit slightly differently. That does not mean the ruler is always right. It means your design choices are visible, deliberate, and easier for the client to understand.
Choosing Brow Mapping Rulers for Your Workflow
The best tool depends on how you map, what services you offer, and how you manage hygiene in your studio. A disposable adhesive ruler may suit artists who want a quick, single-use guide that stays centered during the pre-draw. A flexible reusable ruler can work well for artists who prefer a more structured measuring tool and have a clear cleaning and disinfection process between clients.
Look for markings that are easy to read under treatment lighting. Fine lines can be useful for detailed measurements, but overly busy scales may slow you down if you only need reliable reference points. The material matters as well. A ruler should sit comfortably against the forehead without creating awkward pressure or shifting every time the client speaks.
For a busy PMU kit, practicality matters as much as precision. Consider whether the product is individually packaged, whether it works with your preferred brow pencil or mapping paste, and whether it stores flat without becoming creased. Small workflow details add up when you are setting up for back-to-back appointments.
Disposable Versus Reusable Options
Disposable brow mapping rulers are often the simplest choice for hygiene-focused services. They eliminate the question of reprocessing, are convenient for mobile artists and training environments, and can be used as part of a clearly defined single-use setup. They are also useful when a client has sensitive or compromised skin and you want to minimize nonessential contact.
Reusable rulers may appeal to artists who like a sturdier tool or want less disposable material in their setup. The trade-off is accountability. If a reusable ruler touches the client or treatment area, it must be cleaned and disinfected according to the product instructions and your local requirements. Never assume that a quick wipe is enough.
The right choice is the one that protects your hygiene standards without interrupting your design process. Many established artists keep both options available: disposables for standard appointments and flexible rulers for consultation, education, or specific mapping preferences.
A Practical Mapping Process That Stays Client-Focused
Start with a clean, dry forehead and brow area. Makeup, skincare residue, and excess oil can prevent adhesive rulers from sitting correctly and may cause your markings to fade or drag. Once the client is positioned upright, assess the face at rest before placing any guide. Mapping a reclined client only can distort your perception of brow height and expression.
Center the ruler using the facial midline as a reference, not as an unquestioned rule. The nasal bridge, cupid’s bow, and philtrum can provide helpful orientation points, but faces are not perfectly symmetrical. If the midline appears visually off because of natural asymmetry, use your trained eye and confirm the overall balance from a conversational distance.
Mark your key points before drawing the final shape: the front of each brow, the highest point of the arch, the tail, and the lower and upper boundaries. Check the length and height on both sides, then step back. A ruler may show equal numbers while the brows still look uneven because one eye sits higher, one brow bone is fuller, or one side has more active muscle movement.
That final visual check is where artistry takes over. Ask the client to sit upright, relax their forehead, smile, and raise their brows if movement is relevant to the design. A pre-draw that looks perfect while the face is still can look unbalanced the moment expression enters the picture.
Do Not Chase Mathematical Symmetry
One of the most common mapping mistakes is forcing identical measurements onto an asymmetrical face. If one natural brow sits higher, matching every point numerically can create a result that appears more uneven, not less. The goal is visual harmony, not a technical drawing that ignores anatomy.
This is particularly relevant for correction work. Previous microblading, old machine work, scar tissue, and uneven fading may limit where the new shape can safely or aesthetically sit. In those cases, brow mapping rulers provide structure, but the treatment plan must account for the canvas you actually have. A client may need a conservative correction, color correction, or a staged approach rather than a dramatic redesign in one appointment.
Mapping Rulers and Different PMU Brow Services
The underlying mapping principles stay consistent across techniques, but the finished outline should reflect the service. A soft powder brow may allow for a slightly more diffused perimeter, while a nano hairstroke design requires careful consideration of the client’s existing hair pattern and skin type. The ruler helps establish proportion, not the final texture.
For ombré and powder brow appointments, use the mapping stage to confirm that the front will remain soft enough for the client’s desired result. A ruler can help prevent overly close fronts or tails that extend too far, both of which become more obvious once color is implanted. With nano brows, pay close attention to stroke direction around the bulb and arch so the mapped shape supports natural flow rather than fighting it.
For new artists, rulers can create useful discipline. They encourage you to pause before freehand drawing and document a clear sequence. For advanced artists, they offer speed and consistency without limiting a customized approach. The tool is simple, but its value grows with the artist’s ability to read facial structure.
Common Errors That Affect the Pre-Draw
A ruler cannot correct poor positioning. If the client is tilted, the artist is standing at an angle, or the treatment bed is too low, your measurements can appear correct while the actual design is off. Keep your working position consistent and reassess from directly in front of the client.
Another issue is applying the ruler too early. Complete your consultation first. Discuss the client’s daily brow routine, desired makeup level, skin characteristics, existing tattoo history, and willingness to maintain the shape. A bold, high-arched reference design may be technically balanced but completely wrong for someone who wants an understated, low-maintenance brow.
Finally, avoid treating the ruler as a substitute for client approval. Let the client see the final outline from a seated position, explain any asymmetry you have intentionally balanced, and document approval before beginning. This protects the client experience and reinforces your professional process.
Keeping Your Mapping Supplies Treatment-Ready
Your mapping tools should be organized with the same care as your cartridges, pigments, anesthetics, and PPE. Keep single-use rulers protected until setup, store reusable tools according to manufacturer guidance, and make sure pencils, string, calipers, and wipes are easy to reach without crossing over your clean field.
For trainers and studio owners, standardized mapping supplies can also support more consistent education. When every student learns the same sequence and works with reliable, professional-grade tools, it is easier to identify whether a challenge comes from technique, design judgment, or product handling. Inkbox Artistry is built by permanent makeup artists for artists, and the right mapping supplies are part of that end-to-end treatment discipline.
A brow mapping ruler will not make every face symmetrical, and it should not try to. Its real job is to give your trained eye a dependable starting point, so each final design looks considered, balanced, and right for the person wearing it.