Brow Symmetry Guide for Better PMU Mapping
A strong brow pre-draw is not about forcing two identical brows onto a face. This brow symmetry guide is about creating balance that holds up when the client sits up, speaks, smiles, and sees their finished result in the mirror. For PMU artists, that means reading the face first, mapping with a repeatable system, and knowing when natural anatomy should lead the design.
Perfectly matching brows are rarely realistic, and they are not always flattering. Bone structure, muscle movement, eyelid position, hair growth, and habitual expressions all affect how each brow presents. Your role is to reduce distracting imbalance while protecting the client’s natural character and choosing a shape that can be tattooed cleanly.
Start With Facial Balance, Not the Existing Hair
Existing brow hair is valuable information, but it is not the blueprint. A client may have uneven growth from over-tweezing, previous tattooing, scarring, alopecia, or years of shaping one side differently. If you copy every irregularity, the final cosmetic tattoo can make the imbalance more visible.
Begin with the client upright and positioned at your working height. Ask them to relax their forehead, release their jaw, and look forward. Check the full face before you reach for mapping string. Is the head naturally tilted? Is one eyelid more hooded? Does one brow lift higher when the frontalis activates? These details change where an arch appears to sit and how much tail length the face can carry.
Take reference photos only after the client is sitting evenly. A straight-on image, plus both oblique views, gives you a record of the starting point and makes design decisions easier to explain. If one side of the face is visibly higher, do not promise mathematical symmetry. Aim for optical symmetry: brows that look balanced in the way the client is seen day to day.
Assess at Rest and in Motion
A static map can look excellent and still fail when expression takes over. Have the client raise their brows, frown, smile, and return to rest. Watch for a stronger lifting muscle on one side, a tail that elevates with a smile, or an asymmetrical forehead crease pattern.
When one brow consistently lifts higher, placing both arches at the same measured height may make the stronger side look too elevated in motion. In many cases, a slight adjustment to arch height, arch angle, or tail placement creates the more believable result. This is why a ruler is a measuring tool, not a substitute for observation.
Build a Repeatable Brow Symmetry Map
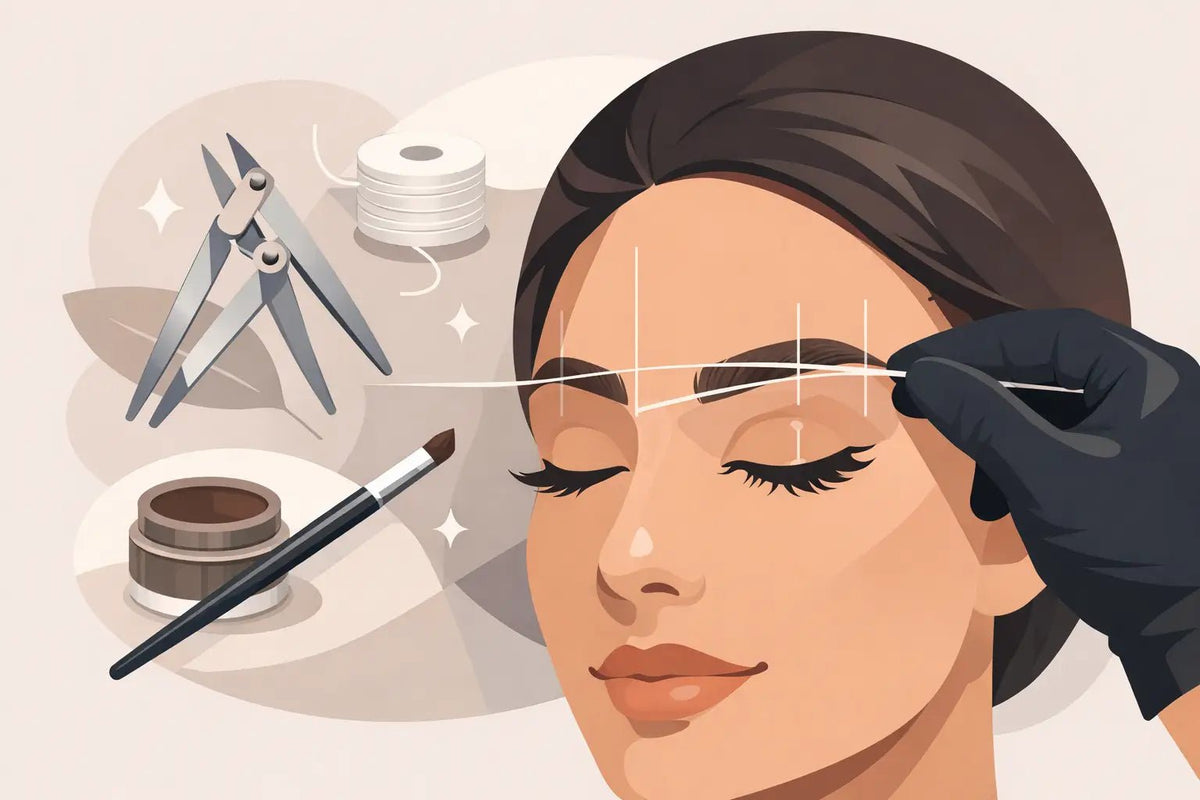
Consistency in your process protects your design work. Use a clean, sharp brow mapping pencil, professional mapping string, and a reliable brow ruler or caliper. The tools should support clear reference points without leaving your client with a cluttered grid they cannot understand.
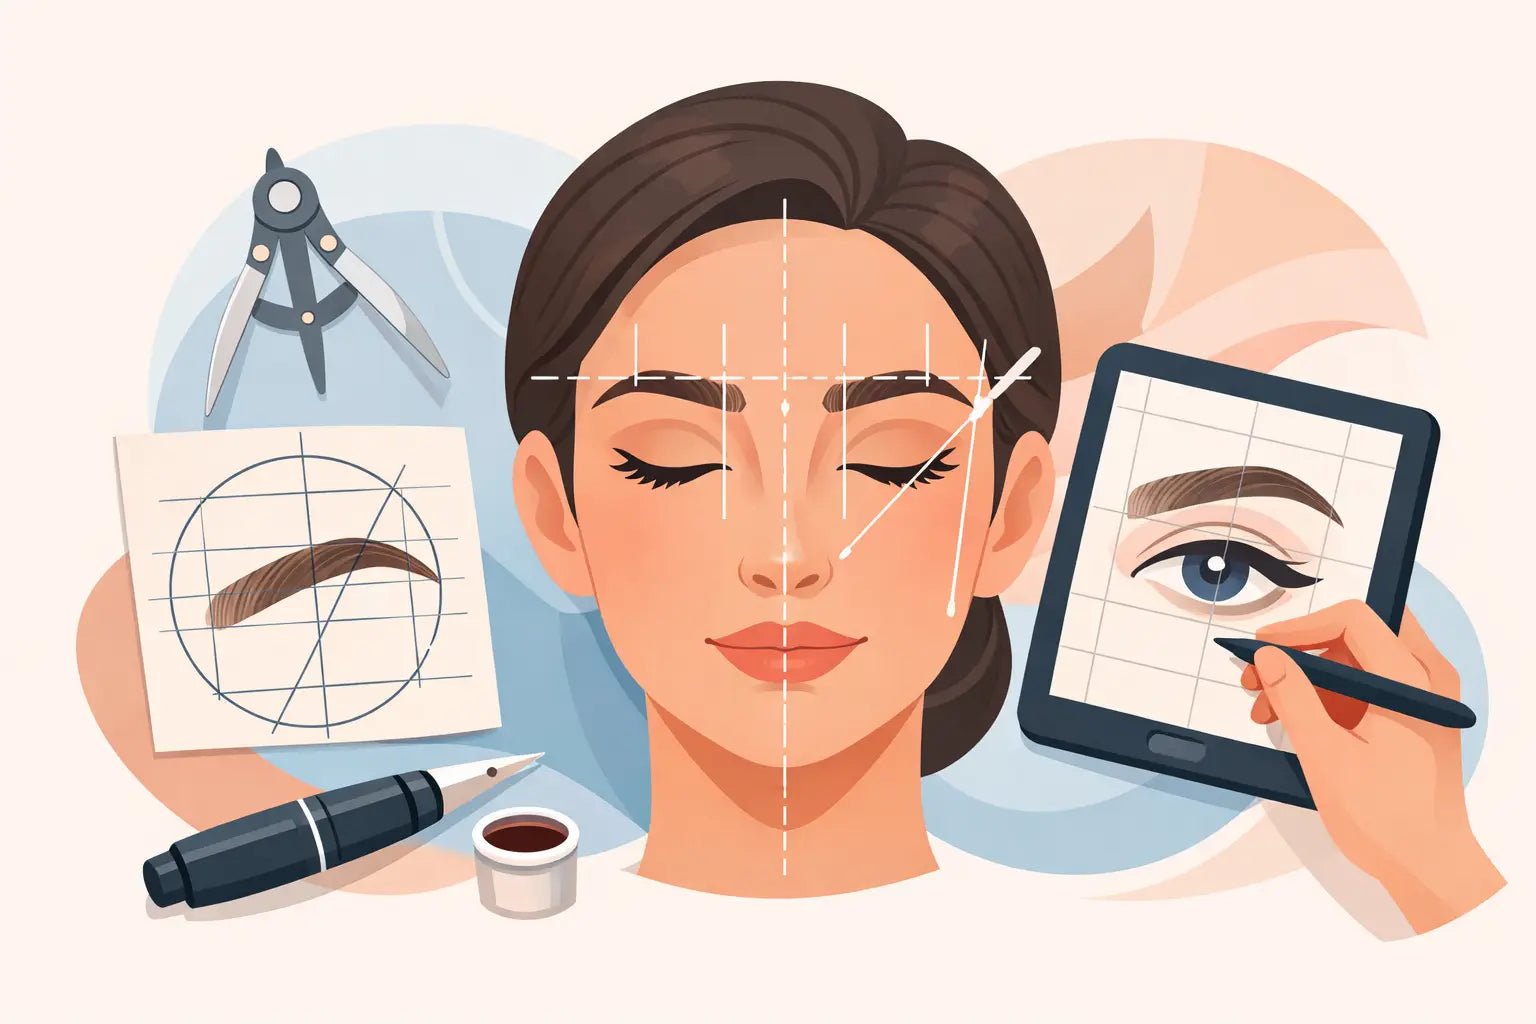
Start by identifying the facial center line. Rather than assuming the nose is perfectly centered, assess the glabella, philtrum, cupid’s bow, and chin in relation to one another. Mark a practical facial center that supports visual balance. Small deviations in natural facial structure are common, so this line is a guide for your design, not a rule to force.
From there, establish the key brow points: the head, the arch, and the tail. Map both sides in the same sequence before committing to a full outline. Measure the distance from each brow head to the center line, then compare the vertical position of the heads, arches, and tails. Cross-check every major point horizontally as well as vertically.
A useful workflow is to map lightly, step back, reassess from a distance, then refine. Artists often get too close to the face and begin correcting millimeters that are invisible at normal conversation distance. The client will experience their brows from the mirror, their phone camera, and across a room, not only from your magnifying lamp.
Establish the Brow Heads
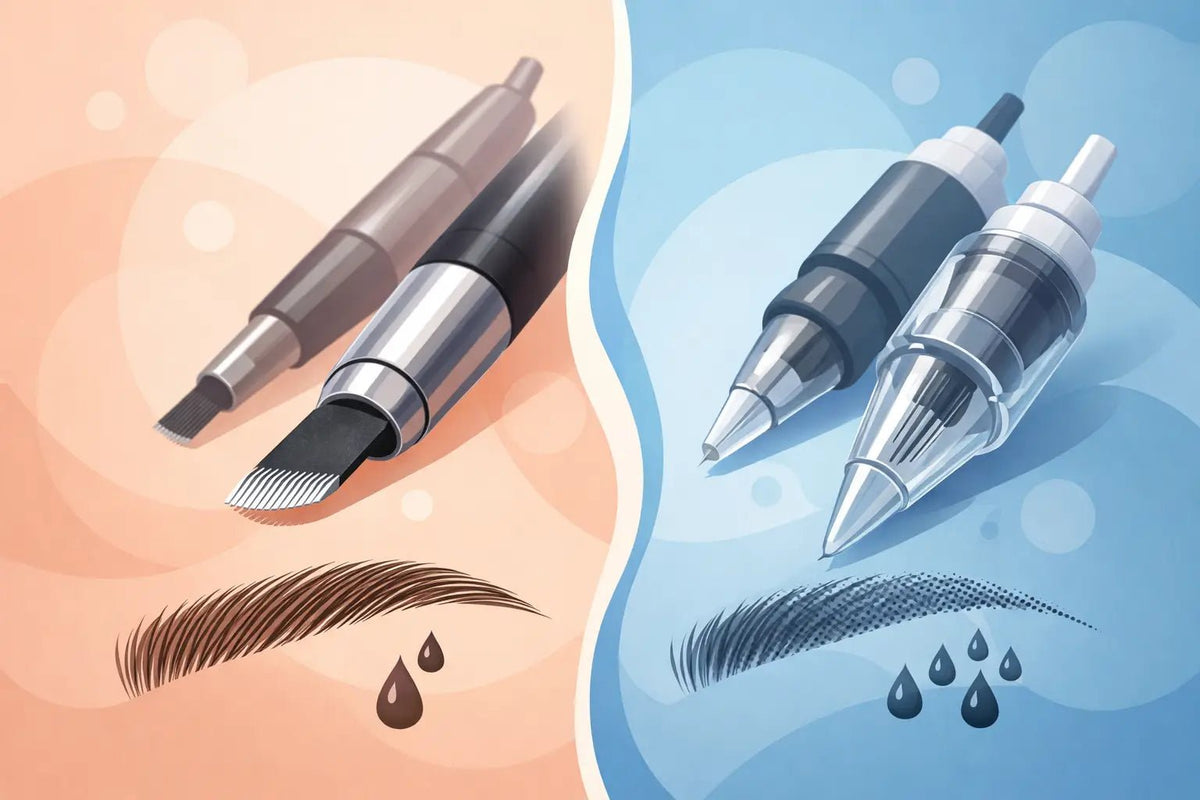
The brow heads frame the center of the face, so uneven spacing is usually more noticeable than a minor difference at the tail. Keep the fronts soft enough for the technique and skin type, especially with powder and nano brows. Overbuilding the heads to chase density can make the brows look heavy even when the map is technically balanced.
Match the visual width and starting height of the brow heads while considering the natural hair direction. If one front has a scar or sparse patch, your outline may need a subtle adjustment to make both sides read evenly. Do not extend a front too far inward simply to satisfy a measurement. It can narrow the perceived eye spacing and create an unnatural expression.
Place the Arch for the Eye, Not a Formula
Generic arch formulas can be a helpful starting point, but they should not override the client’s orbital bone, eye shape, and natural brow movement. A high, sharp arch may photograph well on one client and look permanently surprised on another. On mature or hooded eyes, excessive lift can also pull visual attention toward skin laxity rather than opening the eye area.
Compare arch placement by checking both the height and the point of transition. One brow can measure the same from the center line yet look different because the arch breaks too early or too late. Adjusting the curve leading into the arch is often more effective than moving the peak dramatically.
Keep your planned technique in mind. Soft powder brows can tolerate a gently diffused arch, while crisp hairstrokes require extra care because each directional change is visible. The more defined the finish, the less room there is for mapping inconsistencies.
Finish With Tails That Do Not Drag the Face Down
Tails should taper with intention. A tail placed too low can make the eye area look tired, while a tail that is too high may disconnect from the overall brow flow. Compare the end points from the front view, then reassess from each side. Profile matters, particularly for clients with prominent brow bones or asymmetrical temples.
Length is another common trap. Extending the shorter side to match a longer natural tail can make both brows feel overlong. Sometimes the correct correction is to shorten the dominant side visually, not add more pigment to the weaker one. Your client’s face shape, eyelid space, and existing hair pattern should make that decision.
Use the Client Approval Step Properly
Before beginning the procedure, remove excess mapping lines and present the design clearly. Give the client a mirror while they sit upright. Ask focused questions about overall balance, thickness, arch softness, and tail length rather than asking whether they like everything. Clients may not have PMU vocabulary, but they can usually identify whether a brow feels too high, too bold, or too long.
Explain that brows are sisters, not twins, but avoid using that phrase as an excuse for an unfinished pre-draw. Show the client where their natural asymmetry begins and what you have adjusted for visual balance. Clear communication establishes realistic expectations and reduces the chance of mid-procedure uncertainty.
If a client requests a correction that compromises balance or longevity, explain the trade-off directly. For example, an excessively thin tail may fade unevenly, while a dramatic arch may not age well with their natural muscle movement. The best design is one that respects both the immediate look and the healed result.
Common Mapping Errors That Create Uneven Results
Most symmetry issues come from rushing the assessment or relying on one reference point. Watch for these recurring problems:
- Mapping while the client is reclined, then discovering the brows shift when they sit upright.
- Treating a naturally tilted head position as a brow-height problem.
- Measuring only from the nose instead of checking the full facial center line.
- Making both arches equally high when one side has stronger muscle lift.
- Extending a sparse tail too far in an attempt to match the opposite side.
- Leaving thick, imprecise pencil outlines that hide the true planned shape.
Make Symmetry a Skill You Can Repeat
The fastest way to improve your brow mapping is to document your work. Save pre-draw photos, note the adjustments you made for muscle movement or structural asymmetry, and review healed results. Over time, patterns become clear: perhaps your arches trend high, your tails run long, or you need more time evaluating clients with stronger facial asymmetry.
Practice skins can help you build line control and shape discipline, but live-face assessment is where true mapping judgment develops. Work slowly enough to see the face, not just the ruler. With professional mapping supplies and a consistent process, you can make each design decision with more confidence.
A balanced PMU brow should look considered, not calculated. When your map respects the individual face and your execution follows the design with control, clients leave with brows that feel like their best features, not a template applied over them.