How to Use Mapping String in PMU Brow Design
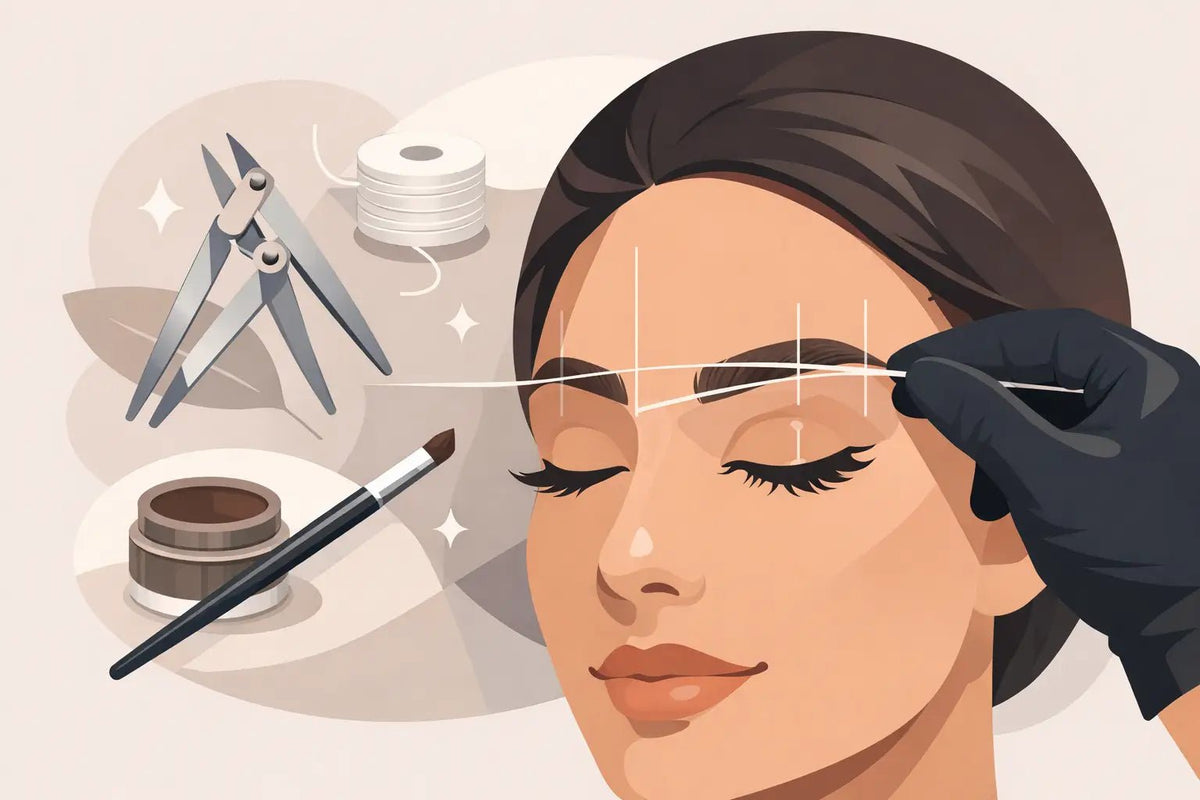
A brow pre-draw can look balanced from one angle, then reveal a height difference the moment your client sits upright. Knowing how to use mapping string gives you a fast, visible reference line before you commit to your outline. It does not replace brow mapping fundamentals or your trained eye. It gives you another way to check structure, communicate the plan, and create cleaner starting points for powder brows, nano brows, and combination work.
For working PMU artists, mapping string is especially useful when time matters but precision cannot slip. A crisp set of guideline marks helps you assess the relationship between both brows before the procedure begins, while keeping the design process easy for your client to follow in the mirror.
What Mapping String Does in a Brow Pre-Draw
Mapping string is a thin thread coated with cosmetic-safe pigment, usually white, brown, or black depending on the product and skin visibility. When the taut string is lightly pressed or snapped against the skin, it transfers a straight guideline. Artists use those guidelines to locate key brow landmarks and verify that both sides relate correctly to the client’s facial structure.
The operative word is relate. Natural faces are not perfectly symmetrical, and brows should not be forced into identical shapes. Mapping string helps you find a consistent baseline and compare points such as the front, arch, and tail. Your final design should still account for bone structure, facial muscle movement, existing hair pattern, healed work, skin texture, and the client’s preferred style.
Use it as a measuring and visualization tool, not as a rigid stencil. If a string line says one thing but the full face, client expression, and natural brow growth tell you another, pause and reassess.
Set Up for Clean, Visible Lines
Start with clean, dry skin. Remove makeup, skincare residue, and surface oil according to your studio protocol. A slippery brow area can cause the pigment to skip, blur, or transfer unevenly, which makes a precise tool less useful.
Seat the client upright with their head level. This is where many pre-draws improve immediately. Mapping while a client is reclined can distort your perception of brow height, especially when you later assess the result from the front. Ask them to relax their forehead and keep their eyes naturally open where possible. A raised brow, squint, or tense forehead can shift landmarks.
Before touching the string to the face, confirm that it is fresh, adequately pigmented, and appropriate for professional use on skin. Follow the manufacturer’s instructions for disposal and single-client hygiene. Treat mapping supplies as part of your clean setup, not as a reusable convenience item. If you are working around an existing outline, be mindful that excess product can obscure old pigment or hair direction.
Have your brow pencil, measuring tool or caliper, cotton applicators, and a gentle cleanser ready. Mapping string creates the reference lines quickly, but you will refine the actual brow shape with your preferred pencil or marker.
How to Use Mapping String Step by Step
Mark your primary reference points first
Use your usual facial mapping method to identify the beginning, arch, and tail on each brow. The common points remain the same: the brow front is generally aligned from the nostril through the inner eye area, the arch is assessed in relation to the iris or outer eye structure, and the tail follows a flattering diagonal from the nostril toward the outer eye.
Those are starting principles, not universal rules. A client with a wide nasal bridge, asymmetrical eyes, prominent brow bone, or a strong natural hair pattern may need adjusted placement. Mark lightly so you can edit without leaving a crowded pre-draw.
Create the center guideline
Pull out enough string to hold it comfortably taut between both hands. Position it vertically along the facial centerline, usually from the glabella area down toward the cupid’s bow. Keep the string straight and lightly press it into the skin, then lift or gently snap it away according to the string’s instructions.
This line gives you a central visual anchor for assessing the inner brow starts. It is useful for seeing whether one front has drifted too close to the center or too far outward. Do not assume the nose itself is perfectly centered. Look at the overall face, including the philtrum, lips, and eye placement, then use professional judgment.
Map the horizontal brow levels
Next, stretch the string horizontally across the brow area. Create a line through or near the brow fronts, then repeat at the intended arch height and lower brow line as needed. Use a light, controlled touch. Pressing too firmly can create a thick or broken transfer that is harder to interpret.
Compare the points where your horizontal lines meet each brow. Are both fronts sitting at a visually compatible height? Do the arches rise in a way that works with the client’s eyes and expression? Are the tails dropping too low or ending at dramatically different distances? The goal is visual balance across the face, not a set of mathematically identical coordinates.
Check the front, arch, and tail with vertical lines
Place the string vertically through one brow front and then the other. Repeat through the arch and tail points if helpful. These short checks can reveal whether one brow is longer, whether an arch has moved too far laterally, or whether a tail needs a minor adjustment before you connect the outline.
For artists who prefer a more detailed mapping system, use string lines to create a light grid, then add your pencil marks inside that framework. For a straightforward powder brow pre-draw, a centerline plus a few horizontal and vertical checks may be all you need. The right amount of mapping depends on the complexity of the case and your confidence with facial analysis.
Connect the design and assess from a distance
Once your main guidelines are in place, use a brow pencil to connect the front, upper line, arch, lower line, and tail. Keep the front soft unless the selected technique and client preference call for a more defined makeup effect. Clean away excess mapping pigment as you refine, so the client can see the proposed brow shape rather than a web of construction lines.
Step back several times. View the face straight on, then check both sides from a slight angle. Ask the client to sit naturally, smile, talk, and relax their forehead. A design that looks level on a still face may need adjustment once the facial muscles move.
Where Artists Lose Accuracy
The most common issue is pulling the string at an angle. If your hands are not level or the string is slack, the line is not a reliable reference. Hold steady tension and work slowly enough to confirm placement before transferring pigment.
Another mistake is over-mapping. Too many intersecting lines can make a brow pre-draw feel technical without making it more accurate. They can also confuse the client during approval. Create only the guidelines you need to answer a specific question: Is the front placement balanced? Is the arch height working? Are the tails aligned?
Avoid treating every facial feature as a fixed ruler. One eye may sit slightly higher, one brow bone may be more pronounced, and natural hair may grow differently on each side. Correcting every small difference can produce brows that look unnatural in motion. Your mapping string should support a design that flatters the individual client, not erase their anatomy.
Choosing String Color and Integrating It Into Your Workflow
White mapping string often shows clearly on deeper skin tones and can be easy to distinguish from a brown pencil outline. Darker string can provide stronger contrast on very fair skin, though it may require more cleanup. Test visibility during the consultation stage of the pre-draw rather than committing to a color that disappears under studio lighting.
Many artists build mapping string into every brow appointment because it creates consistency across consultations, pre-draw photos, and training demonstrations. Others reserve it for asymmetry corrections, corrective work, first-time clients, and any case where the brow starts or arch height needs a clearer visual check. Both approaches are valid. The best workflow is the one that improves your accuracy without slowing down the client experience.
Inkbox Artistry carries professional mapping supplies that fit naturally alongside the pencils, rulers, pigments, and disposables used throughout a complete PMU setup. Keep your tools organized by treatment stage so your mapping process stays clean, efficient, and repeatable.
Before you begin the procedure, remove or soften any construction lines that could distract from your final outline. Then give the client time to review the shape with a mirror, ask questions, and approve the design. A well-used mapping string leaves behind more than straight lines: it gives you a clear foundation for making deliberate artistic decisions.