Permanent Makeup Pigment Color Theory Explained
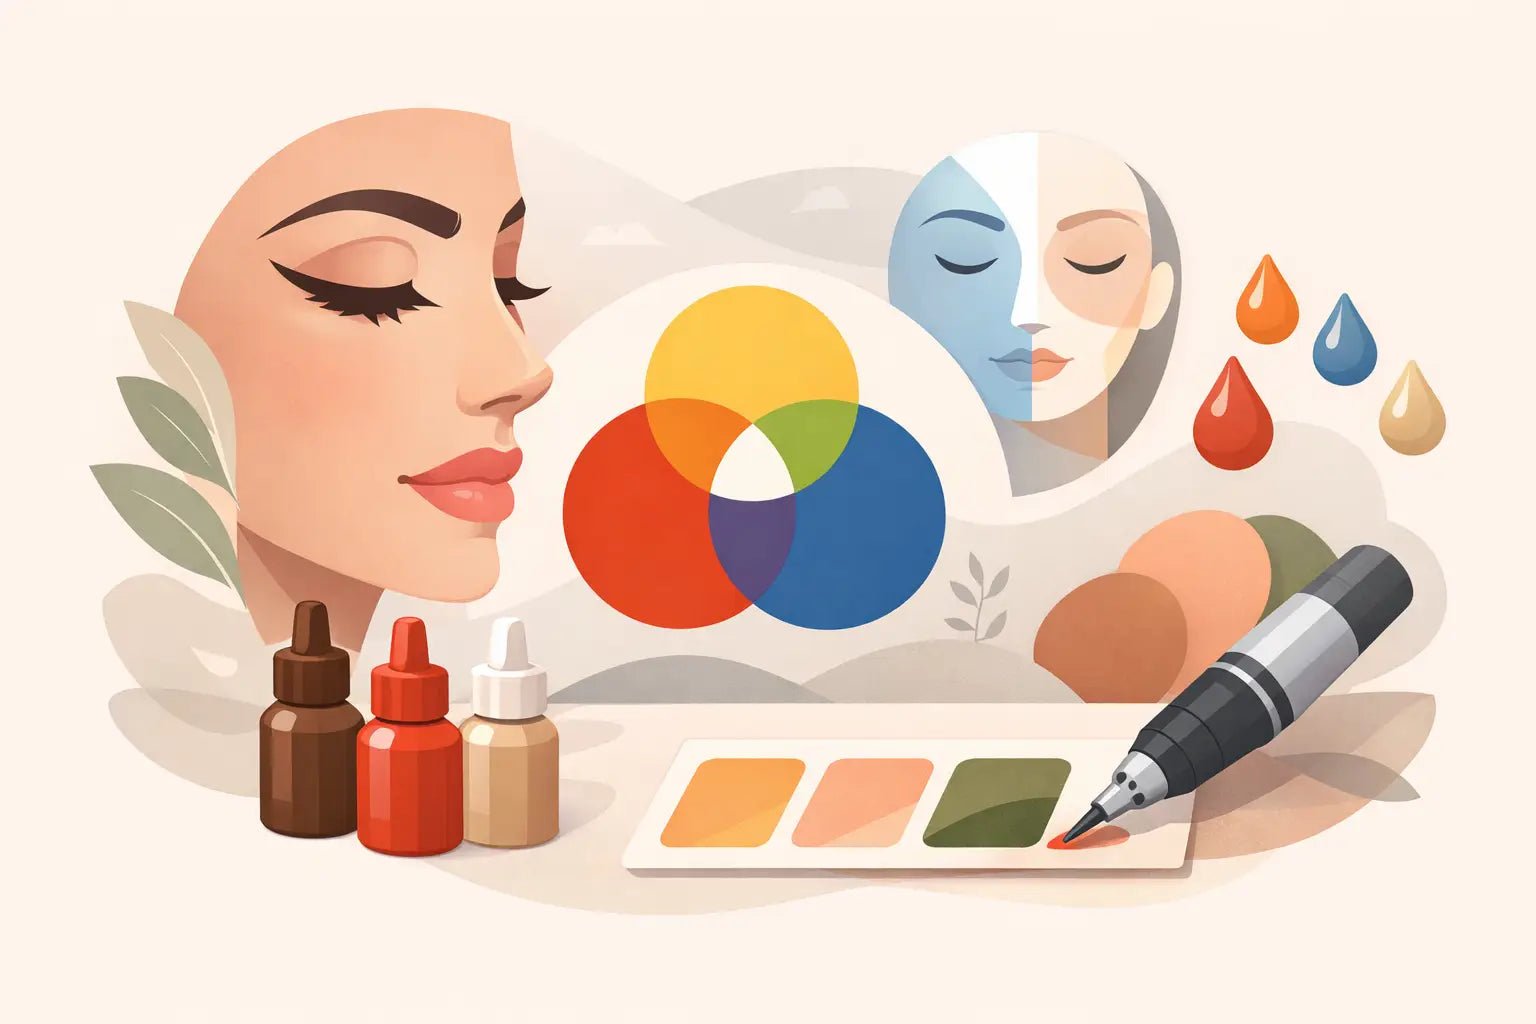
A brow can look perfect on the first pass and heal unexpectedly cool, warm, or soft gray. A lip blush can begin as a flattering rose and settle into a shade that feels too muted for the client’s complexion. These outcomes are rarely about one factor alone. Permanent makeup pigment color theory is the working framework behind better decisions before the cartridge ever touches the skin.
For PMU artists, color theory is not an abstract art-school exercise. It is how you evaluate the client’s skin, the existing tattoo, the treatment area, the pigment formula, and the healing variables as one equation. Strong color work starts with knowing what you can predict, what you cannot, and when a conservative plan is the more professional choice.
Permanent Makeup Pigment Color Theory Starts in the Skin
The skin is not a blank canvas. Every client brings natural melanin, vascularity, surface tone, texture, oil production, lifestyle factors, and healing behavior to the appointment. Pigment is viewed through those variables after it settles into the skin, which is why the bottle color is only part of the story.
Start by separating surface appearance from undertone. A client may look pink at the surface because of sensitivity, exfoliation, or recent sun exposure while carrying a neutral, olive, or golden undertone underneath. Another client may appear warm overall but have a cool or ashy existing brow tattoo that will influence the next procedure. Give the skin time to settle before color selection when possible, especially if redness is masking the baseline tone.
Fitzpatrick scale can contribute useful context around melanin and sun response, but it is not a complete pigment-selection system. Two Fitzpatrick IV clients can have very different undertones, brow hair colors, and healed retention patterns. Use it as one data point, not the final answer.
For brows, assess the client in natural-looking light and look closely at the forehead and temple area, not just the treatment zone. For lips, evaluate the full lip and surrounding skin, then note whether the vermilion has cool, purple, brown, gray, or uneven areas. Existing color in the tissue changes the plan.
Read Hue, Value, and Saturation Before Choosing a Pigment
Artists often discuss pigments as warm, cool, or neutral. That shorthand is helpful, but it becomes more accurate when you also consider hue, value, and saturation.
Hue is the color family: red, yellow, orange, brown, pink, and so on. Value is how light or dark the color reads. Saturation, sometimes called chroma, is the intensity or purity of that color. A pigment can be warm yet too dark for a fair client, or neutral enough in undertone but too saturated for someone requesting a soft powder brow.
A practical brow example: a medium brown may suit a client’s hair color in the bottle, but if it has a low-value, cool base and is implanted too densely, it can heal deeper and ashier than intended. A slightly warmer or lighter selection, used with the right technique, may produce the more natural healed result.
For lips, brightness matters as much as temperature. A cool mauve may be technically flattering on a neutral client but still look dull if the client wants a fresh, healthy blush effect. A brighter pink or coral modifier may be appropriate, but only if the natural lip tone and desired healed target support it.
Pigment Formulation Changes the Equation
Color theory must be paired with pigment knowledge. Organic, inorganic, and hybrid formulations do not behave identically in the skin. Their particle characteristics, opacity, concentration, and color construction can affect how vivid they appear initially, how they fade, and how much underlying skin tone remains visible.
Inorganic pigments are often associated with softer, more muted healed effects. Organic pigments can offer stronger brightness and saturation. Hybrid lines combine characteristics to create a broader range of performance options. Those are general patterns, not promises. The exact formula and manufacturer guidance matter more than broad category labels.
Do not assume that a familiar color name means the same thing across brands. “Medium Brown,” “Nude,” or “Rose” can have very different undertones depending on the line. Swatch pigments on a neutral surface, compare them within their own system, and study healed results from artists using that specific formula. A curated professional pigment line is valuable because it gives you a more consistent technical language from shade to shade.
When mixing, work within the manufacturer’s recommendations whenever possible. Cross-brand mixing may create an unpredictable formula, complicate documentation, and make it harder to repeat a successful result. Record every pigment, modifier, ratio, needle grouping, and technique used. Your client notes become one of the best color-theory tools in your studio.
Use Modifiers With a Clear Purpose
Modifiers are not rescue drops for every appointment. They are targeted tools used to influence undertone, warmth, brightness, or opacity when the base pigment alone does not fit the skin and treatment goal.
A warm modifier may help offset a cool cast in a brow plan, while an orange-based corrector may be considered for certain blue-gray residual tones. On lips, a warm neutralization approach can help address cool or dark natural areas before or alongside a target shade, depending on the client’s tissue and the technique being used.
The trade-off is overcorrection. Too much warmth can leave brows red, orange, or overly warm after healing. Too much neutralization in lips can sacrifice the airy, translucent finish a client expected. Build correction and modification deliberately, in small measured amounts, rather than treating every cool skin tone as a reason to add orange.
Existing PMU deserves its own color analysis. Determine whether the old work is light enough to cover, whether the residual color can be corrected, and whether removal or lightening should happen first. Trying to cover a saturated, dark, or heavily discolored tattoo with a prettier brown is not color correction. It is often a setup for another difficult correction later.
Technique Influences Healed Color
The same pigment can heal differently based on depth, saturation, needle configuration, machine settings, hand speed, skin tension, and number of passes. This is why pigment selection and technique should never be taught as separate subjects.
Implanting too deep can create a cooler, muddier appearance and compromise clarity. Working too superficially may lead to poor retention or patchiness. Overworking the skin introduces inflammation and can distort what you see during the procedure, tempting you to add more pigment when the tissue needs less.
For machine work, match the needle cartridge and configuration to the effect you are building. A controlled, airy pixel pattern for powder brows calls for a different approach than dense lip color or a corrective pass. Adjust your hand, not just your formula, when the skin is becoming reactive.
Client aftercare and skin behavior also matter. Sun exposure, active skincare, picking, oily skin, immune response, and individual healing can all shift retention and perceived tone. Set expectations before the service: healed color is the goal, but no artist can guarantee an identical result on every skin type.
A Practical Consultation Workflow for Better Color Calls
A consistent consultation process prevents rushed pigment choices. Begin with the client’s desired healed result, not the shade they saw online. Ask whether they want a soft, natural enhancement or a more defined makeup effect. Then evaluate the natural tissue, hair color, skin undertone, prior PMU, and relevant skincare habits.
Take clear pre-procedure photos in consistent lighting. Map brows before committing to color so the overall design, density, and pigment value work together. For lips, identify areas that may need neutralization and be transparent if the client’s starting tone requires multiple sessions to reach a target shade safely.
It also helps to explain why the fresh color will look stronger, warmer, or brighter than the healed result. Clients who understand the healing process are less likely to mistake a necessary fresh-tone adjustment for an incorrect final color.
Build Your Color Skill Through Healed Results
The fastest way to improve at permanent makeup pigment color theory is to review your healed portfolio with discipline. Compare your original assessment, pigment choice, technique notes, and healed photos at the same interval. Look for patterns: Does one formula consistently heal too cool on oily skin? Are your lip results losing brightness because you are selecting shades with insufficient saturation? Is a particular needle configuration depositing more color than your plan requires?
Practice skins and pigment swatches are useful for learning formula families and mix ratios, but healed client work remains the real classroom. Keep your notes organized, photograph consistently, and revisit manufacturer education as pigment lines evolve.
The best pigment choice is not the darkest brown, the brightest pink, or the most popular bottle in the drawer. It is the color plan that respects the client’s starting point, gives the skin room to heal, and leaves you confident in what you can stand behind at the touch-up appointment.