Tattoo PPE for PMU Artists: What Your Setup Needs
A beautiful healed result starts long before pigment touches skin. Tattoo PPE is part of the working system behind every brow, lip blush, and eyeliner appointment: it protects the artist, supports a clean treatment area, and helps clients feel confident the moment they sit down.
For permanent makeup artists, PPE is not a random box of disposables kept under the bed. It is a planned setup that needs to work with your machine, cartridge system, pigment cups, anesthetic application, mapping process, and turnaround time between clients. The right products make hygienic practice easier to repeat. The wrong ones create clutter, interruptions, and opportunities for cross-contamination.
What Tattoo PPE Means in a PMU Studio
Personal protective equipment is designed to create a barrier between you and potential exposure to blood, body fluids, aerosols, and contaminated surfaces. In cosmetic tattooing, that includes the protection you wear, as well as practical barriers used to keep frequently touched equipment and work surfaces clean during a procedure.
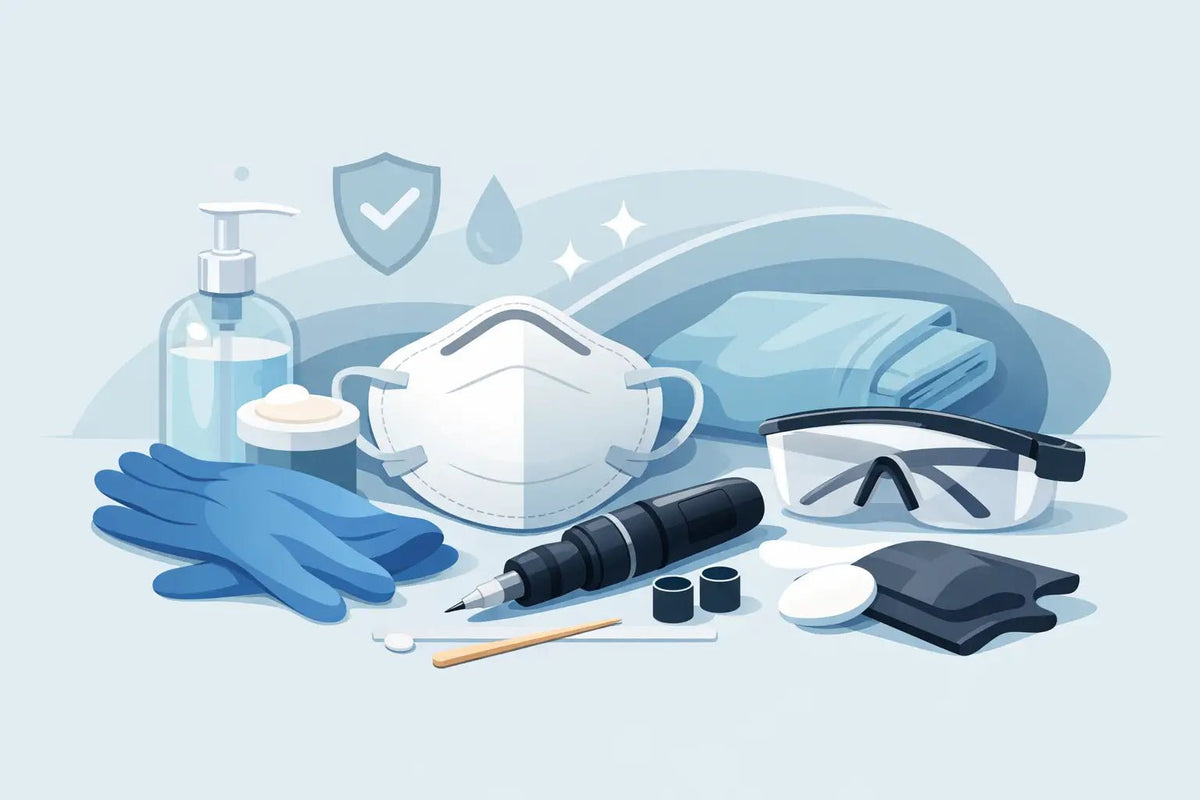
For most PMU services, the core tattoo PPE setup includes single-use gloves, face masks, protective eyewear or face protection where appropriate, disposable aprons or gowns, and barrier film or machine sleeves. Client-facing disposables may also include drapes, headbands, bibs, and protective coverings selected for the treatment area.
Exact requirements can vary by state, county, licensing board, and studio policy. Your local regulations and bloodborne pathogens training should always guide your protocol. Product selection cannot replace a documented infection-control process, but it can make that process more reliable in real appointment conditions.
Build PPE Around Your Actual Treatment Flow
A good PPE cart follows the order of your service. Think through what happens from client arrival to final aftercare, then place supplies where they can be reached without breaking your clean workflow.
For a typical brow or lip appointment, you may begin with a clean setup, skin preparation, mapping, and pre-numbing. Once the procedure begins, your gloved hands may touch your machine, pigment cups, lamp, client skin, and single-use materials. Any item likely to be handled during the service should either be protected by a barrier, designated as single-use, or accessed with a clean change of gloves.
This is where artists often underestimate the value of barrier supplies. Machine bags, clip cord covers for compatible setups, barrier film, tray covers, and bottle protection are inexpensive compared with the time and product waste caused by an avoidable cleanup issue. They also protect the investment you have made in wireless machines, power supplies, task lights, and other high-touch equipment.
A clean setup should feel intentional, not overpacked. Keep only the supplies needed for that treatment on the tray. Extra stock stays closed and away from the procedure area. This reduces visual clutter and limits the chance that an untouched item becomes contaminated simply because it was sitting too close to the working zone.
Gloves: Fit, Material, and Change Timing
Gloves are the most frequently used PPE item in a PMU studio, so comfort matters. If gloves pinch at the fingertips, slip at the wrist, or reduce your tactile control, they can interfere with precision work. A well-fitting glove supports better handling of needle cartridges, pigment caps, mapping tools, and delicate skin stretching.
Nitrile gloves are a common choice because they offer good durability and are a practical option for studios avoiding natural rubber latex sensitivities. Choose an appropriate size for each artist, and consider keeping multiple sizes available for team members, models, and trainers working in the space.
More gloves are not automatically better if change timing is inconsistent. Put on a fresh pair before setting up a clean procedure area and change them whenever contamination may have occurred. That can include touching a phone, opening an unprotected drawer, adjusting an unbarriered lamp, handling payment materials, or moving from one treatment stage to another when your protocol requires it. Never try to “save” gloves by treating them as clean after they have touched uncertain surfaces.
Masks, Eye Protection, and Client Comfort
A mask is a straightforward part of professional presentation, but its purpose goes beyond appearances. It helps reduce respiratory droplets around an open treatment area and is especially relevant when you are working close to a client's face for extended periods.
Choose masks that fit securely without constantly sliding or forcing you to touch and readjust them. If a mask becomes damp, soiled, damaged, or difficult to breathe through, replace it. Keep replacements within reach so changing one does not interrupt your appointment flow.
Protective eyewear is worth considering when there is a risk of splash or when your studio protocol calls for it. The best option is one you can wear comfortably throughout detailed work without fogging or distorting your view. Clients also notice when an artist's PPE feels considered and professional rather than improvised.
Barriers Protect the Equipment You Use Every Day
PMU machines and accessories have seams, buttons, grips, and surfaces that are difficult to clean thoroughly during a fast changeover. Barriers help prevent contamination from reaching those areas in the first place.
Cover the components you expect to touch during the procedure, including machine bodies when appropriate, power controls, lamps, trays, and any other high-contact surfaces. For wireless tattoo machines, select sleeves that allow the machine to operate comfortably without bunching around the grip or affecting your hand position. The barrier should support your technique, not fight it.
Barrier film is particularly useful on smooth surfaces such as bottle pumps, light handles, drawer pulls, touch controls, and work trays. Apply it before setup, remove it after the service, then clean and disinfect the underlying surface according to the product directions and your studio protocol. Barrier protection does not eliminate cleaning. It adds another layer of control.
Be selective with pigment bottles as well. Avoid touching a clean stock bottle with contaminated gloves. Dispense the amount you need into single-use pigment cups before the procedure whenever possible, then discard leftover product after the service. It is a simple habit that protects your pigment inventory and supports consistent studio standards.
Disposable Does Not Mean Low Quality
The PMU supplies used once and discarded still affect the quality of your appointment. Thin, poorly made bibs can shift. Weak barrier sleeves can tear. Gloves with an inconsistent finish can make gripping a machine more difficult. A low-cost disposable that fails mid-service is not a bargain.
When ordering tattoo PPE, evaluate products based on fit, material quality, sizing, packaging, and how they perform in your treatment room. Buy enough to prevent last-minute substitutions, but avoid filling storage with products that do not match your actual workflow. A brow-focused artist may use different quantities than a high-volume lip blush studio or a training academy with several students setting up at once.
For studios with multiple artists, standardizing core PPE can make restocking faster and training easier. Everyone knows where gloves, masks, barriers, and aprons belong. That consistency matters when the schedule is full and a client is waiting for the room to be reset.
Create a Changeover System You Can Repeat
The strongest PPE setup is one you can execute correctly on your busiest day. Build a written changeover sequence for every treatment room and train each artist to follow it in the same order. Clean and disinfect reusable surfaces, remove barriers carefully, dispose of single-use items in the appropriate waste stream, perform hand hygiene, and set up a fresh station with clean supplies.
Separate clean storage from used or contaminated items. Do not carry open product, used tools, or contaminated gloves through areas where you store fresh cartridges, pigments, and disposables. Small studio layouts can make this challenging, but clear zones and disciplined habits go a long way.
It also helps to audit your own routine occasionally. Watch where your hands go during a treatment. Are you reaching for an unprotected drawer? Adjusting a ring light? Touching your phone for a reference photo? Those moments reveal where an extra barrier, better tray layout, or pre-appointment preparation can tighten the workflow.
Stock for Reliability, Not Panic Buying
Running out of gloves or barrier film in the middle of a busy week is avoidable, but so is tying up your budget in supplies that sit unused. Track what your studio uses per treatment type, then set a reorder point that accounts for your appointment volume, staff size, training days, and delivery lead times.
Keep a modest backup supply of essential items, especially gloves in your preferred sizes, masks, machine barriers, pigment cups, and surface protection. If you host students or work with guest artists, calculate their usage separately. Training environments can go through PPE much faster than a standard client schedule.
Inkbox Artistry is built by permanent makeup artists for artists, which is why choosing PPE alongside your machines, cartridges, pigments, mapping supplies, and aftercare makes practical sense. Sourcing with the whole procedure in mind helps create a kit that works as one system instead of a collection of disconnected supplies.
The goal is not to make your station look clinical for its own sake. It is to create a treatment environment where hygiene supports precision, your client feels cared for, and you can stay focused on the artistry in front of you.