How to Clean Wireless Tattoo Machine Right
A wireless machine that looks clean is not always clean. In PMU, residue hides fast - around the grip seam, near the cartridge opening, under barrier film, and anywhere gloved hands touched during a service. If you are wondering how to clean wireless tattoo machine equipment correctly, the goal is not just wiping it down. The goal is protecting your client, your setup, and the life of the machine.
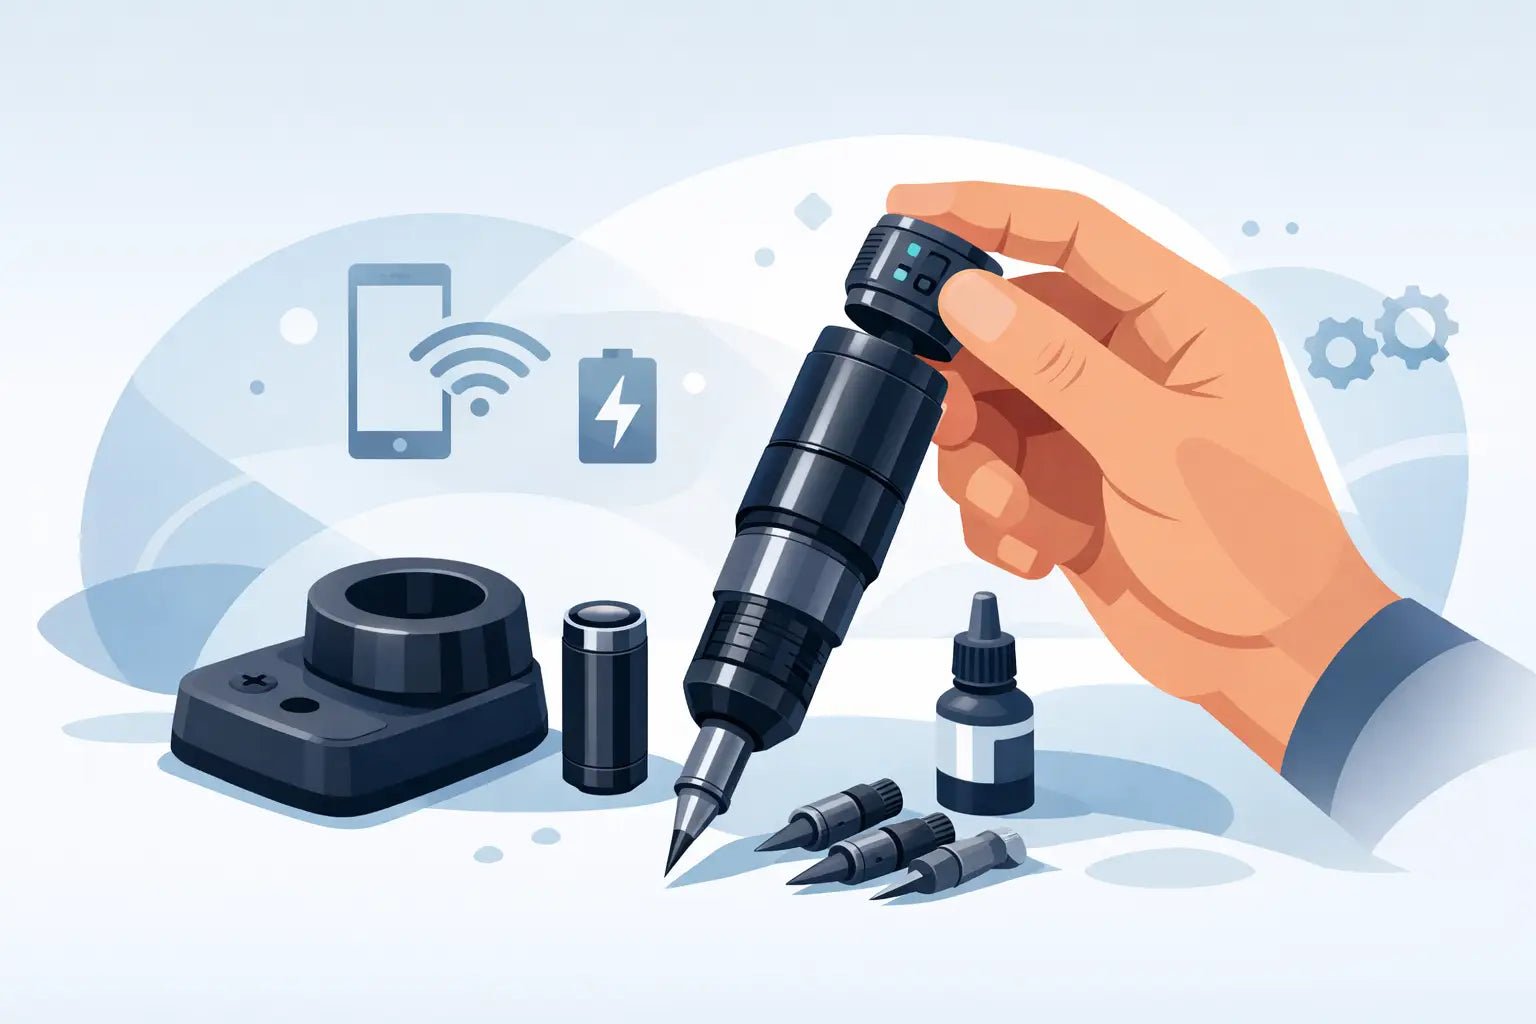
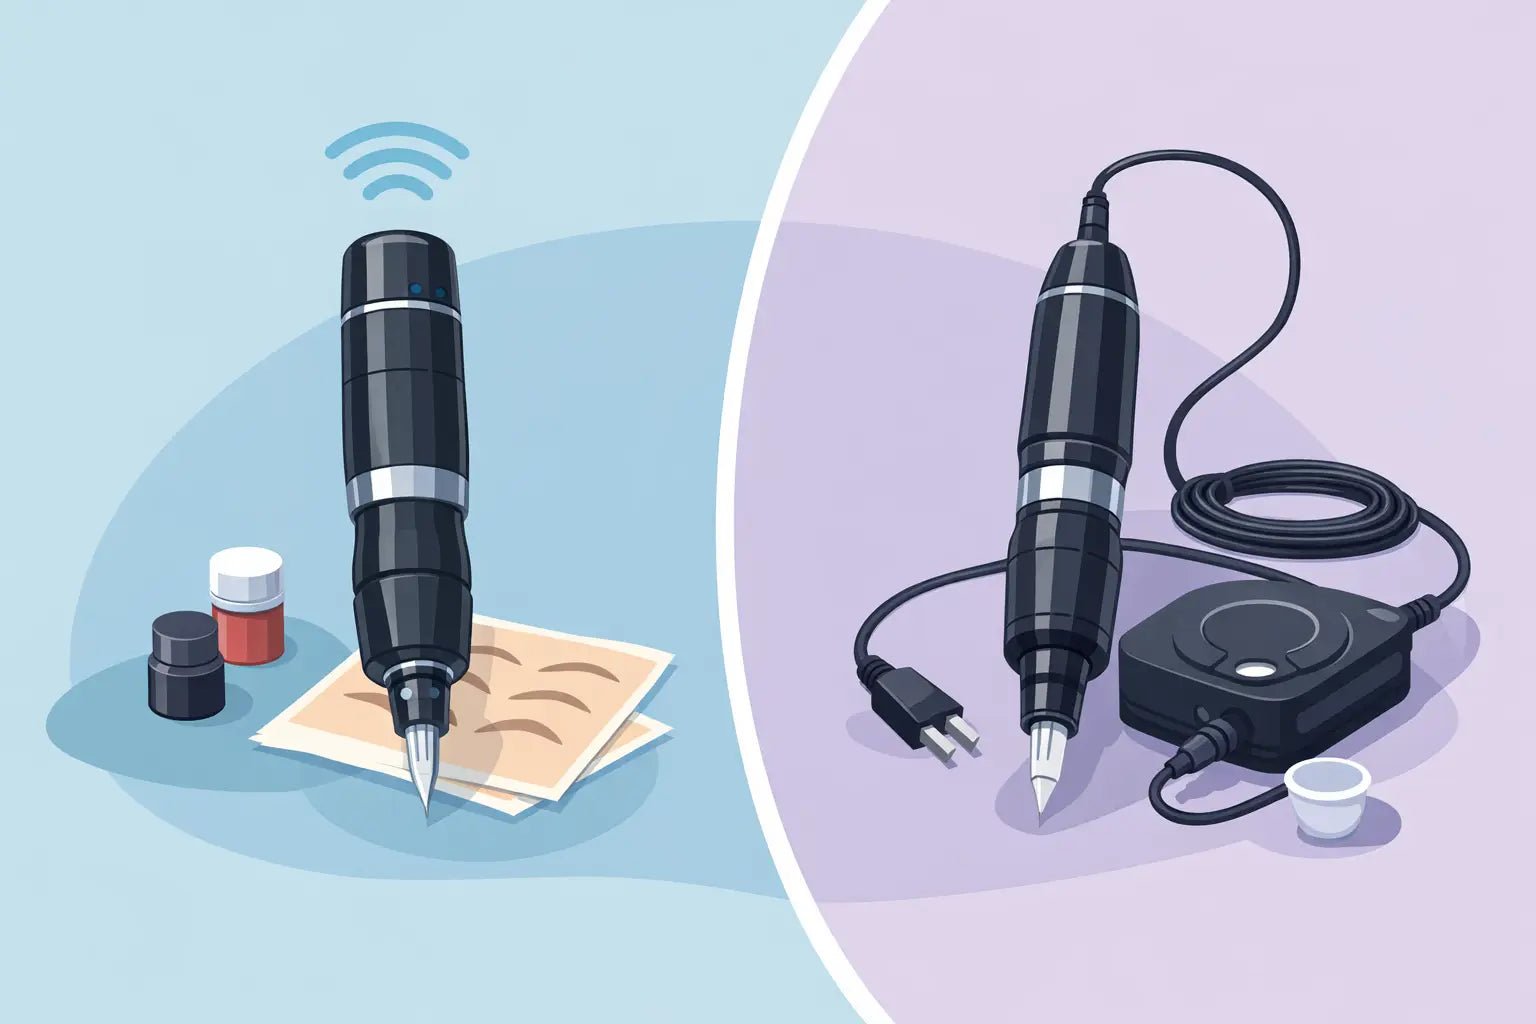
Wireless devices make treatment flow easier, but they also add one more thing artists need to maintain with discipline. A traditional setup separates the power source from the handpiece. A wireless machine combines more components into one compact unit, which means cleaning has to be more intentional. You are working around a motor, battery, connection points, and a surface that may be exposed to pigment, ointment, body fluid, and disinfectant contact throughout the day.
The first rule is simple: your wireless tattoo machine is not meant to be soaked, sprayed directly, or saturated. That sounds obvious, but rushed room turnover is where expensive mistakes happen. If liquid enters the motor housing or battery connection, performance issues can show up later as inconsistent give, startup failure, charging problems, or shortened machine life.
How to clean wireless tattoo machine equipment safely
Start by treating the cleaning process in two parts: contamination control and equipment care. Those are related, but they are not the same thing. You need proper disinfection of external surfaces, and you also need to preserve the machine's function.
After the procedure, remove and discard the cartridge safely according to your sharps protocol. Take off all barrier film, machine bags, clip cord sleeves if used, and any secondary wrap from the battery or grip area. Do this carefully. If the barrier tears while you are removing it, avoid dragging contaminated material across the machine body.
Before you touch the machine itself, inspect it. Look for visible pigment, ointment buildup, splashback near the cartridge receiver, and residue around grooves or seams. A quick inspection helps you decide whether the machine needs only surface disinfection or a more detailed wipe-down of creases and hard-to-reach edges.
At that point, power the unit off fully. If the battery is detachable, remove it if the manufacturer allows and if that is part of the machine's normal maintenance process. Some wireless PMU machines are designed for separation between battery pack and handpiece, while others are more integrated. Always stay within manufacturer guidance because not every body style should be handled the same way.
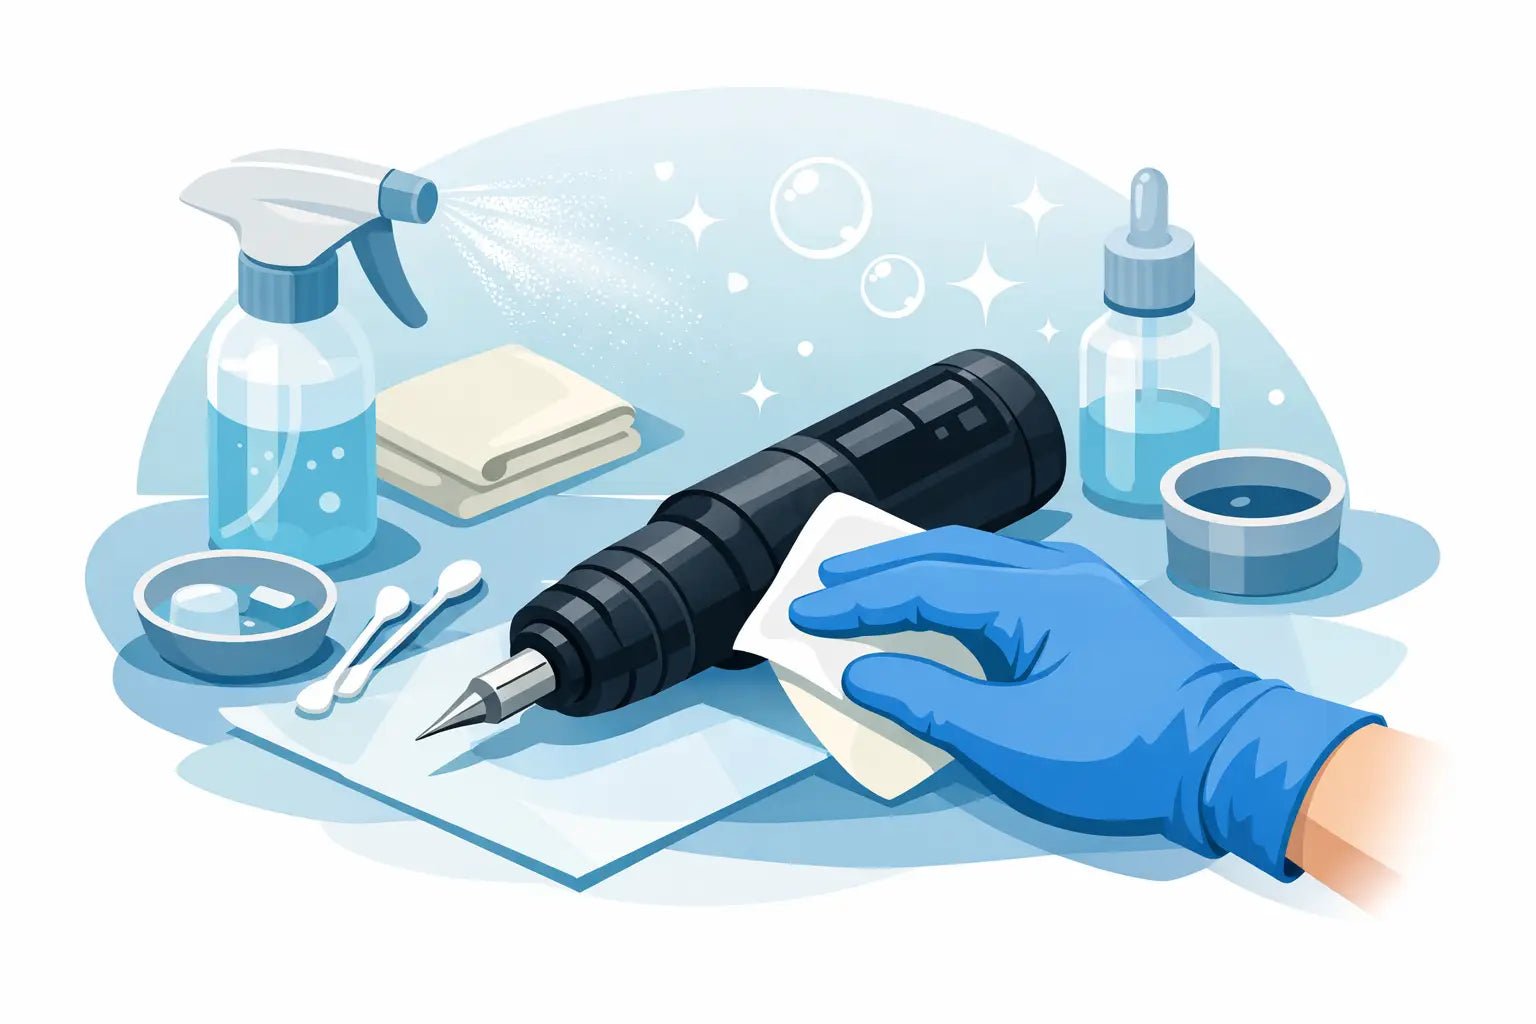
Use an approved disinfectant wipe rather than spraying liquid directly onto the machine. That difference matters. A wipe gives you control over moisture levels and reduces the risk of liquid migrating into ports, buttons, or connection points. The wipe should be damp enough to disinfect, not dripping.
Clean from the least contaminated area to the most contaminated area. Usually that means starting at the battery housing or upper body and working toward the grip and cartridge opening. Use firm, deliberate passes rather than quick, circular smearing. If there is visible debris, remove that first with a fresh wipe before beginning your required disinfectant contact time.
Where artists usually miss contamination
The front end of the machine deserves the most attention. In PMU and cosmetic tattooing, that area sees the most direct exposure. Pigment can collect where the cartridge seats, and petroleum-based products can leave a film that attracts more residue over time. If buildup is left in place, your machine may still run, but sanitation standards and long-term fit of the cartridge can be compromised.
Buttons, display screens, and voltage controls are another common blind spot. Artists touch them mid-procedure with gloved hands more often than they realize. If your machine has a digital interface, wipe gently but thoroughly, making sure you do not leave excess liquid around the edges of the screen.
Grip texture also matters. Machines with a smooth body are faster to disinfect. Textured grips, ridges, and ergonomic grooves feel secure in hand, but they can trap residue. In that case, it helps to use the edge of a disinfectant wipe or a manufacturer-approved applicator to reach recessed areas. The goal is detail without oversaturation.
Charging contacts should be approached carefully. They need to stay clean, but they should not be flooded with solution. If there is visible debris around the contacts, use a slightly damp wipe first, then follow with a dry, lint-free material if the manufacturer recommends it. Let everything air dry completely before charging.
The difference between cleaning between clients and end-of-day care
Between clients, speed matters, but shortcuts do not. Your priority is complete surface decontamination with proper contact time, fresh barriers for the next setup, and a quick visual check that the machine body is free of residue. This is the minimum standard for safe turnover.
End-of-day cleaning should be more detailed. That is when you look at the machine under better light, check seams and button edges, inspect the cartridge opening for dried pigment, and wipe the battery area more carefully. If your machine uses a detachable grip or components that are designed to be separated for maintenance, this is the time to follow those brand-specific instructions.
That distinction matters because repeated short wipe-downs during a busy schedule are not always enough to catch slow buildup. A machine can appear maintained while still accumulating film in areas that affect hygiene and handling.
What not to do when cleaning a wireless machine
The biggest mistake is treating the machine like a fully washable tool. It is not. Do not submerge it. Do not run it under water. Do not spray disinfectant directly into the cartridge opening, charging port, or control panel. Do not use bleach-heavy solutions unless the manufacturer specifically approves them, because harsh chemistry can degrade finishes, seals, and printed controls.
Avoid abrasive pads or rough paper products that can scratch the housing. Once the surface is scratched, it becomes harder to disinfect thoroughly. Small surface damage can also make a premium machine look worn long before its actual service life is up.
It is also worth being careful with alcohol concentration. Some artists reach for high-percentage alcohol as a catch-all, but repeated use on certain coatings and display areas can cause premature wear. It depends on the machine materials, so this is one of those areas where the brand's care instructions should override habit.
Barrier use still matters, even with excellent cleaning habits
If you want to make cleaning easier, set the machine up better before the service starts. A properly barrier-protected wireless tattoo machine reduces contamination at the source. That means covering the machine body in a way that does not interfere with ventilation, controls, or ergonomics, while still protecting the areas your hands and treatment splash are most likely to contact.
Barrier methods vary by machine shape. A compact pen-style body may be easy to wrap cleanly, while a larger battery pack can create extra folds where contamination collects. The point is not perfect aesthetics. The point is reducing cleanup time without compromising function.
Good barrier practice also reduces wear from repeated disinfectant exposure. That is a practical advantage for artists using their machine every day for brows, lips, liner, or scalp work.
How to clean wireless tattoo machine parts without damaging performance
The short answer is carefully and selectively. Not every part should be cleaned the same way, and not every part should even be handled as a reusable component. Cartridges are single-use. Barrier materials are disposable. The reusable machine body is a non-critical device surface that must be disinfected according to studio protocol and manufacturer instructions.
If your machine includes removable components, only disassemble what the manufacturer says is user-serviceable. Artists sometimes over-clean by taking apart pieces that were never meant for routine disassembly. That can create alignment issues, damage threads, or void warranties.
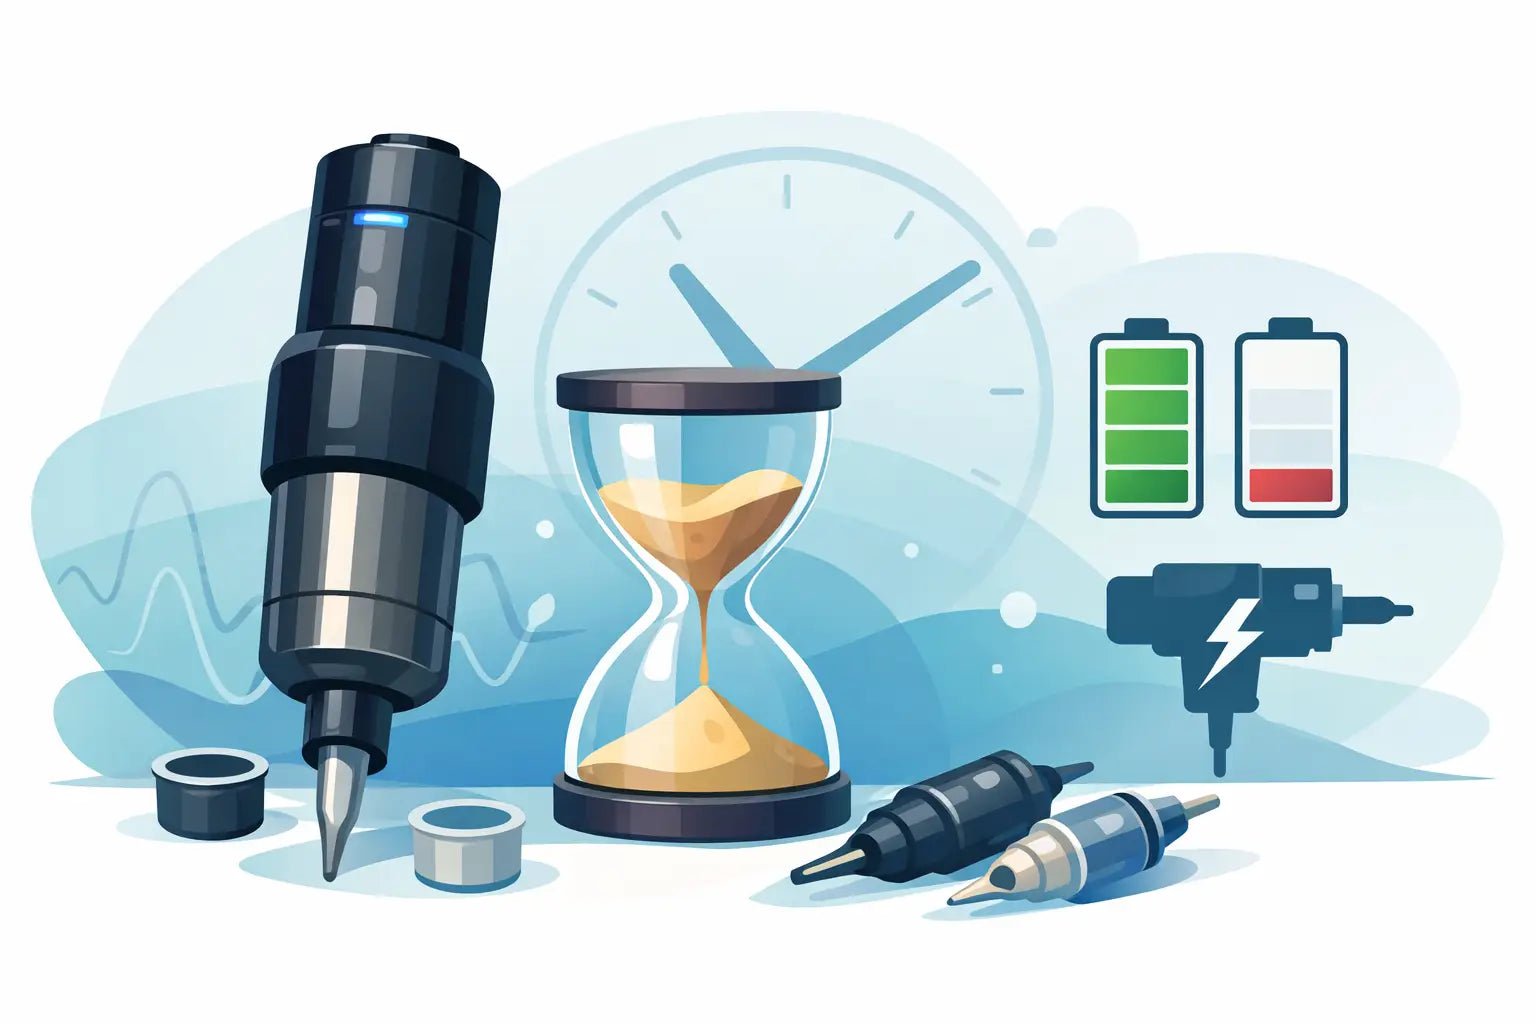
For battery-powered systems, make sure the unit is fully dry before reassembly and charging. Moisture trapped around the connection point may not cause immediate failure, but over time it can interfere with electrical contact. If you notice inconsistent power after cleaning, stop using the machine until you have ruled out moisture or residue at the connection.
A quality machine is an investment, and maintenance affects consistency as much as sanitation. Created by permanent makeup artists for artists, suppliers like Inkbox Artistry understand that performance and hygiene are never separate conversations in a working studio.
The best cleaning routine is the one you can repeat exactly, even on a fully booked day. Keep approved wipes at your station, use barriers every time, follow contact times, avoid oversaturation, and pay attention to the front-end areas most likely to collect residue. A clean wireless machine does more than meet protocol - it protects the precision your clients are paying for.