How to Set Up Wireless Tattoo Machine Right
A wireless machine that skips, dies mid-service, or hits inconsistently is rarely a machine problem alone. More often, it comes down to setup. If you're learning how to set up wireless tattoo machine systems for PMU, the difference between a smooth brow pass and a frustrating appointment usually starts before pigment ever touches the skin.
For permanent makeup artists, setup is not just about turning the power on. You are balancing hygiene, cartridge compatibility, stroke behavior, hand comfort, treatment area, and battery reliability in one workflow. A solid setup gives you consistency. A rushed one gives you preventable problems.
How to Set Up Wireless Tattoo Machine for PMU
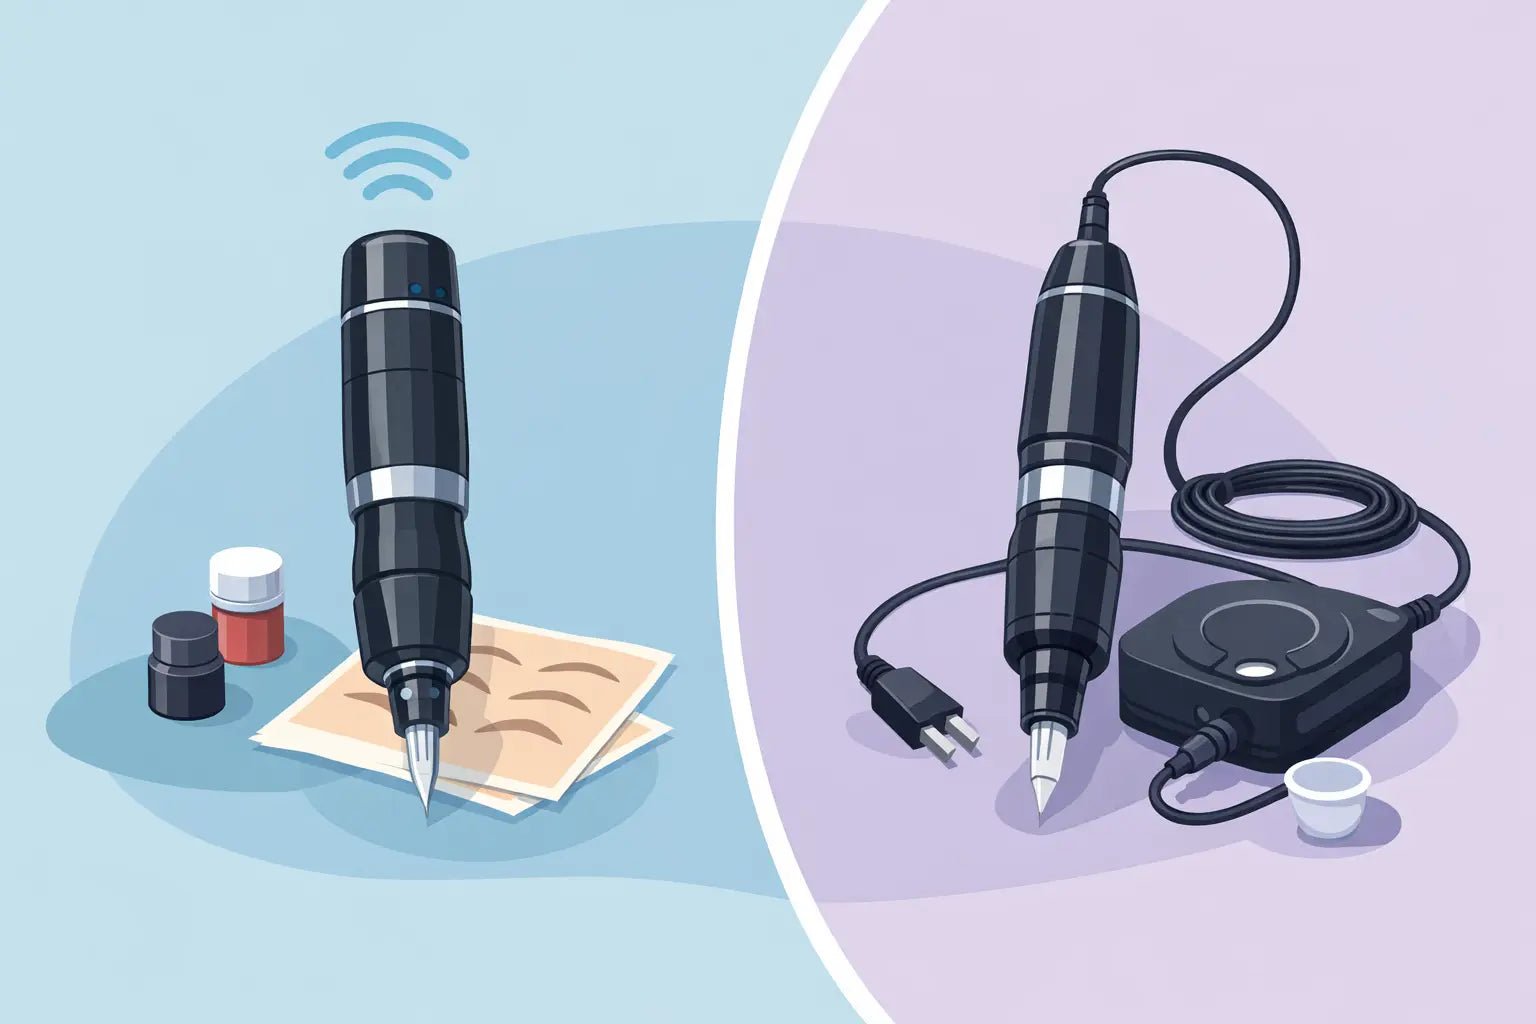
Wireless machines simplify your station, but they also put more responsibility on the artist to check every variable up front. With a corded setup, artists often troubleshoot power supply, clip cord, and connection points separately. With wireless, everything is more compact, which is great for mobility, but it means your battery, machine body, cartridge, and settings all need to be aligned before you begin.
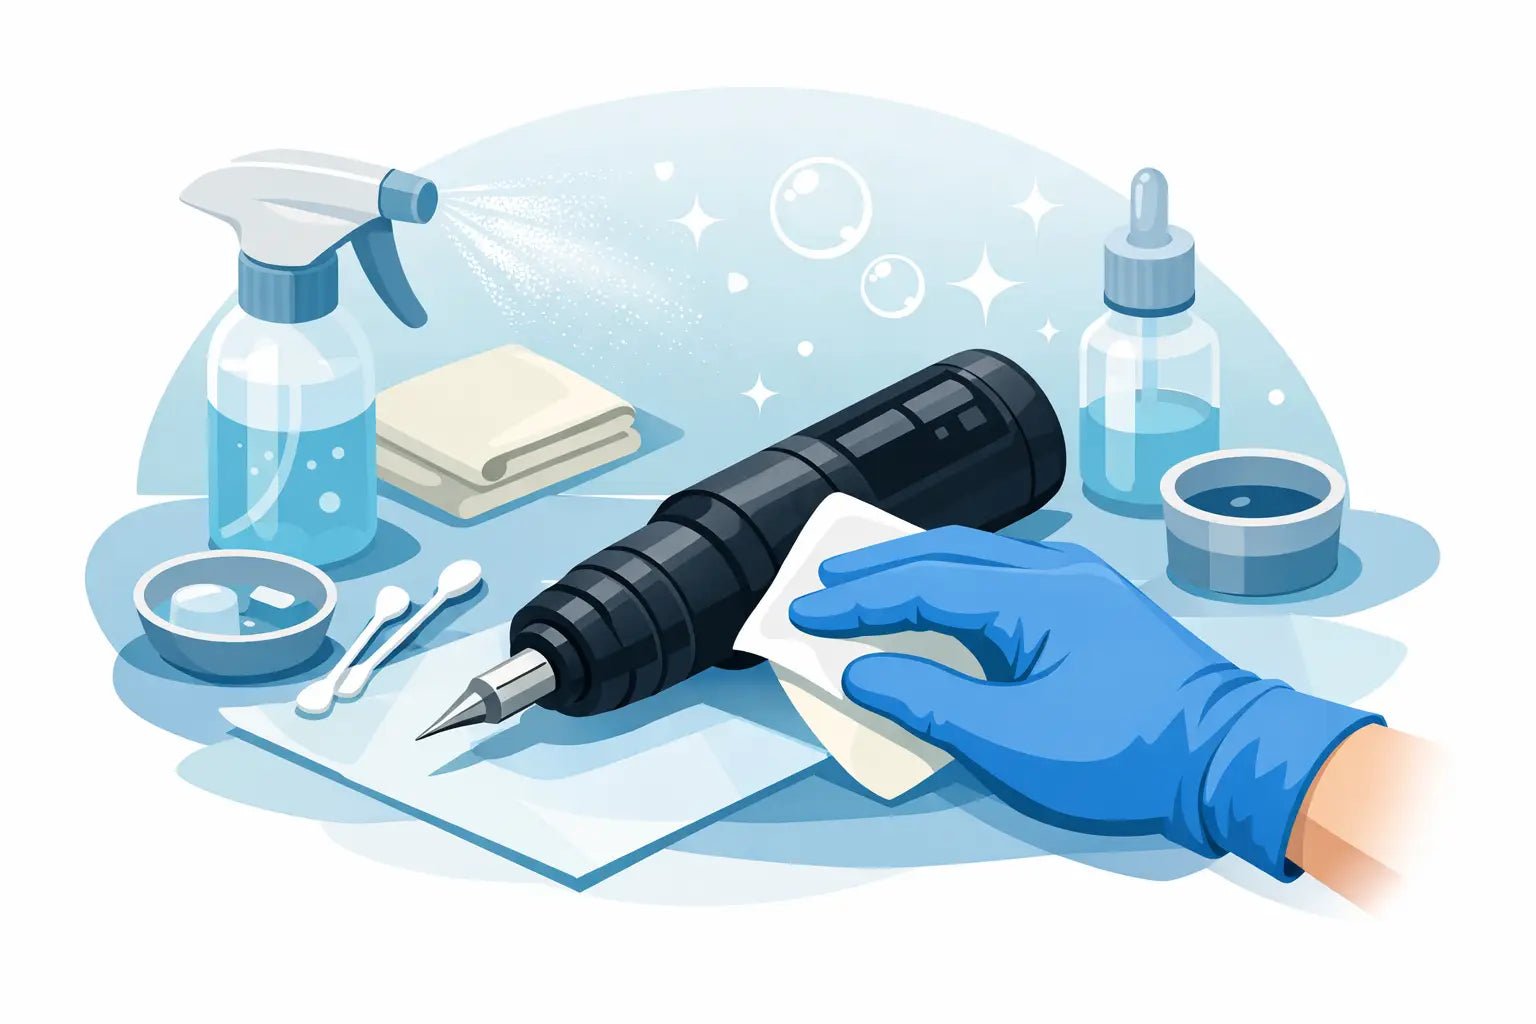
Start with barrier protection and a clean, organized station. Your machine body, battery pack, clip cord cover if needed for any adapter components, cartridge area, and work surface should all be protected according to your studio protocol and local regulations. Wireless does not change your cross-contamination standards. It just changes the shape of the tool in your hand.
Before assembly, inspect the machine and battery unit. Look for residue around the connection points, check that the battery is fully charged, and confirm the buttons and screen are responsive. If the battery twists on or clicks into place, make sure that fit feels secure. A slightly loose connection can cause intermittent power drops that feel like inconsistent skin engagement.
Check machine compatibility first
Not every wireless setup behaves the same way across every PMU service. Some machines are better suited for brows and lips, while others can handle broader versatility. Pay attention to stroke length, recommended voltage range, and cartridge compatibility. If your machine is designed for universal cartridges, still confirm that your preferred cartridge brand seats correctly and runs without excess play.
That last part matters more than many artists think. Even when packaging says universal, tolerances vary. A cartridge that wobbles, sits too tight, or has poor membrane tension can affect stability, pigment implantation, and hand confidence. If you are switching brands, test before putting it into your client workflow.
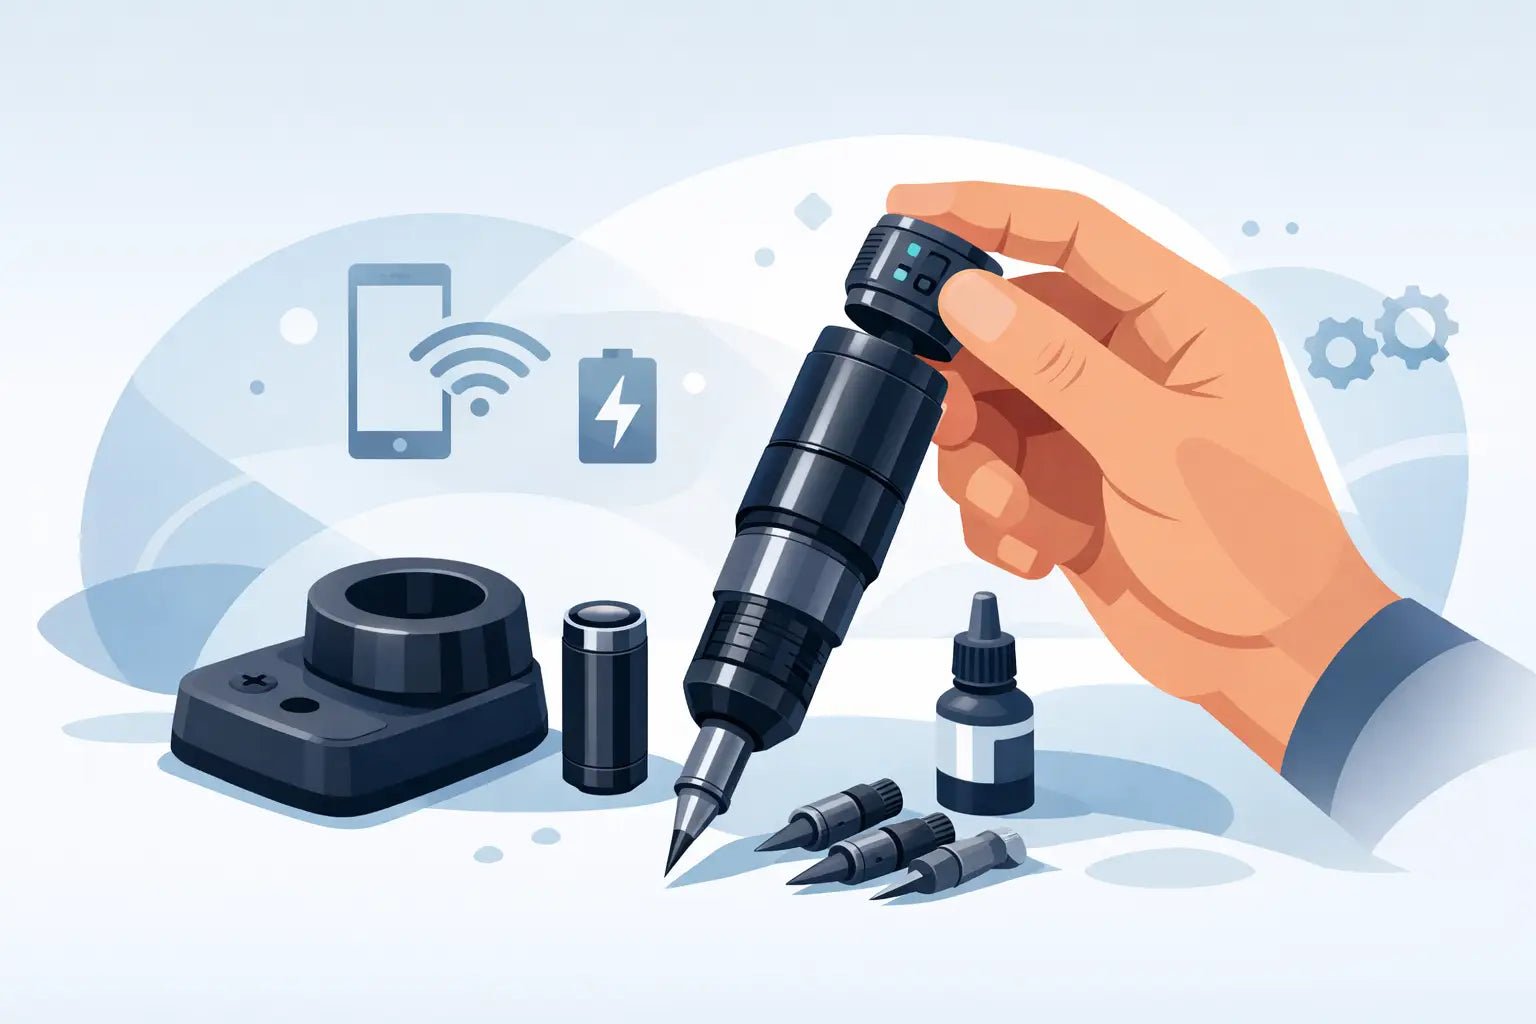
Assemble the machine without forcing any part
Insert the cartridge gently and lock it in according to the machine's mechanism. You should feel a secure fit, not resistance that makes you second-guess whether something is lined up properly. If it does not seat smoothly, stop and recheck. Forcing a cartridge into place can damage the machine's internal connection or compromise cartridge stability during the service.
Once the cartridge is in, attach the battery pack and power on the machine. Run it briefly before adjusting needle depth. Listen to the sound. A healthy run should sound even and controlled, not strained, rattly, or erratic. Experienced artists can often hear setup problems before they see them.
Needle depth comes next, and this is where newer artists often overcorrect. The machine should not be set aggressively deep just because you want more visible output. In PMU, control matters more than dramatic extension. Start with minimal needle hang and adjust based on the treatment, skin type, and your hand technique. Brows, lip blush, and small detail work do not all need the same visible depth.
Set depth for the service, not by habit
If you do the same setup for every client, you are probably making your machine work harder than necessary. A crisp hairstroke approach, a soft powder brow, and lip saturation each ask for a different rhythm and skin interaction. Your cartridge configuration and needle extension should support that specific service.
For softer cosmetic tattoo work, many artists prefer to begin conservatively and increase only if needed during practice skin testing or pre-procedure checks. Too much extension can create instability, especially in areas where precision matters. It can also make newer artists press harder to compensate, which leads to trauma instead of better implantation.
Dial in voltage with purpose
Voltage is not a status setting. Higher is not better, and lower is not automatically gentler. The right voltage depends on your machine's motor, stroke, cartridge grouping, hand speed, and the area you are working on.
For most PMU artists, the best approach is to begin in the machine's recommended operating range and test on practice skin or a safe medium before the appointment starts. You want a stable hit that matches your hand movement. If your hand is moving quickly and the machine is underpowered, you may get inconsistent saturation. If your machine is running too high for your technique, you may create unnecessary trauma or shaky line behavior.
Watch for balance. The machine should feel controlled in your hand, not jumpy. The sound should remain even under light pressure. If you notice drag, splatter, or inconsistent deposit, do not assume the skin is the issue. Recheck voltage, cartridge quality, and depth together.
Battery settings and charge discipline
Wireless convenience depends on battery discipline. Charge the battery fully before your service day, and if your schedule is full, keep a backup battery ready. A machine running on a low battery may still turn on and appear functional while delivering less consistent performance as the charge drops.
If your unit has a digital display, verify voltage before every service and again during longer procedures. It takes seconds and can save you from diagnosing a problem that is really just battery depletion. For trainers and busy studios, standardizing a charging routine across all devices helps avoid preventable downtime.
Test your setup before the client is in the chair
One of the most useful habits in learning how to set up wireless tattoo machine systems is running a full pre-service test. That means more than pressing the power button once. Turn the machine on, cycle through your intended voltage range, check that the cartridge runs smoothly, and test a few passes on practice material.
This is where small issues show up. Maybe the cartridge has more resistance than usual. Maybe the battery connection feels secure but cuts out when the machine angle changes. Maybe your chosen voltage feels fine at rest but not once you start moving at treatment speed. You want those discoveries before mapping is complete and numbing time is over.
For PMU artists, that test should also include ergonomics. Wireless machines can improve freedom of movement, but some battery packs add back weight and change balance. If the machine feels top-heavy, your wrist and finger tension may increase over the course of the appointment. Sometimes the fix is a different battery size, a different grip approach, or a machine body better suited to your service mix.
Common setup mistakes that affect performance
The most common mistake is mixing too many new variables at once. A new wireless machine, a new cartridge brand, and a new pigment technique in the same appointment make troubleshooting harder than it needs to be. Change one variable at a time when possible.
Another issue is assuming wireless means universally portable and low maintenance. These machines still need cleaning around contact points, proper storage, careful battery management, and routine inspection. PMU artists who rely on one machine daily should treat preventive maintenance as part of setup, not as an afterthought.
There is also the tendency to copy another artist's settings exactly. That can be useful as a starting point, especially if you use the same machine and cartridge family, but it is not a final answer. Hand speed, pressure, skin approach, and service type all change how a machine performs. The best setup is the one that matches your technique while staying within safe, professional parameters.
Build a repeatable setup routine
A repeatable routine is what turns setup from guesswork into consistency. Clean and barrier your station the same way each time. Inspect the battery and connection points. Insert the cartridge carefully. Set conservative depth. Start within your machine's recommended voltage range. Run a test pass. Then make small adjustments based on the service.
That process is simple, but it is also what protects your results. Artists who work efficiently are usually not skipping steps. They have just refined the right ones. This is especially true in PMU, where precision, hygiene, and skin response all matter more than speed alone.
At Inkbox Artistry, that artist-first mindset matters because the tools you choose should support clean execution, not create extra variables. When your setup is solid, your focus stays where it belongs - on design, implantation, and client results.
A wireless machine should make your workflow lighter, not looser. Set it up with intention every time, and you give yourself the one thing every serious PMU artist wants more of at the chair - consistency you can trust.