How to Use Lip Pigments for Consistent Results
Lip work can look beautifully balanced at the end of an appointment and still heal cooler, softer, or less even than expected. Learning how to use lip pigments is not just about choosing an attractive shade. It is about reading the natural lip, understanding pigment behavior, controlling implantation, and setting realistic expectations before the first pass.
For working PMU artists, consistency comes from a repeatable system. Your pigment choice, needle configuration, hand speed, stretch, layering, and aftercare guidance all affect the healed result. Treat the procedure as color correction and controlled saturation, not simply the application of a lipstick-inspired color.
Start With the Natural Lip, Not the Swatch
A pigment bottle or color chart gives you a starting point, but the client’s untreated lips determine the real plan. Assess the base color in natural light, including the vermilion border, center lip tone, and any areas of hyperpigmentation or unevenness. A cool-toned, pale lip and a melanin-rich lip should not receive the same formula simply because both clients request a pink result.
Ask about previous lip blush, filler, cold sores, medication changes, exfoliating treatments, and active irritation. Screen according to your training, local regulations, consent process, and studio protocol. If the lips are cracked, sunburned, excessively dry, or compromised, reschedule. Pigment will not compensate for poor canvas condition, and treatment on irritated tissue can produce unpredictable retention.
Lip tone also needs an honest conversation. A healed lip blush is usually a soft enhancement, not opaque lipstick. Stronger saturation may be achievable over multiple sessions, but overworking the tissue in pursuit of instant intensity can compromise the result.
How to Use Lip Pigments With a Color Plan
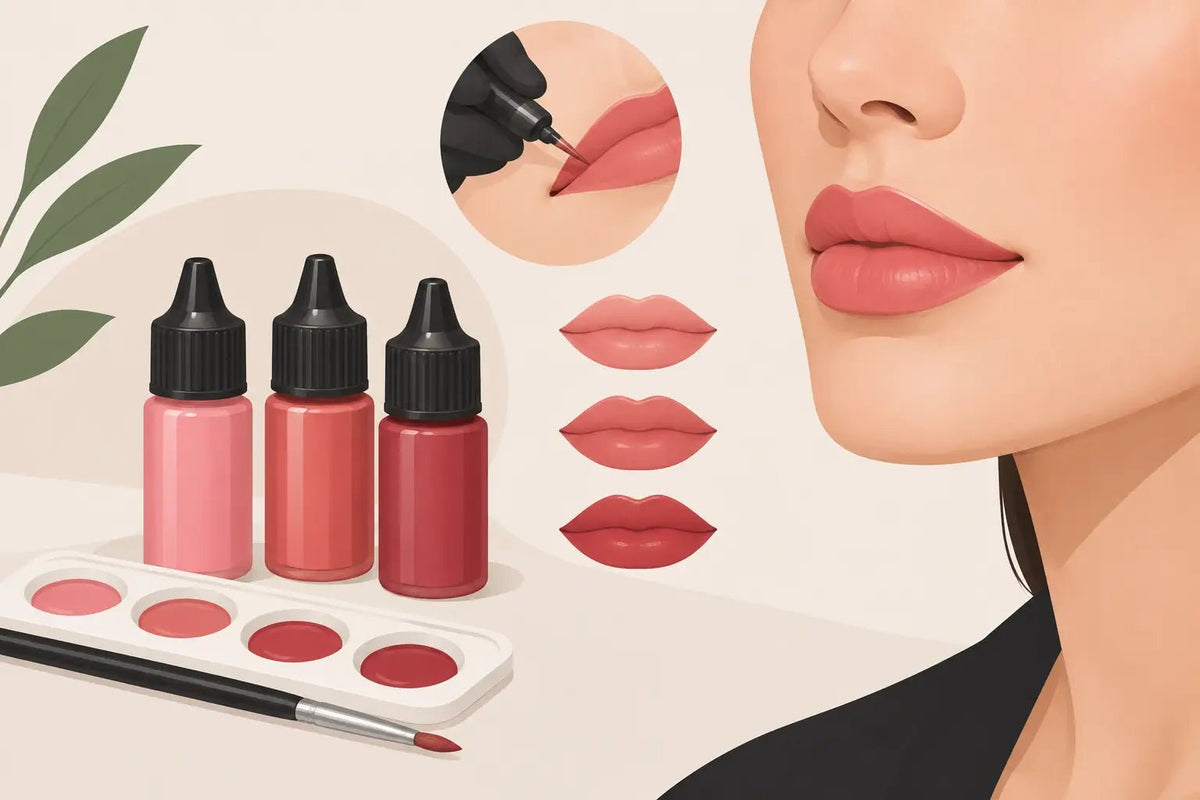
Begin by identifying the client’s desired healed direction: neutral pink, warm nude, coral, berry, or a more defined lip blush. Then compare that goal with the lip’s undertone. Pigments heal through the client’s natural tissue color, so the apparent shade at implantation is not the shade you are planning to leave behind.
For cool, purple, blue, or gray-leaning lips, a correction step may be needed before the target color can read cleanly. The corrector should be selected for the degree and location of coolness, not used as a one-formula answer for every client. Orange, coral, warm red, or warmer modifier families may be appropriate depending on the pigment line and your assessment. Follow the manufacturer’s guidance for the specific formula you are using.
For naturally warm or peach lips, an overly warm target blend can heal brighter than intended. A balanced neutral or slightly cooler supporting shade may produce a more refined result. On deeper lips, work strategically and avoid chasing full opacity in one appointment. Build a transparent, even foundation and reevaluate at the touch-up once healing reveals the true retained color.
When mixing, keep records. Document pigment brand, shade names, ratios, modifiers, needle grouping, machine settings, technique notes, and the client’s starting lip tone. A consistent record is one of the most valuable tools in a busy studio. It helps you refine your formulas and gives you a reliable reference when the client returns.
Prepare Pigment and Set Up for Control
Use professional pigments intended for cosmetic tattooing and check the label, batch information, expiration date, and storage guidance before every service. Shake according to the manufacturer’s directions so colorants and carriers are properly dispersed. Dispense only what you need into a clean, single-use pigment cup, and never return unused pigment to the bottle.
Your setup should support clean movement and clear visibility. Organize your machine, cartridges, pigment cups, mapping tools, secondary numbing products where permitted and appropriate, wipes, barrier materials, and aftercare supplies before the client is in the chair. Maintain the hygiene standards required by your jurisdiction and training, including appropriate PPE, cross-contamination controls, and single-use consumables.
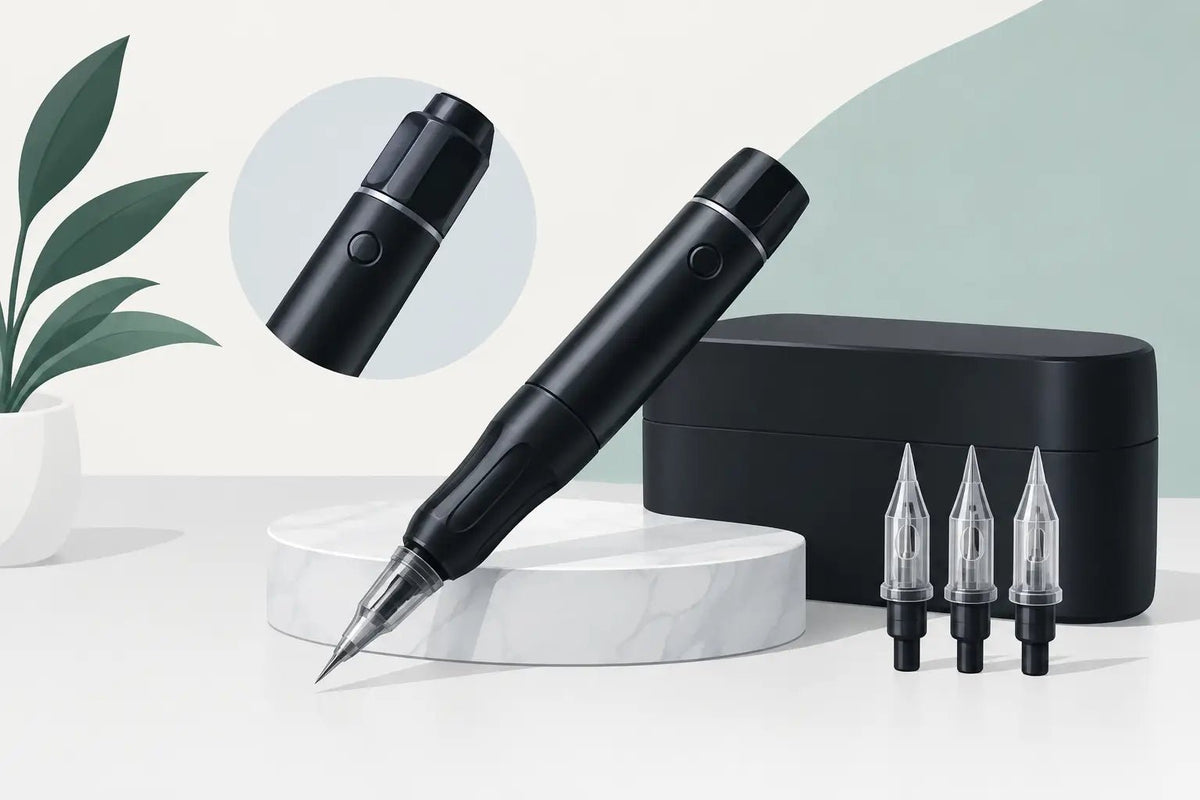
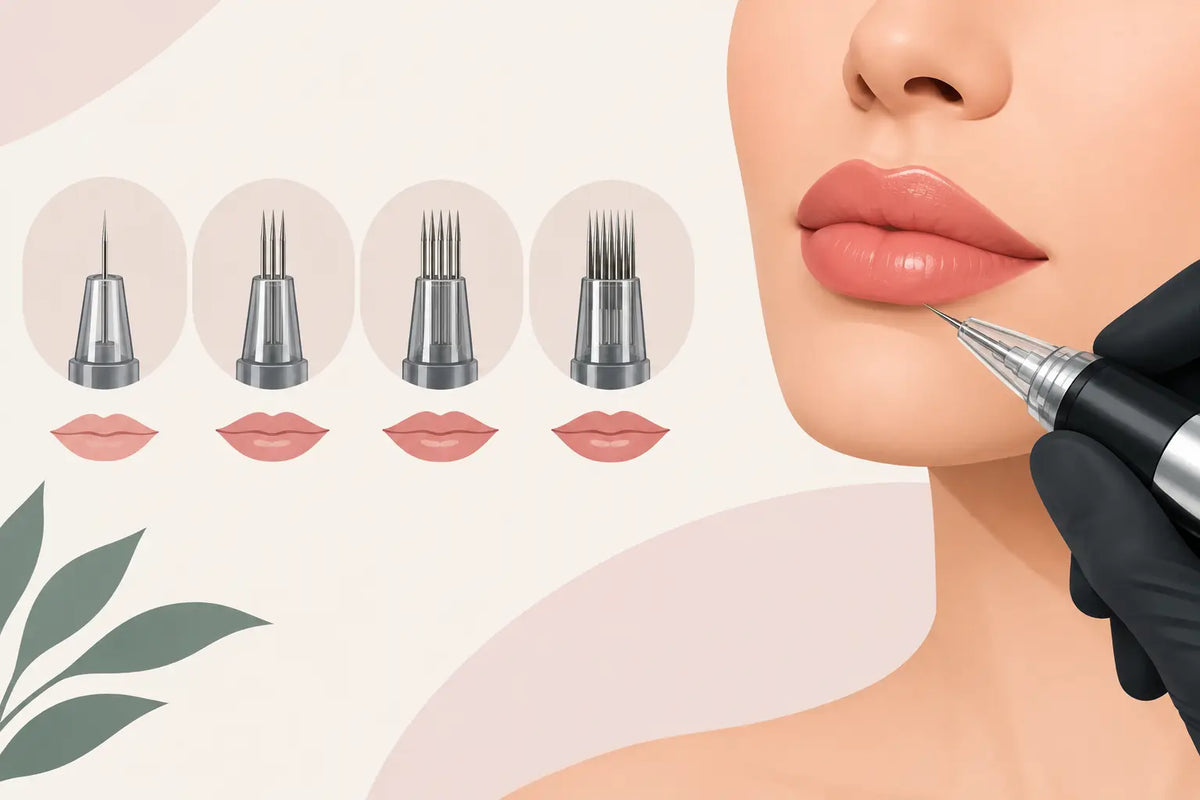
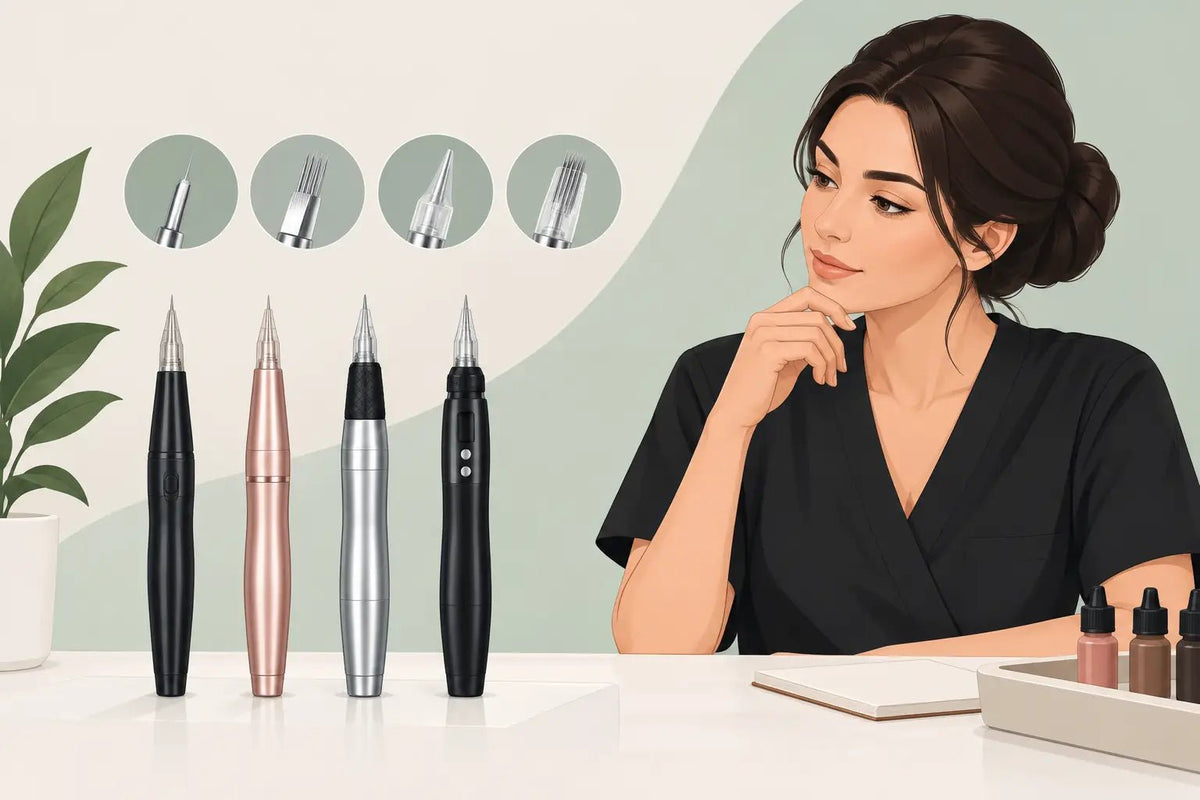
Needle selection changes the way pigment enters the lip. Fine needle groupings offer detailed edge work and controlled layering, while larger groupings can support efficient saturation in the body of the lip. There is no universal cartridge for every artist or every lip. Your machine, technique, skin response, and the density of the desired result should guide the choice.
Build Saturation in Light, Intentional Passes
Start with a clean, balanced outline. The goal is not a hard lip liner unless that is specifically part of the agreed design. Use the natural anatomy as your guide, correct asymmetry conservatively, and avoid creating a border that is too dark or disconnected from the interior color.
Move into the body of the lip with light, consistent passes. Stretch is essential. A stable stretch gives you a more even surface, improves visibility, and reduces the temptation to increase pressure. Keep your hand movement deliberate and your machine speed appropriate for the cartridge and technique. If pigment is sitting on the surface but not retaining, do not respond by digging deeper. Reassess angle, stretch, speed, hand motion, and skin condition.
Work section by section rather than making repeated, aggressive passes across the entire lip. This helps you monitor trauma, identify uneven uptake, and preserve a clean workflow. Wipe gently and often enough to check color, but do not over-wipe or scrub the tissue. The lips can swell quickly, and swelling can distort both the shape and your perception of saturation.
A useful rule is to prioritize evenness over intensity. A soft, uniformly implanted first session creates a better platform for the healed evaluation than a heavily worked lip that looks bold immediately but heals patchy. The touch-up is part of the treatment plan, especially for clients with challenging undertones, mature lips, prior tattooing, or inconsistent retention.
Read Tissue Response Before You Add More Color
Every lip tells you when it needs a pause. Excessive swelling, pinpoint bleeding, whitening, pronounced sensitivity, or a glazed surface can indicate that the tissue is becoming overworked. Continuing with the same pressure or pass count may reduce retention rather than improve it.
This is where pigment quality and technique meet. Premium cosmetic pigments can provide dependable color behavior, but no bottle can correct an aggressive hand or a rushed procedure. Use a pigment system you understand, practice mixes on suitable materials, and observe healed results across different Fitzpatrick types and natural lip tones.
Experienced artists also know that retention is affected by variables outside the procedure room. Lifestyle, immune response, skincare habits, sun exposure, smoking, hydration, and post-treatment care can all influence the outcome. Avoid guaranteeing an exact healed shade. Describe the target range, explain that lips heal lighter and softer, and schedule the client’s follow-up based on your established protocol.
Aftercare Supports the Color You Worked For
Clear aftercare protects your work and reduces unnecessary client anxiety during healing. Explain that temporary swelling, dryness, flaking, and a period of apparent color loss can occur. Clients should follow the aftercare instructions you provide, avoid picking or exfoliating, and keep products on the area limited to those approved in your protocol.
They also need to understand that the color may appear stronger immediately after the appointment, then soften considerably before settling. Encourage clients to contact their healthcare provider promptly if they experience signs of an allergic reaction, infection, or concerning symptoms. Your role is to provide professional treatment and clear aftercare boundaries, not to diagnose medical conditions.
For artists building a dependable lip kit, source pigments, cartridges, PPE, mapping supplies, and aftercare products from professional suppliers that understand the PMU workflow. Inkbox Artistry is built by permanent makeup artists for artists, with category options that make it easier to keep your treatment setup consistent from consultation through touch-up.
The strongest lip results are rarely the product of one dramatic pass. They come from thoughtful color analysis, clean implantation, restraint when the tissue asks for it, and the confidence to let healing reveal what the lips need next.