How to Use Permanent Makeup Machine Right
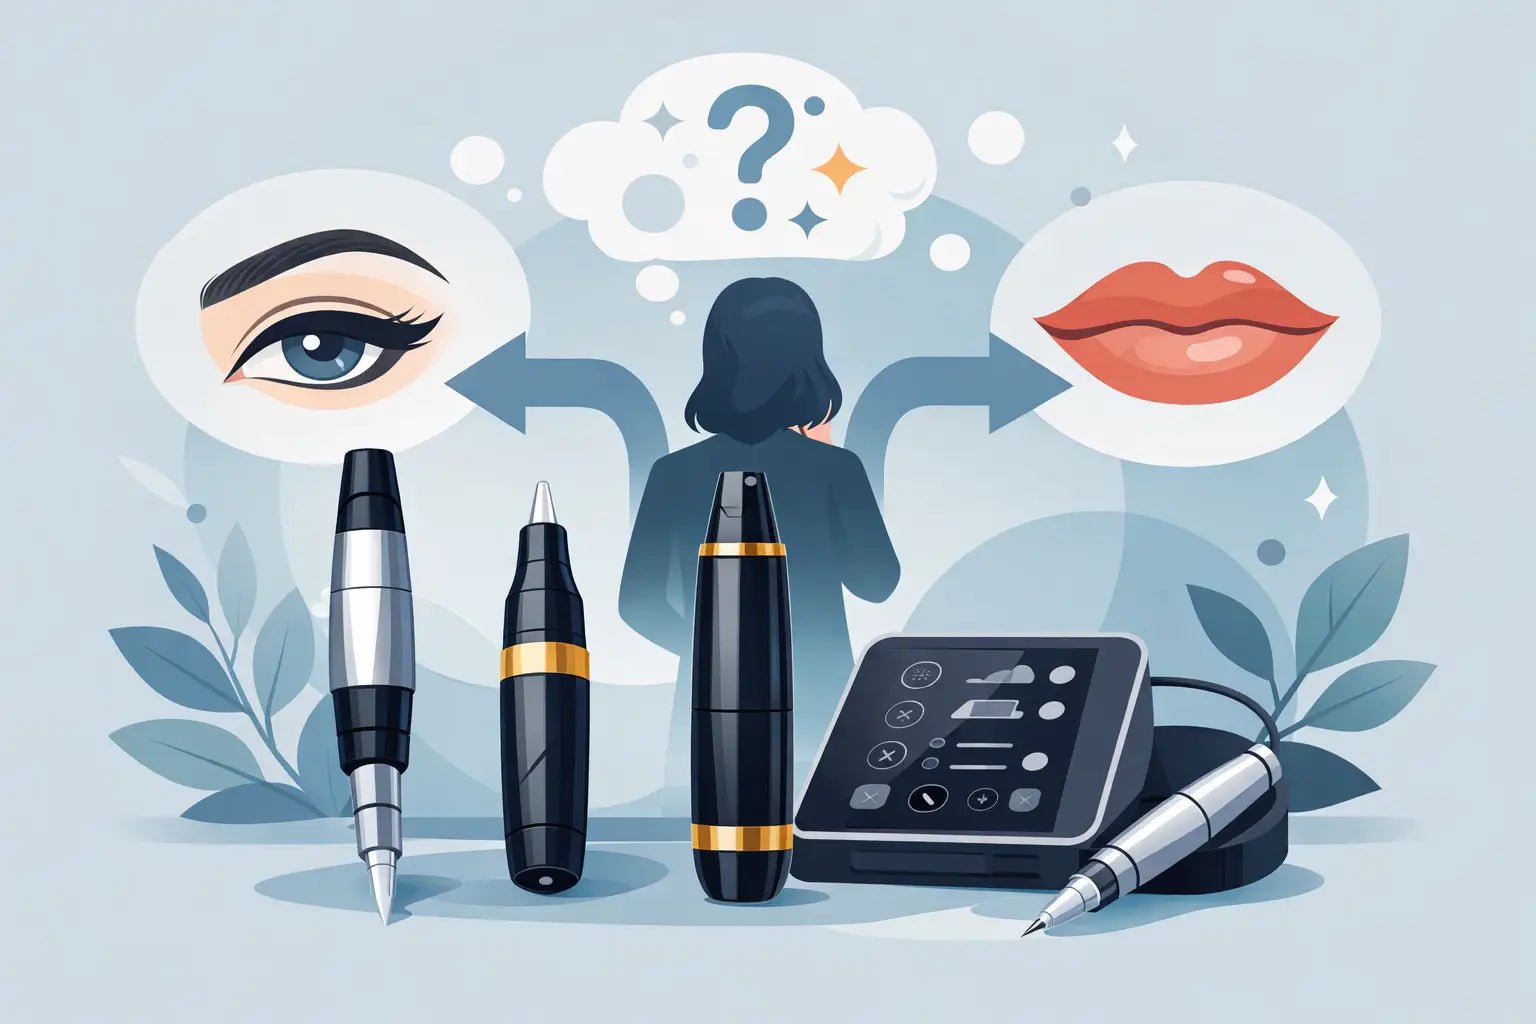
A permanent makeup machine can make a clean brow pass look effortless - or expose every weakness in your setup, stretch, and hand speed. If you are learning how to use permanent makeup machine systems in real treatment settings, the biggest shift is realizing the machine is only one part of the result. Your voltage, needle choice, skin tension, pigment load, and pressure all work together.
That is why strong PMU artists do not treat the machine like a magic wand. They treat it like a precision tool. When your machine is tuned to the service, your strokes sit cleaner, your pixel work is more controlled, and your healed results are more predictable.
How to use permanent makeup machine with more control
Start with machine balance and hand position before you think about speed. A machine that feels too heavy, too long, or poorly wrapped will make your grip tighten, and tight hands usually create inconsistent depth. Your hand should stay relaxed enough to float, but stable enough to maintain direction through the skin.
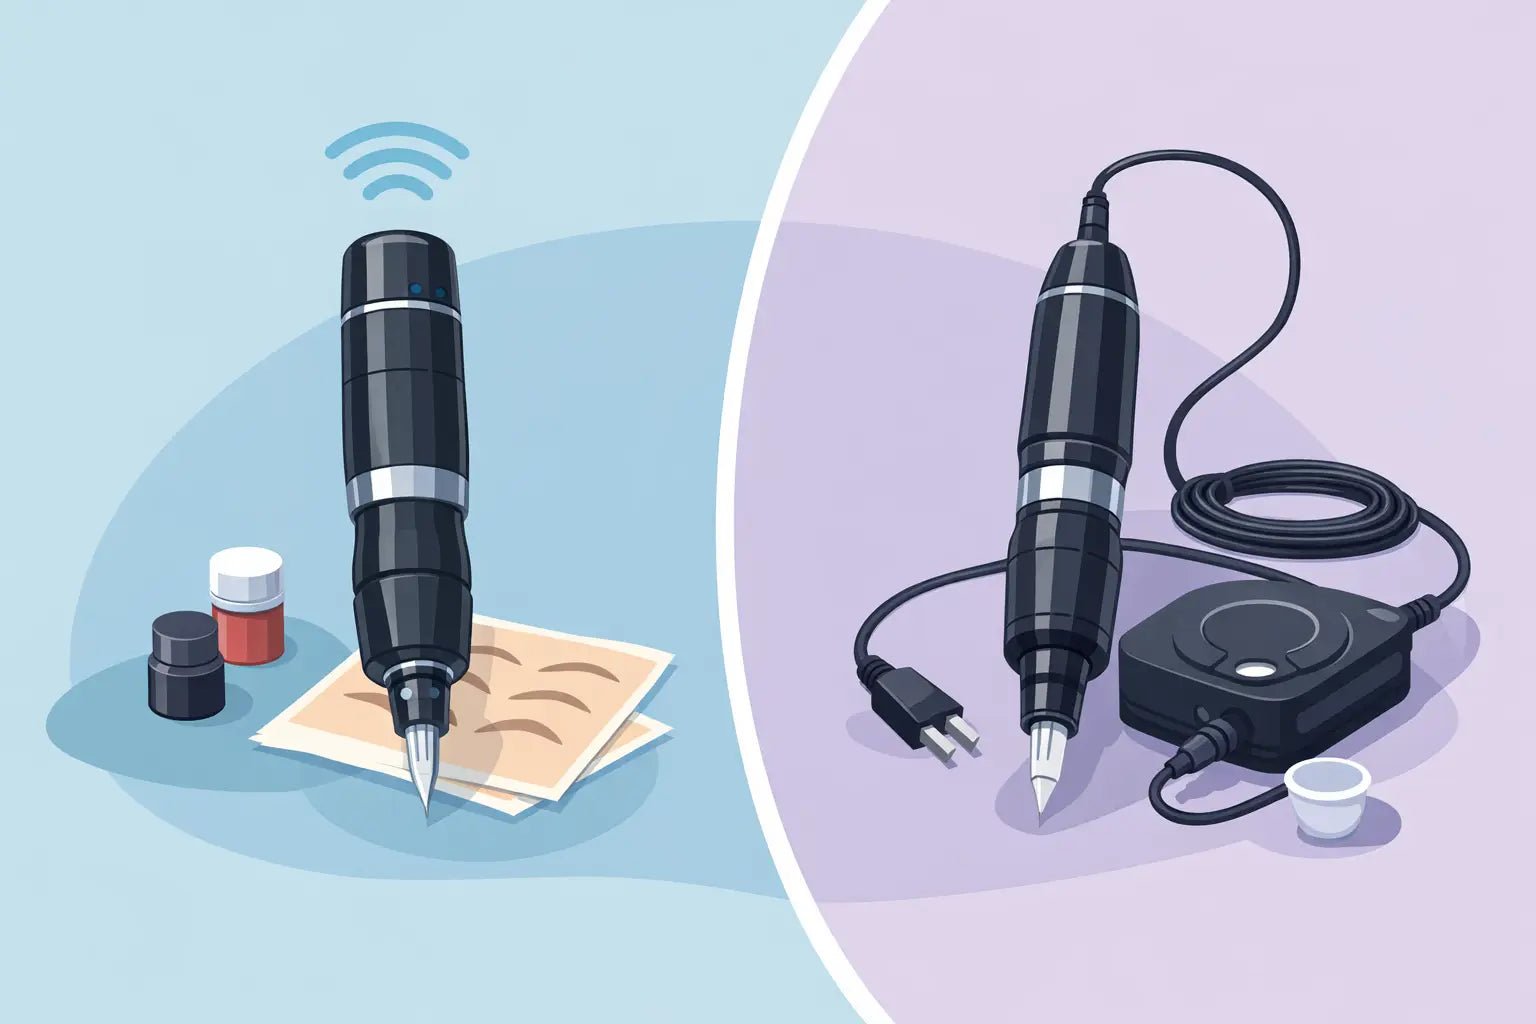
For most artists, that means holding the machine more like a writing instrument than a traditional body tattoo setup. You want clear visibility at the needle tip, room to anchor your pinky when appropriate, and a grip that does not force excess wrist tension. Wireless machines are popular for exactly this reason - less drag from cords and fewer interruptions in movement - but the right choice still depends on your comfort, cartridge compatibility, and the area you treat most often.
Needle protrusion matters too. Too little, and you may end up overworking the skin while chasing implantation. Too much, and depth errors show up fast. A moderate, visible extension that lets you work confidently without forcing pressure is usually the safer starting point, especially for newer artists.
Set up the machine for the service, not your habit
One of the most common PMU mistakes is using the same machine setting for brows, lips, and liner just because it feels familiar. Different services call for different movement, impact, and control.
Brows usually reward a lighter hand and a more deliberate approach. Whether you are creating hairstrokes or soft shading, you want enough power to implant color cleanly without chewing up the skin. Lips often need a smoother, more consistent rhythm because the tissue is softer, more vascular, and quick to swell. Eyeliner demands even more discipline. The margin is small, visibility is limited, and overworking shows immediately.
That means there is no universal voltage or speed that works for every artist. Machine stroke length, motor style, cartridge membrane tension, hand speed, and client skin all affect what feels right. A setup that performs beautifully for powdered brows may feel too aggressive for a delicate lip blush pass.
The better approach is to treat settings as a working range. Start conservatively, test on practice material, and adjust based on how the pigment is entering the skin. If you need to push, drag, or repeat too many passes, your setup may be off. If the skin is getting red and irritated too quickly, that is also feedback.
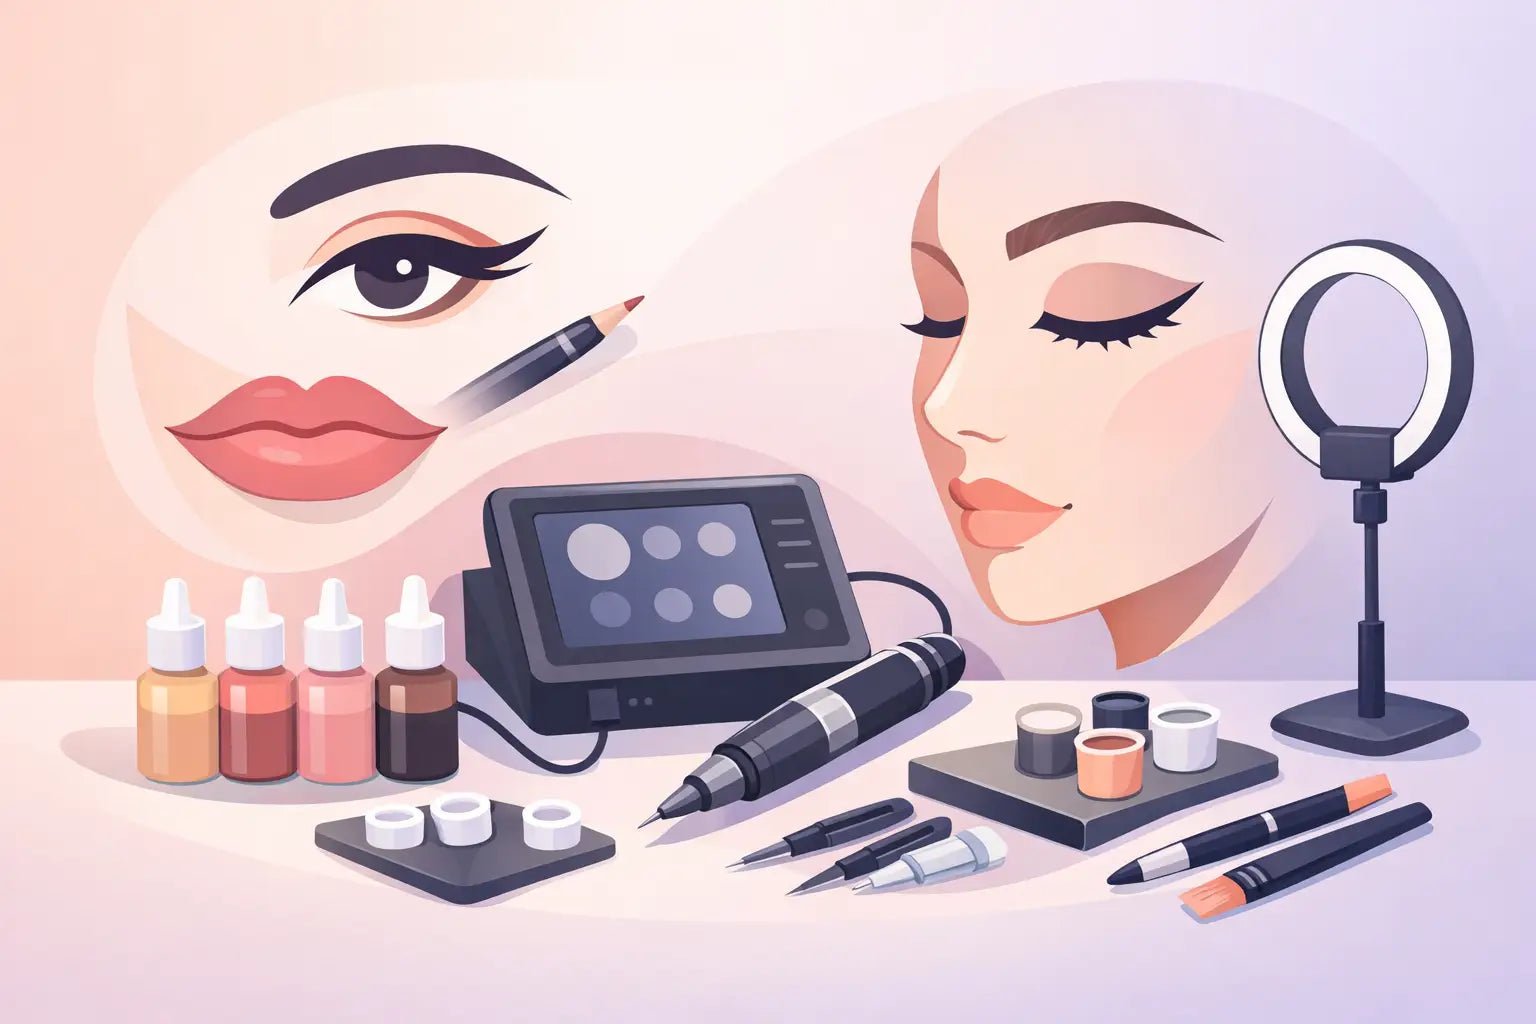
Match cartridge choice to technique
Your cartridge configuration changes how the machine behaves. A single needle or tight liner gives precision for hairstrokes and detail work, but it also exposes shaky hand movement. A round shader or mag-style PMU cartridge can create softer saturation and better coverage, especially in pixel shading or lip work, but only if your movement pattern supports it.
Artists often focus on machine brand first, but cartridge quality is just as critical. Membrane consistency, taper, sharpness, and needle grouping all affect implantation. If your machine feels unpredictable, the issue is not always the handpiece.
Watch the skin, not just the setting
Two clients can sit for the same brow service and respond completely differently. Oily skin, mature skin, thin skin, sun-damaged skin, and vascular lip tissue all change how the machine should be used. This is where technical maturity shows.
If the skin is fragile, reduce trauma and simplify your passes. If the skin is thicker or more resistant, you may need a slightly different speed or movement pattern, but more force is not always the answer. Usually, cleaner technique beats stronger impact.
Depth is earned through technique
Artists ask about depth as if there is a single number to memorize. In practice, depth is controlled through your hand, your angle, your stretch, and the way the cartridge meets the skin.
If your angle is too upright when it should be flatter, your result changes. If your stretch is weak, the needle can bounce or skip. If your hand speed is too fast for your machine speed, pigment may heal patchy. If your hand speed is too slow, you risk trauma and migration.
This is why practice skins are useful, but only to a point. They help build rhythm, not clinical judgment. Real skin teaches you how little pressure is actually needed when the setup is correct.
A strong rule for newer artists is simple: let the machine do the work. You are guiding implantation, not carving color into the skin. The moment you feel like you have to force saturation, pause and reassess your speed, stretch, cartridge, or pigment flow.
Build better hand movement from the start
Technique errors often come from inconsistent movement rather than bad equipment. For brows, your stroke pattern should be intentional from the first pass. Random overlap creates muddy healed results, especially in soft shading. For lips, your movement needs to stay even through curves and vermilion border transitions. For liner, every small hesitation shows.
That is why machine control starts before skin contact. Plant your hand, create your stretch, confirm visibility, and then move. Rushing this sequence creates most beginner inconsistencies.
Many artists improve faster when they practice one motion at a time. Work on pendulum movement for shading. Practice clean pull strokes for hairstrokes. Train yourself to maintain the same pace through a full line instead of speeding up and slowing down unconsciously. Muscle memory is what turns a machine from intimidating to dependable.
Pigment flow, wipes, and saturation checks
A machine can only perform well if the tip is loaded properly and the field stays visible. Too much pigment on the skin hides your entry point. Too little can make you chase color that is already there or miss where implantation is uneven.
Use small, controlled pigment loads and wipe with intention. Heavy wiping can irritate the area and make the skin look more traumatized than it is. Gentle, frequent visibility checks are usually better than flooding the area and wiping aggressively.
Saturation should be assessed in context. Freshly worked skin often looks stronger than it will heal, especially on lips and brows with immediate redness. The goal is even implantation, not the darkest possible result on the bed.
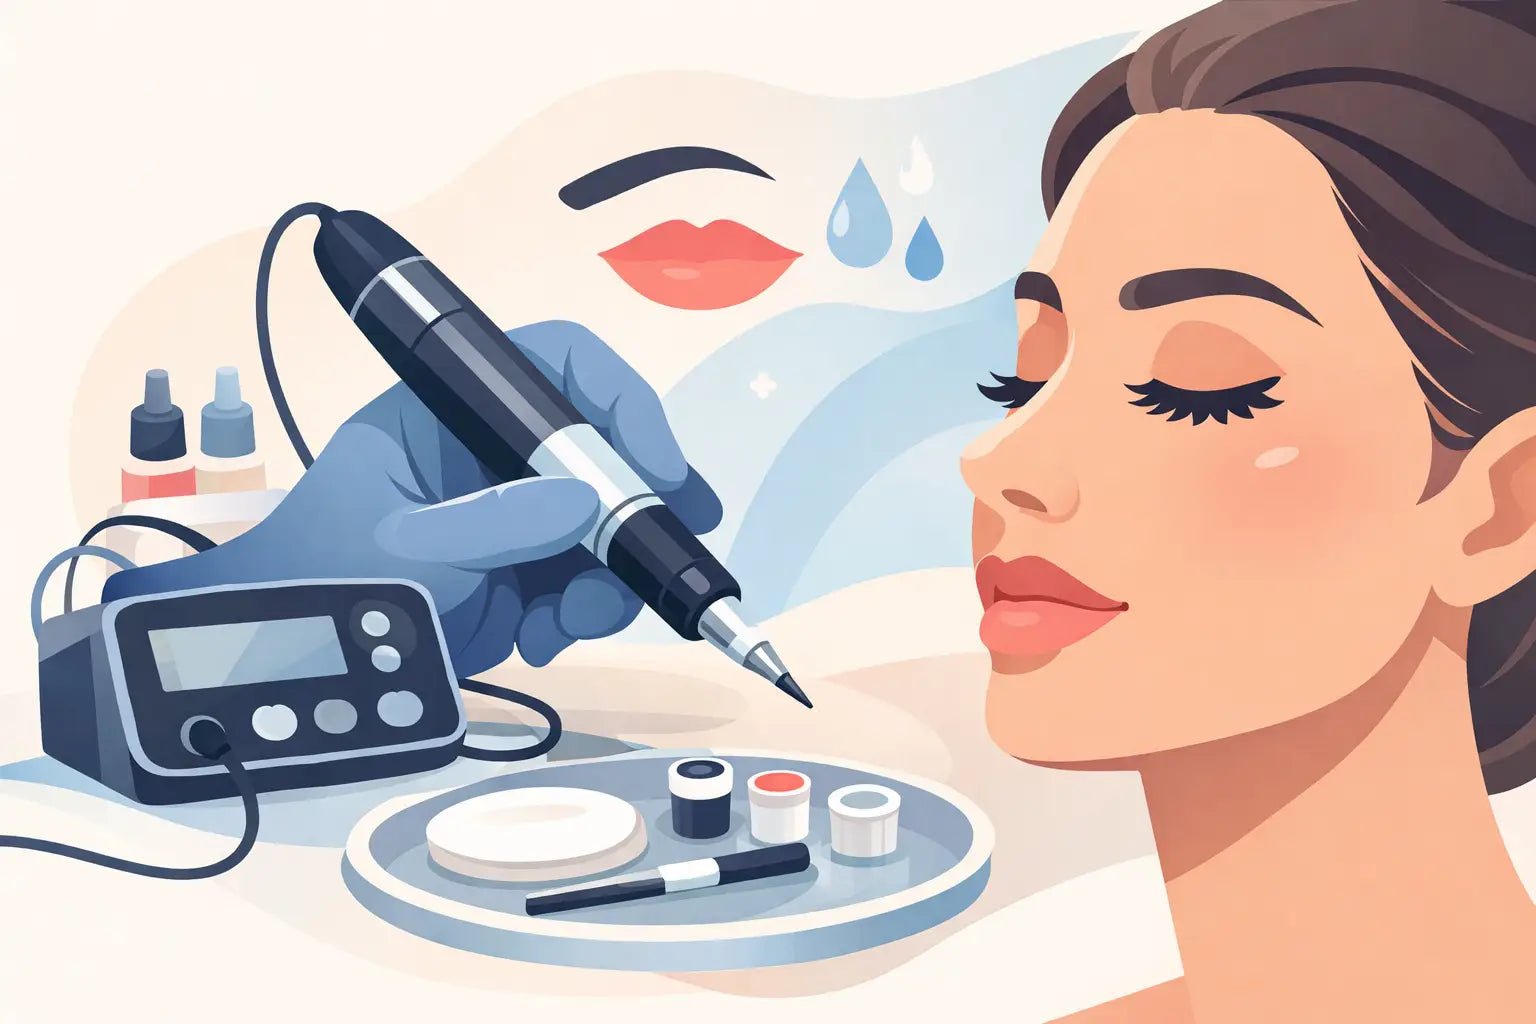
Hygiene and machine handling are part of technique
Professional PMU artists already know barrier protection is not optional, but machine use affects sanitation more than some newer artists realize. If your machine shape is awkward to wrap or your grip tape interferes with button control, that can disrupt your workflow and increase contamination risk.
Choose a setup you can barrier properly without losing function. Cartridges should seat securely. Power controls should be easy to access without compromising clean handling. Your tray organization matters too. Reaching across the station with a machine in hand creates unnecessary risk and breaks concentration.
This is one reason many artists refine their kit over time instead of buying everything at once. A machine might have strong specs, but if it does not support efficient, sanitary treatment flow, it is not the right fit for daily PMU work.
How to know your machine setup is working
Good machine use feels quieter than most people expect. The skin accepts pigment with less resistance. Your passes are deliberate, not repetitive. You are not fighting bounce, overcompensating with pressure, or second-guessing every line.
You also see it in healed work. Better retention, cleaner edges, less patchiness, and less unnecessary trauma are the real signs that your machine technique is improving. Fresh results can be deceptive. Healed outcomes tell the truth.
If you are still developing your system, keep your variables tight. Change one thing at a time - machine setting, cartridge type, hand speed, or pigment consistency - and track what happens. That kind of disciplined adjustment is what separates artists who stay stuck from artists who build repeatable results.
For professionals sourcing their setup through a supplier built by permanent makeup artists for artists, the advantage is not just product access. It is being able to choose machines, cartridges, pigments, mapping tools, and disposables that actually support the way PMU services are performed.
The best machine technique usually looks simple from the outside. Underneath that simplicity is good judgment, clean setup, and enough repetition to know when to slow down, lighten up, or change course. Keep chasing that level of control, and your machine becomes less of a variable and more of a reliable extension of your work.