How to Prevent Pigment Contamination in PMU
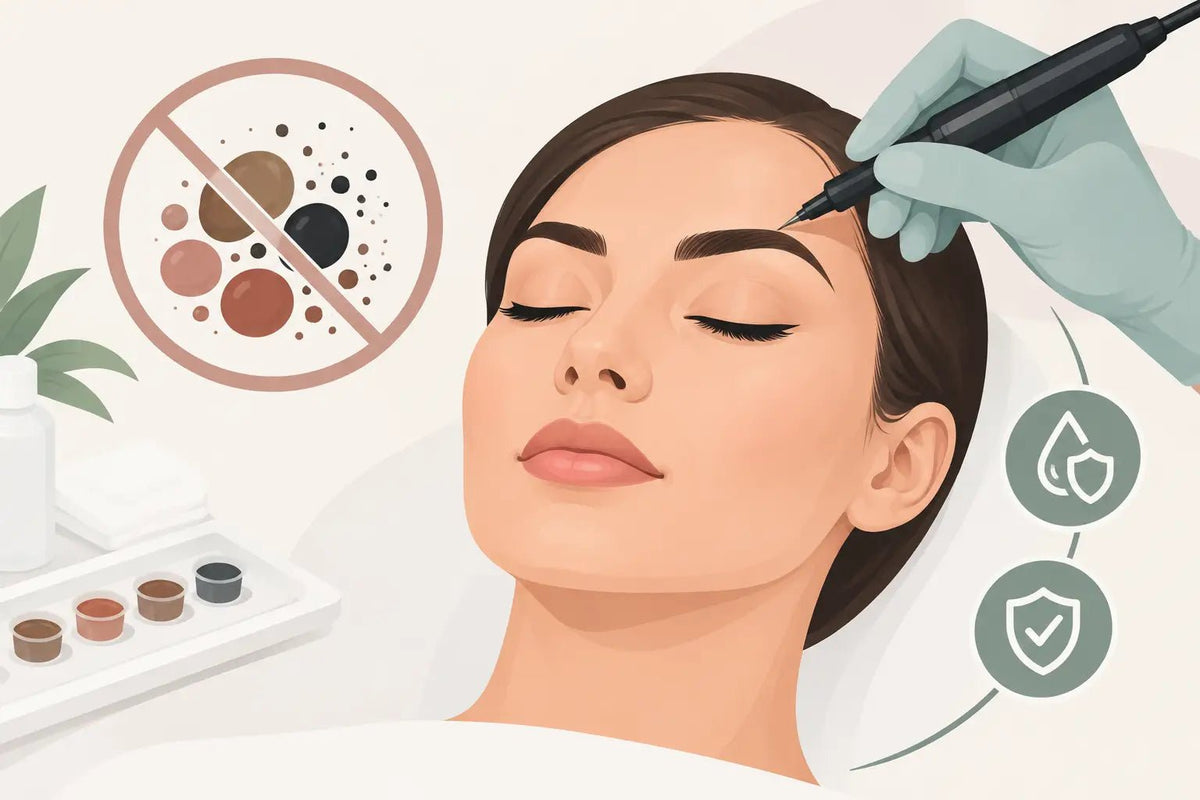
A perfect healed result can be compromised long before the needle touches skin. The way you pour, handle, store, and discard pigment matters just as much as your mapping, needle choice, and technique. To prevent pigment contamination in PMU, artists need a workflow that treats every bottle, pigment cup, machine surface, and gloved hand as part of the treatment setup - not as an afterthought.
For cosmetic tattoo professionals, contamination control protects clients, preserves pigment integrity, and supports the consistent results your reputation depends on. It also reduces expensive waste. The goal is not to make your station complicated. It is to build a repeatable process that holds up on a busy day, between multiple appointments, and in a shared studio.
Why pigment contamination is a serious PMU risk
Pigment contamination happens when a product or its dispensing area comes into contact with microorganisms, bloodborne material, bodily fluids, unclean surfaces, or previously used tools. It can happen directly, such as when a contaminated glove touches a bottle nozzle. It can also happen indirectly, when a bottle is handled after touching a machine, lamp, phone, drawer pull, or client-facing surface.
In PMU, a contaminated pigment is not only a sanitation concern. It can affect product performance, lead to avoidable product disposal, and create a serious professional liability issue. Even when no contamination is visible, the risk can still be present. Clean-looking equipment is not the same as clean equipment.
Pigment formulas also deserve their own level of care. Brow and lip pigments are manufactured to specific standards, but they are not designed to be repeatedly exposed to poor handling practices. Once an artist creates opportunities for backflow or surface contact, that controlled product environment changes.
Start with a one-way pigment workflow
The most reliable way to prevent pigment contamination is to create a one-way workflow: clean product moves from the original bottle to a single-use pigment cup, then to the treatment. Nothing used during a service should travel back toward the original bottle.
Dispense the amount you expect to use into disposable pigment cups before beginning the procedure. If you need more during the appointment, use a clean glove and a clean dispensing method. Never return leftover pigment from a cup to the original bottle, even if the cup appears untouched. Once it has been opened at a treatment station, consider it single-client product.
This approach matters even more for artists who customize shades. Mix only the amount needed for that client in a disposable cup. If you are using multiple colors for ombre lips, hairstrokes, or a corrective procedure, label or organize cups clearly so you do not cross-use tools between shades.
Keep bottle nozzles out of the treatment zone
The nozzle is one of the easiest places to compromise a pigment bottle. It should never touch the inside of a pigment cup, a mixing stick, a needle cartridge, a gloved hand, or a barriered surface that may already have been contacted during treatment.
Hold the bottle above the cup without allowing the tip to touch it. If pigment has dried around the nozzle, do not scrape it with a used tool or wipe it with a contaminated glove. Follow the manufacturer’s product-handling instructions and clean the exterior only through your established infection-control process.
A small detail with a major payoff: keep bottles in a designated clean area before the service begins. Do not place them beside used instruments, wipes, anesthetic, or rinse cups. Physical separation makes it easier to maintain the line between clean supplies and treatment-area materials.
Set up barriers before opening pigment
Barrier protection reduces the number of surfaces you have to disinfect later, but it does not replace proper cleaning and hand hygiene. Use it strategically on high-touch items such as your machine, power supply, clip cord or RCA connection, task light handles, pigment bottle holders, and work tray.
Set up every item you expect to need before opening pigment. This includes needle cartridges, disposable pigment cups, microbrushes, applicators, mapping supplies, gauze, rinse cups, and aftercare items. When your station is organized, you are less likely to pause mid-procedure and reach into a drawer with contaminated gloves.
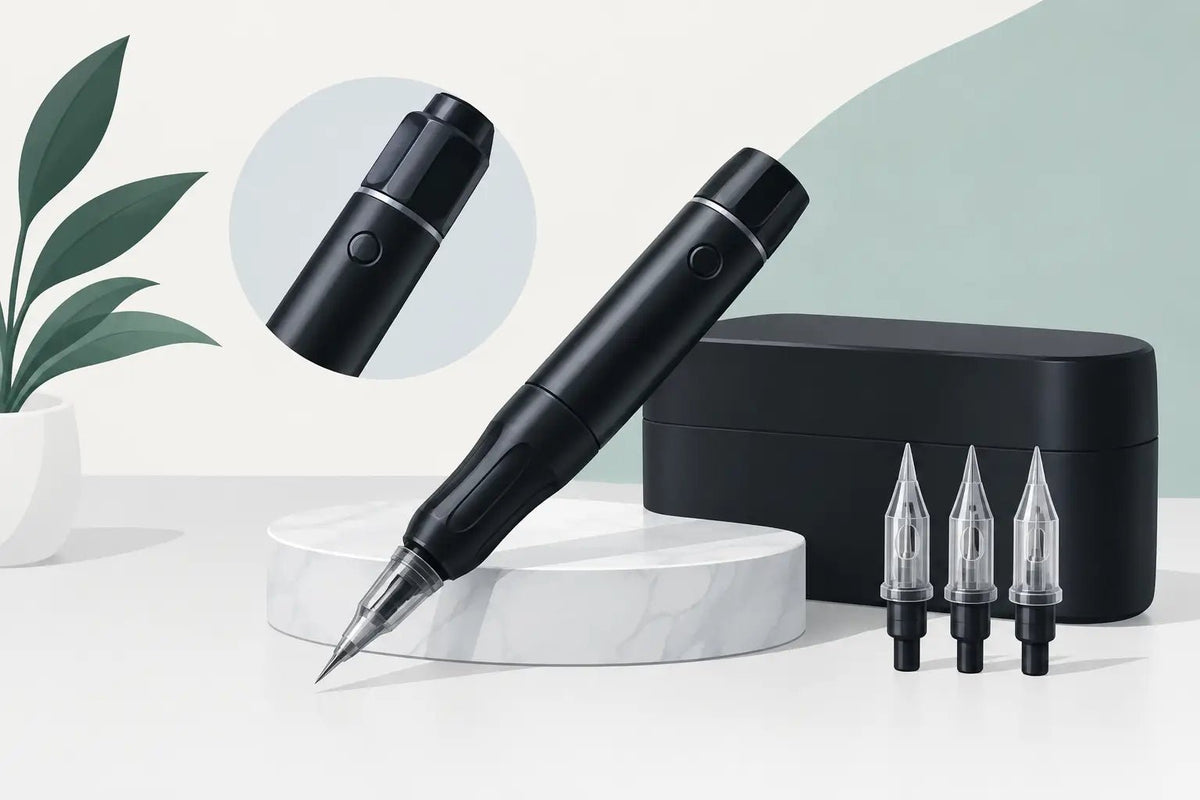
For artists using wireless PMU machines, do not overlook the battery and control buttons. A wireless setup can reduce cords at the station, but the machine still needs a barrier method appropriate to its design and your local regulations. Choose quality barrier film and machine sleeves that fit without interfering with grip, visibility, or machine function.
Change gloves at the moments that matter
Gloves are only protective when you treat them as single-use barriers. During a PMU appointment, that means changing them whenever they become contaminated, torn, or after touching anything outside the controlled treatment field.
The common breakdown is not usually the procedure itself. It is the quick interruption: answering a text, adjusting a lamp, opening a cabinet, checking a client’s reference photo, or grabbing another supply. If you touch a non-barriered item, change gloves before returning to pigment cups, cartridges, or the client’s skin.
Keep spare gloves within easy reach, but outside the contaminated treatment zone. This supports faster glove changes without forcing you to open drawers or search through storage during an active procedure. A well-stocked station is safer and more efficient.
Use single-use tools for mixing and application
Every tool that enters pigment should be disposable and used for one client only. This includes mixing sticks, microbrushes, applicators, pipettes, and pigment cup inserts. Do not dip a tool back into a pigment cup after it has touched the client, the machine, your work surface, or another product.
For example, if you use a microbrush to test a lip shade against the client’s skin or to adjust the pigment consistency, discard it after that contact. Use a new tool to return to the cup. This may feel meticulous, but lip procedures often involve multiple passes, secondary numbing, and several product interactions. The workflow needs to account for that reality.
Avoid treating a pigment cap as a storage container for an entire day. Even when working with the same pigment color, set up fresh cups for each client. The cost of disposable cups is minor compared with the cost of compromised inventory or a preventable sanitation issue.
Store pigments for stability and traceability
Proper storage helps preserve pigment quality while making contamination events easier to identify and manage. Store sealed and in-use bottles according to the manufacturer’s instructions, away from direct sunlight, excessive heat, humidity, and treatment-room splash zones. A clean, closed cabinet is usually a better choice than an open shelf beside the bed.
Keep an inventory system that tracks product name, color, lot number, and expiration date. This is particularly useful for busy studios and trainers managing multiple pigment lines. If a bottle is damaged, improperly stored, expired, or suspected of contamination, remove it from use immediately rather than trying to salvage it.
Do not top off one bottle with another, even if the labels and shades match. Combining bottles weakens traceability and can introduce contamination or formulation inconsistency. The same principle applies to decanting pigment into unmarked containers. Original packaging gives you the clearest product information when you need it.
Build cleanup into the appointment, not after it
Your process after the procedure should be just as deliberate as setup. Dispose of leftover pigment cups, cartridges, applicators, and other single-use supplies according to applicable regulations. Remove barriers carefully, then clean and disinfect reusable surfaces using products and contact times appropriate for your studio protocol.
Do not handle clean stock while wearing the gloves used for breakdown. Restocking pigment cups, putting bottles away, or organizing cartridges should happen only after hand hygiene and a fresh pair of gloves, if gloves are needed. This is where clean inventory often gets unintentionally exposed.
Studio owners can make this easier with clearly separated zones: clean supply storage, treatment setup, active procedure area, and dirty utility or disposal area. The exact layout depends on your room size, state requirements, and service volume, but the principle stays the same: used materials should never cross back into clean storage.
Train for consistency, not memory
A strong sanitation process should not depend on remembering every step during a packed schedule. Written setup and breakdown checklists are valuable for new artists, apprentices, front-desk support, and trainers overseeing student practice. They also help established artists spot small habits that have gradually drifted off protocol.
Review your workflow when you introduce a new pigment line, machine, treatment type, or studio layout. A new wireless machine may change where you place your power source. A larger pigment collection may require better lot tracking. More lip appointments may mean adding dedicated shade-mixing supplies to every setup.
The best PMU stations make the safe choice the easy choice. Keep professional pigments, single-use cups, barrier supplies, cartridges, and PPE organized around the order you actually work. When every item has a clean place and a clear purpose, your focus stays where it belongs: delivering precise, confident work for every client.
Protecting pigment starts with the smallest handling decision. Make that decision consistent, and your studio standards will show in every service.