How to Apply PMU Anesthetic With Control
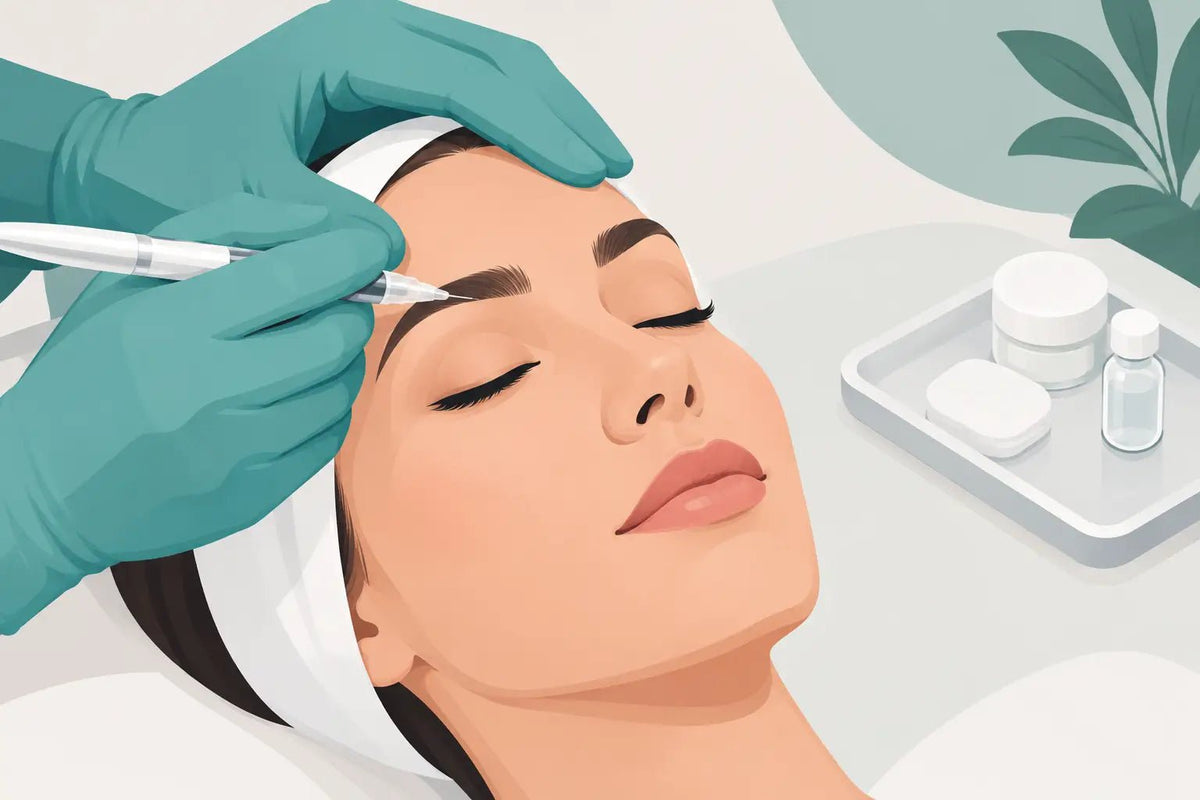
Client comfort is part of the treatment experience, but it should never come at the expense of skin response, pigment performance, or professional hygiene. When you apply PMU anesthetic, the goal is not to chase complete numbness at any cost. The goal is controlled comfort that supports precise work and keeps your procedure within the product’s intended use.
For permanent makeup artists, anesthetic is a treatment supply with real variables: formulation, application stage, client history, skin condition, occlusion guidance, and local regulations. A product that performs beautifully during a lip blush service may not be the right choice for brows, eyeliner, or a client with sensitized skin. Treat it with the same level of care you bring to pigment selection and cartridge choice.
Apply PMU Anesthetic Only After a Proper Consultation
Anesthetic decisions begin before your workstation is set. Review the client’s health history, current medications, known allergies, previous reactions to topical numbing products, and skin condition in the intended treatment area. If your consent process includes anesthetic use, make sure the product and relevant client acknowledgment are documented clearly.
Do not assume that a client who has used a numbing product for another cosmetic service will respond the same way during PMU. Skin around the eyes, lips, and brows can react differently, and compromised skin may absorb products differently than intact skin. If a client reports a prior adverse reaction, has visible irritation, or has a contraindication identified by your training, product labeling, or local rules, pause the service and follow your established protocol.
Professional judgment matters here. A client requesting “extra numbing” is not automatically a reason to use more product, extend the timing, or layer formulas. More is not always better. It can affect skin texture, create excess swelling, or make it harder to read the skin accurately during implantation.
Start With a Clean, Controlled Setup
Anesthetic application belongs inside a disciplined infection-control workflow. Prepare only what you need for that client, keep original packaging and lot information available for your records, and avoid cross-contamination from the moment the product is opened.
Cleanse the treatment area according to your pre-procedure protocol and allow the skin to dry as directed. Apply product using a single-use applicator or another method permitted by the manufacturer. Never double-dip into a jar, tube opening, or dispensing container after touching the client’s skin. If you transfer product into a disposable cup or palette, discard any remaining product after the appointment.
The treatment area should be precise. Keep anesthetic where it is intended to work, especially near the eyes and lips, where migration can create unnecessary risk and discomfort. Protect the client’s clothing, maintain clean gloves, and change gloves whenever your workflow requires it. These details are not glamorous, but they are what separate a polished professional service from a rushed one.
Follow the Product Label, Not a One-Size-Fits-All Routine
Primary anesthetics are generally designed for use on intact skin before the procedure begins. Secondary anesthetics may be formulated for use after the skin has been opened, but only when the manufacturer specifically states that use and when it is within your training, scope, and local regulations. These categories are not interchangeable.
Read the label for the approved application area, intended skin condition, contact-time directions, warnings, removal instructions, and storage requirements. Do not borrow timing habits from another artist or apply a protocol designed for a different formulation. Creams, gels, liquids, and ointment-style products can behave differently, even when they appear similar in the bottle.
Occlusion is another area where artists need restraint. Some products may direct a specific covering method, while others may not. If occlusion is not part of the manufacturer’s instructions, do not add it because it worked with another product. Changing the application method can change absorption and skin response.
Once the stated contact time is complete, remove the product thoroughly and assess the area. Look for unexpected redness, blanching, excessive swelling, rash, or a client-reported sensation that does not seem normal. If anything feels off, stop and follow your adverse-reaction procedure. A well-managed pause protects both the client and your reputation.
Timing Is a Workflow Tool, Not a Delay
Efficient artists build anesthetic timing into their appointment flow. During an initial application period, you may be able to complete consent review, photograph the pre-service area, confirm design details, organize pigments, or prepare mapping tools. The key is to stay present and monitor the client rather than treating the timing window as unattended downtime.
For brows, many artists apply primary anesthetic before mapping or after the initial design is approved, depending on their technique and the product directions. For lips, timing can be particularly important because clients may experience heightened sensitivity and visible swelling can affect your ability to assess shape and saturation. For eyeliner, product placement and client comfort require extra caution because of the proximity to the eye.
The right sequence depends on your training, service, anesthetic formulation, and client. Consistency comes from having a repeatable protocol, not from forcing every face into the same schedule.
Use Secondary Anesthetic With a Light Hand
When an appropriately labeled secondary anesthetic is part of your PMU protocol, apply it only at the stage and in the manner specified by the manufacturer. Keep the amount controlled, prevent product from traveling beyond the working area, and remove excess before continuing your passes.
A common mistake is allowing secondary anesthetic to interrupt the procedure repeatedly without reassessing the skin. Frequent reapplication can leave the tissue overly soft, excessively blanched, or difficult to work with. That may slow your hand, affect implantation feedback, and make it harder to judge whether the skin is tolerating the service well.
Pay attention to what the skin is telling you. If the tissue becomes unusually puffy, tight, pale, irritated, or resistant, changing your technique may be more appropriate than applying more numbing product. Needle configuration, pressure, speed, stretch, pigment saturation goals, and the client’s hydration or sensitivity level all influence perceived discomfort.
Know When to Stop Instead of Pushing Through
Professional comfort management includes knowing when not to proceed. Stop treatment immediately if the client shows signs of a possible reaction, such as difficulty breathing, dizziness, widespread hives, severe burning, rapid swelling, or other concerning symptoms. Follow emergency procedures, seek appropriate medical support, and document the incident according to your studio policy.
Less urgent changes still deserve attention. Persistent redness, a localized rash, excessive blanching, or unusual discomfort may mean the product should be removed and the treatment postponed. Trying to finish a service on reactive skin can compromise healing, retention, and client confidence.
A client may also arrive with skin that is simply not ready for PMU. Recent exfoliation, sun exposure, active breakouts, cold sores in lip services, dermatitis, or signs of irritation can affect whether anesthetic and treatment are appropriate that day. Rescheduling is sometimes the most professional choice.
Keep Records That Support Better Future Appointments
Document the anesthetic product used, including the brand, lot number when applicable, application stage, and any notable client response. This record is useful if the client contacts you after the appointment, returns for a touch-up, or reports a sensitivity later.
It also helps you refine your own protocol. Over time, you may notice that particular formulations suit certain services, skin types, or treatment styles better than others. That insight is valuable, but it should never override product directions or client-specific assessment.
For trainers and studio owners, a written anesthetic protocol gives newer artists a safer framework to follow. It should cover consultation, sanitation, approved products, documentation, escalation steps, and when to postpone a service. Clear systems make it easier to deliver the same professional standard across every appointment.
At Inkbox Artistry, we believe artists should be able to source professional PMU essentials from people who understand the treatment room. Choose anesthetics with the same intention you use when selecting pigments, cartridges, and aftercare: prioritize clear labeling, professional-use standards, and performance that supports your technique.
The best client experience is not built on a promise that they will feel nothing. It is built on calm communication, careful observation, clean application, and an artist who knows that comfort and control should always work together.