How to Choose the Right Practice Skins for PMU
A brow stroke can look clean on a flat practice surface and still feel completely different once you move to a curved brow area. That is why choosing practice skins for PMU is not simply about finding the lowest-cost pack. The right material gives you a more useful way to test hand pressure, machine settings, needle groupings, pigment flow, and movement before those decisions matter on a client.
For new artists, quality practice material makes repetition more productive. For trainers and studio owners, it helps create consistent exercises across a class. And for established PMU artists, it is a practical tool for getting familiar with a new machine, cartridge configuration, or pigment behavior without experimenting during an appointment.
What Practice Skins for PMU Should Actually Teach You
Practice skin is a training surface, not a perfect substitute for human skin. It cannot reproduce every variable you will encounter in a treatment, including skin elasticity, hydration, texture, age, oiliness, or healing response. A good practice skin does, however, let you isolate the mechanical skills behind clean work.
Use it to assess whether your implantation depth is consistent, whether your saturation is even, and whether your line work stays controlled through curves and directional changes. It is also where you can build the muscle memory needed for pixelated shading, hairstrokes, lip borders, winged liner, and tiny details that can become unstable when your hand speed or stretch is inconsistent.
The most useful training happens when the skin is chosen for a specific drill. A thin, flat sheet may be ideal for practicing machine angle and whip shading. A 3D brow model is more valuable when you need to work around an arch, tail, and realistic treatment area. Neither is automatically better. They serve different points in your development.
Thickness Changes the Way You Practice
Thickness is one of the first specifications to check. Thin practice skins are usually easier to puncture and can be helpful for testing a lighter hand. They are also more likely to tear, warp, or show pigment through the back, especially when you are practicing repeated passes or using a more powerful machine.
Thicker skins tend to lie flatter, hold up better through longer drills, and give artists more room to practice controlled layering. They can be a stronger option for lip blush, dense shading, and saturation exercises where you want to evaluate whether your passes overlap evenly. If you teach classes, thicker material can also be easier to handle, transport, and display during demonstrations.
There is a trade-off. A very dense or overly firm skin can encourage artists to use more pressure than they should. That habit does not transfer well to client work. Look for a surface that resists tearing but still allows a needle to enter smoothly with a controlled, light touch. If a skin forces you to push, treat that as a limitation of the material, not proof that your technique needs more force.
Flat Sheets, Pre-Printed Designs, and 3D Models
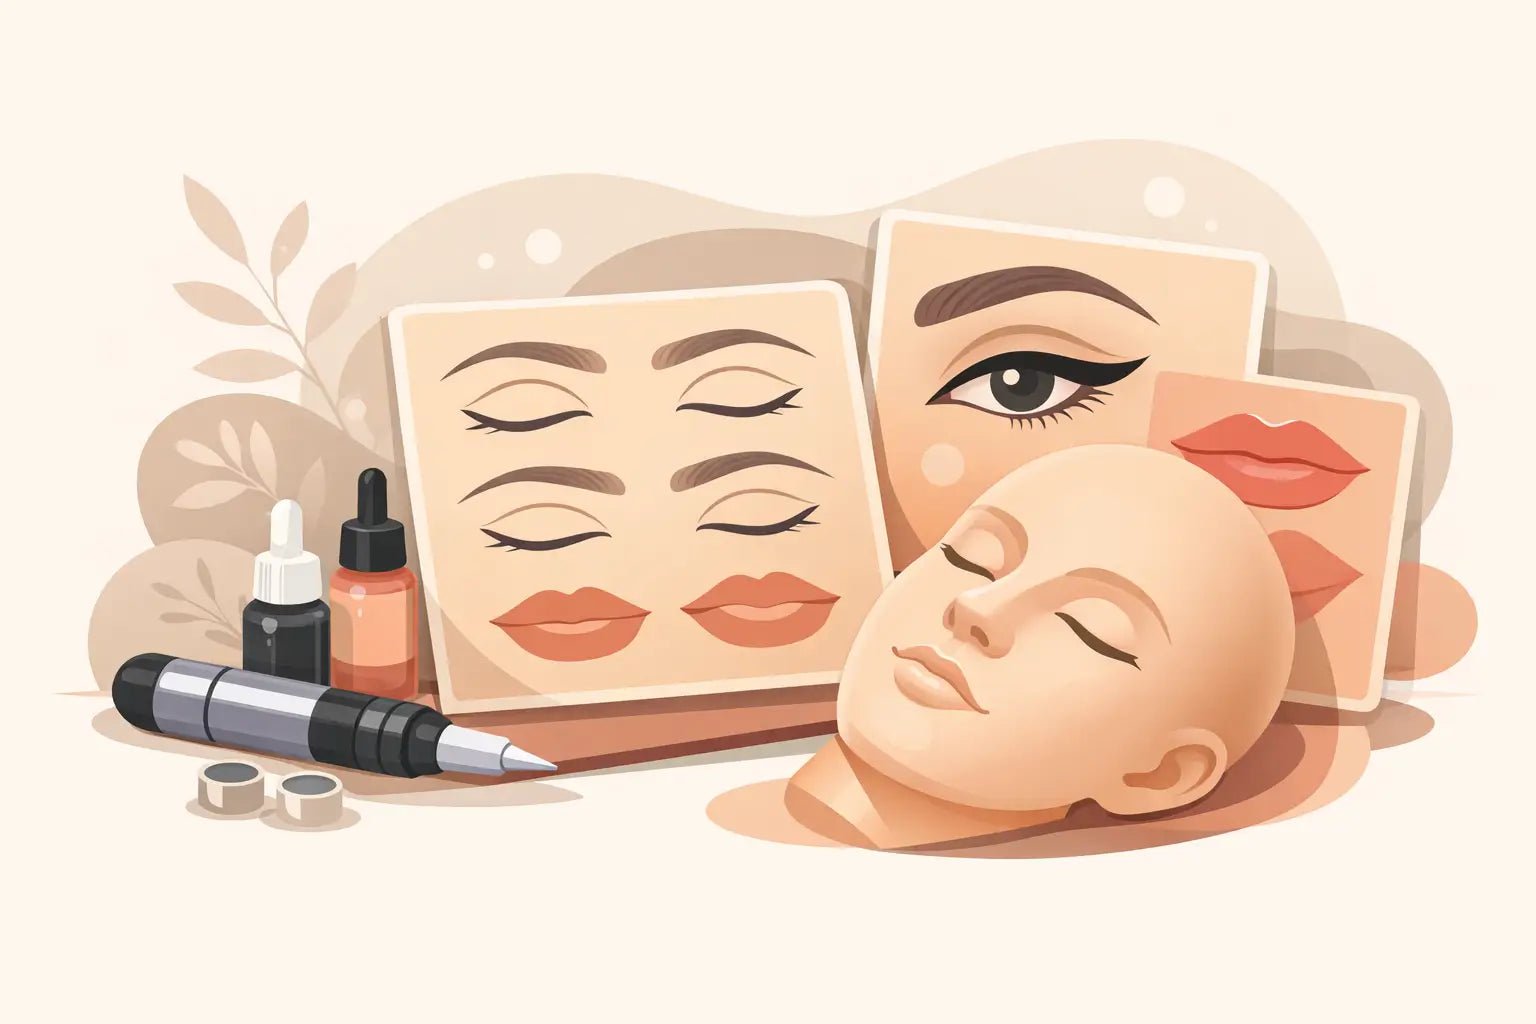
A well-stocked PMU training setup often includes more than one format. Flat blank sheets are the most flexible option because you can draw custom patterns, map your own brows, and repeat the exact movement that needs work. They are excellent for line consistency, pixel drills, circles, S-curves, ombré transitions, and hand-speed practice.
Pre-printed practice skins can save time when you want to focus on execution rather than drawing every outline. Brow shapes, lip templates, and eyeliner designs give newer artists a clear starting point, while trainers can use the same layouts to compare student progress. The downside is that printed guides may not match the brow style or lip shape you are currently trying to build. Use them as drills, not as a replacement for mapping skills.
3D practice skins and facial models add another layer of realism. They help you manage posture, skin stretch, machine angle, and access around contours. This matters for eyeliner and lip work, where a flat surface cannot teach you how to maintain a stable position around a curve. For brows, a 3D model can help you recognize when your working angle changes from the bulb to the arch and tail.
Match the Skin to the PMU Service
Brow practice should include more than drawing hairstrokes. Work on powder brow pixel placement, front fades, arch transitions, and tail saturation. If you perform combination brows, use separate drills for stroke direction and shading rather than trying to complete a full set every time. You will see technique issues faster when each sheet has one purpose.
For lip blush, choose a skin that allows you to see color buildup and overlap. Practice clean outlines without creating a hard, tattooed-looking border. Then train your movement from the vermilion border toward the center, paying attention to how your hand speed and voltage affect saturation. A larger surface is useful here because lips require long, controlled passes rather than only short strokes.
Eyeliner requires the most controlled surface work. Practice precise line weights, lash enhancement placement, tapered wings, and smooth connections between sections. A 3D eye-area model is especially helpful because it makes you work around a curved lid instead of relying on the comfort of a flat sheet. Keep your exercises small and intentional. A crisp five-minute wing drill can reveal more than an unfocused hour of practice.
Use Your Real Setup, Not a Random Training Kit
Practice is most valuable when your equipment matches your client setup. Use the machine, needle cartridges, grip, and pigment consistency you plan to use professionally whenever possible. Switching from a basic training device to a wireless PMU machine on a client day can change your hand speed, balance, and voltage expectations.
That does not mean every practice session requires premium products or a complete treatment setup. It means the variables that affect your technique should be familiar. If you are testing a new universal cartridge, practice on several line and shading patterns before deciding whether it suits your method. If you are changing machines, use practice skins to find a comfortable voltage range and determine how the machine responds to slow versus fast movement.
Pigment on synthetic material will not predict healed color. It can still show whether your chosen shade is easy to see, whether it dries too quickly for your workflow, and whether your saturation pattern is consistent. Avoid treating practice results as a retention test. Use them as a technical check.
Keep Practice Conditions Clean and Professional
Training materials may not involve a client, but professional habits should begin at the practice station. Set up barriers, gloves, disposables, machine protection, and clean work surfaces as you would for a procedure. This builds a repeatable workflow and reduces the chance that good hygiene is treated as something separate from technical skill.
It also helps to photograph completed drills. Take a picture before wiping, after wiping, and from a close working distance. This makes it easier to spot weak saturation, inconsistent line spacing, shaky curves, or a tendency to overwork one area. Label the sheet with the date, needle configuration, voltage, machine, and exercise. Over time, that record becomes far more useful than relying on memory.
For trainers, standardized practice skins make feedback clearer. When every student works on the same brow pattern or lip exercise, it is easier to identify whether a problem comes from depth, movement, stretch, angle, or cartridge choice. The goal is not to make every sheet look identical. It is to give each artist a visible baseline for improvement.
When It Is Time to Replace a Practice Skin
A practice skin has done its job when the surface becomes too saturated, distorted, or difficult to read. Continuing to work over heavily marked areas can hide flaws and turn a targeted exercise into visual clutter. Replace the sheet when you can no longer judge your individual passes clearly.
It is also worth upgrading your practice material when your skills outgrow basic templates. Early on, simple outlines help you develop control. As your technique advances, blank sheets, realistic 3D forms, and custom mapped designs give you more room to train the details that define professional PMU work.
Inkbox Artistry is built by permanent makeup artists for artists, so the best practice supply choices are the ones that support the service you are actively refining, not just the ones that fill a drawer. Choose a skin, set one technical goal, document the result, and repeat the drill until your hand can deliver the movement with confidence.