How to Start Doing Permanent Makeup Right

The fastest way to waste money in PMU is to buy a machine before you know what service you actually want to offer. If you're figuring out how to start doing permanent makeup, start with the business and technical foundation first - then build a kit that matches your training, state requirements, and treatment menu.
Permanent makeup looks creative from the outside, but the work is highly procedural. You're managing skin, pigment behavior, needle configurations, sanitation, client expectations, symmetry, retention, and healing outcomes all at once. That is exactly why new artists who take a structured approach tend to progress faster than artists who chase trends, overbuy products, or try to learn everything at the same time.
How to start doing permanent makeup without skipping the basics
The first decision is what kind of PMU artist you want to become. Some artists begin with brows only, while others plan for brows, lips, and liner from the start. There is no single right path, but there is a practical one: begin with the service category that has strong local demand, fits your learning style, and gives you room to refine technique safely.
Brows are often the most accessible entry point because they let you build core skills like mapping, pressure control, skin stretch, pigment depth, and healed result assessment. Lip blush can be profitable and in demand, but it requires solid knowledge of undertones, saturation, trauma management, and client eligibility. Eyeliner is precise, valuable work, but it leaves less room for error and demands excellent control.
If you're early in the process, narrow your focus. It is easier to become a strong brow artist first than a mediocre everything artist.
Start with training, not tools
A professional PMU setup matters, but education matters more. Your first investment should be a credible training program with live model work, sanitation standards, contraindication screening, color theory, and machine fundamentals. Online education can support your growth, but it should not replace hands-on instruction for beginner-level procedures.
Look closely at what a course actually teaches. Some programs are heavy on marketing and light on technical correction. Others teach one brow pattern, one skin type, and one pigment line, which can leave new artists unprepared in real appointments. A stronger training path shows you how to assess skin, adapt your hand speed and voltage, choose the right cartridge configuration, and understand why a healed result may shift warm, cool, too soft, or patchy.
Before enrolling, verify your state's licensing and bloodborne pathogen requirements. PMU is regulated differently across the US. In some states, you may need a body art license, an apprenticeship, proof of bloodborne pathogens training, or facility approval. In others, esthetician or cosmetology licensing may intersect with tattoo regulations. Do not assume your trainer's state rules apply to yours.
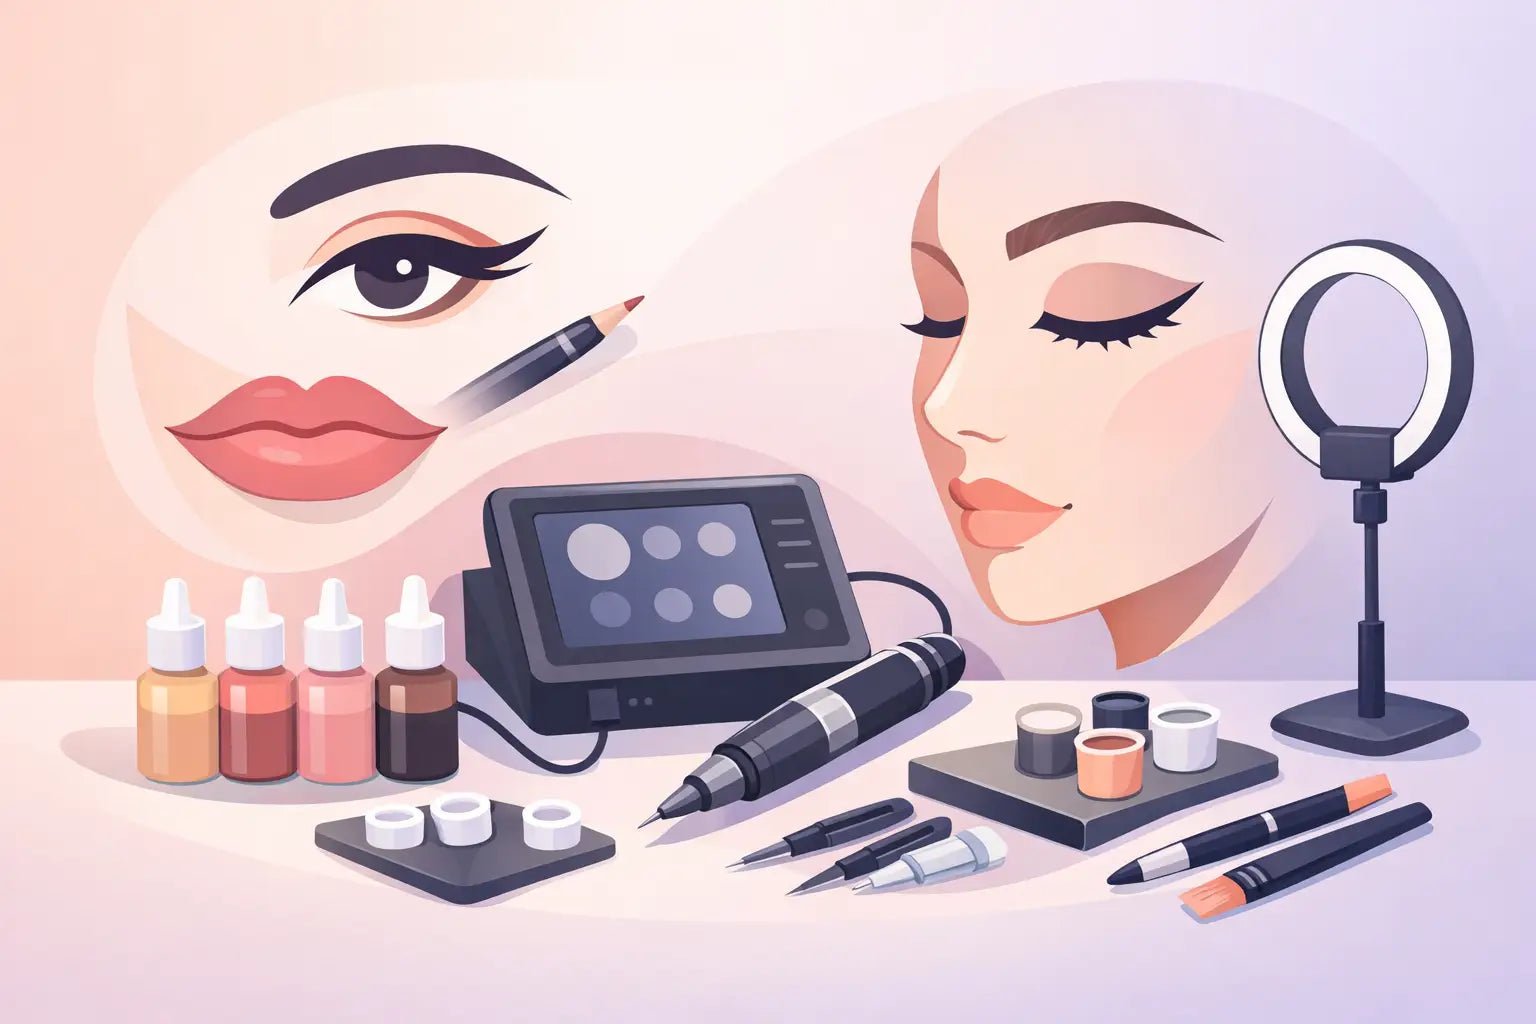
Build a starter kit that matches real treatment workflow
New artists often overbuild their first kit. They buy too many pigments, too many needle configurations, and too many accessories they will not use for months. A better approach is to buy for repetition.
For most beginners, that means a dependable wireless machine or lightweight PMU device, a small range of universal needle cartridges in the configurations your training recommends, brow mapping rulers, mapping string, practice skins, PPE, anesthetics where permitted, aftercare, barrier film, clip cord covers if needed, pigment rings or cups, and a concise pigment lineup for your initial services.
If you're starting with brows, choose a pigment set that covers your expected client range without forcing you into excessive mixing on day one. If your focus is lips, prioritize pigments known for predictable healed color and smooth implantation. The point is not to have the biggest setup. The point is to have a kit you understand completely.
This is where supplier choice matters. Professional artists need consistency across machines, cartridges, pigments, and disposables because treatment results depend on precision. A supplier built by permanent makeup artists for artists will usually make better curation decisions than a general beauty marketplace because they understand how products perform inside an actual PMU workflow.
The products that matter most early on
Your machine, cartridges, pigments, mapping tools, and hygiene supplies carry the most weight in the beginning. A flashy accessory does not improve your work if your mapping is weak or your stretch is inconsistent.
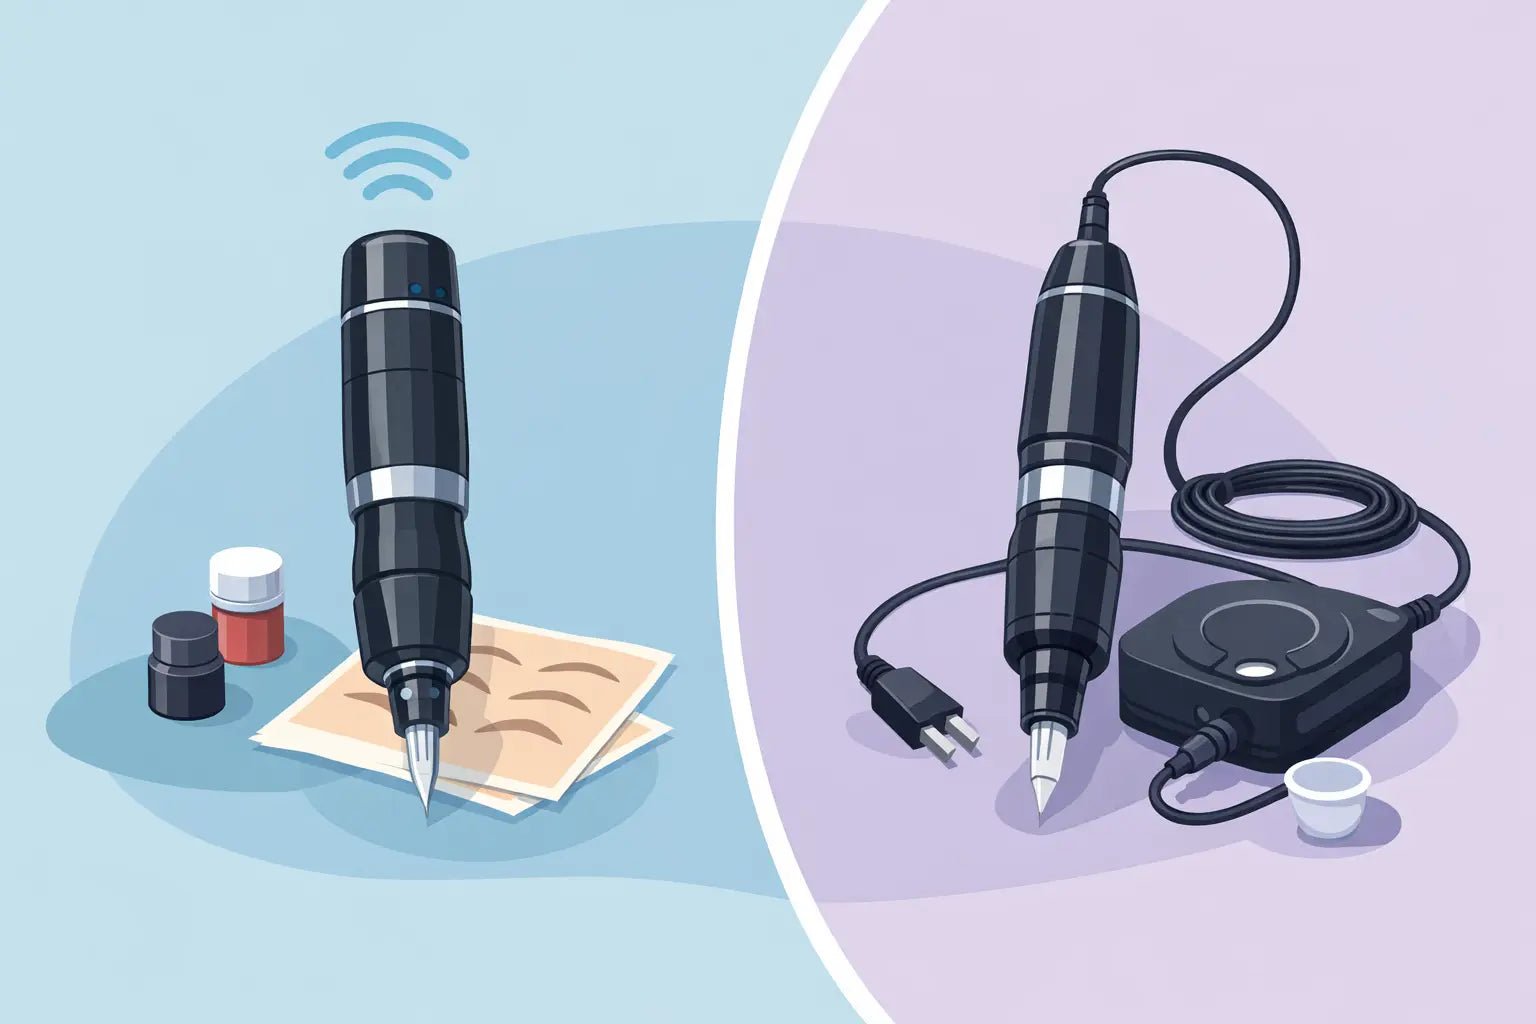
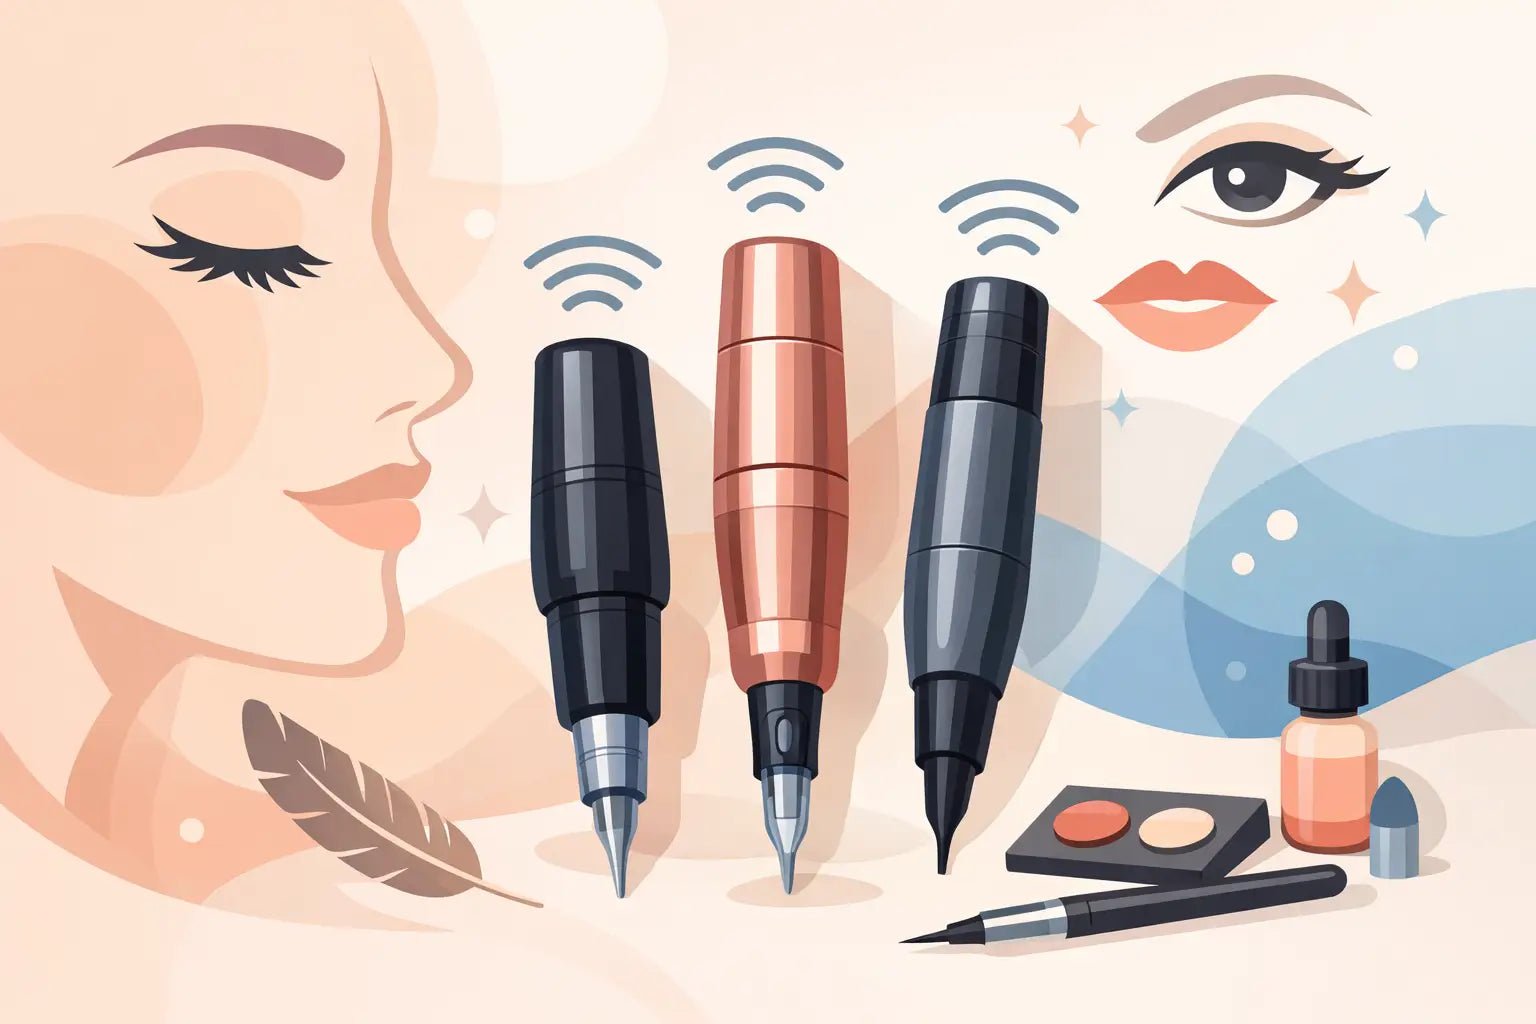
Machine choice comes down to comfort, stability, and compatibility with the way you work. Some artists prefer a very light wireless setup for mobility. Others want a machine with a more familiar balance and steady give. What matters most is control, not hype.
Cartridges should be consistent, sharp, and appropriately configured for your service type. Brows, lips, and liner all place different demands on the hand. Cheap cartridges can create more trauma, uneven implantation, and unnecessary frustration.
Pigments need to be reputable, compliant, and well understood. Do not buy a large pigment wall just because it looks professional. Buy a smaller, trusted lineup and learn how each shade behaves in different skin tones and undertones.
Practice needs structure, not just hours
A lot of beginners say they are practicing, but what they really mean is they are repeating the same mistakes on fake skin. Practice only speeds up progress if you know what you're trying to improve.
Break your sessions into technical categories. One day should be line consistency. Another should be pixel saturation. Another should be brow shape control, lip border work, or hand speed matching. Photograph everything. Track voltage, needle configuration, machine angle, and stroke pattern. If your practice work is not improving, the issue is usually feedback, not effort.
Move to live models only when your trainer clears you and your prep process is reliable. A clean setup, informed consent, contraindication screening, pre-draw, pigment selection, treatment pacing, and aftercare instructions all matter as much as your actual passes. Good PMU artists are not just good with a machine. They are good with process.
Set up your treatment room like a professional from day one
Clients may notice your branding first, but they remember cleanliness, confidence, and comfort. Your setup should support safe, efficient appointments with as little friction as possible.
That means clear zoning for clean and contaminated items, fully stocked PPE, disposable barriers, sharps handling, surface disinfection, organized pigment setup, and aftercare ready before the procedure starts. If you have to stop mid-appointment to search for mapping string or extra cartridges, your room is not set up well enough.
It also helps to standardize your station by service. Keep your brow workflow consistent. Keep your lip workflow consistent. Standardization reduces mistakes and makes it easier to evaluate outcomes honestly.
Learn the client side of PMU early
Technical skill gets clients results. Communication gets clients trust. New artists who ignore consultation skills usually struggle with retention, reviews, and rebookings even if their hands are solid.
You need a clear process for explaining candidacy, pain expectations, shape limitations, color selection, healing stages, touch-up timing, and long-term maintenance. You also need to be comfortable saying no. Not every client is a suitable candidate for every treatment, and not every inspiration photo is realistic on every skin type.
Managing expectations is part of the service, not an awkward add-on. Clients want confidence, but they also want honesty. If a client has oily skin, mature skin, previous saturation, scar tissue, active contraindications, or unrealistic shape goals, your consultation should reflect that.
Pricing, content, and growth come after consistency
Once you're technically ready, the next question is usually pricing. Early on, it makes sense to charge model pricing or reduced introductory pricing while you build a portfolio, but low pricing should have a purpose and a time limit. Staying cheap for too long can attract the wrong client base and make it harder to reposition later.
Your content should show healed work when possible, not just fresh results under bright lighting. Post clean before-and-afters, explain your service focus, and show your setup standards. PMU clients are buying trust before they buy a treatment.
Growth usually comes in phases. First you learn the fundamentals. Then you improve consistency. Then you refine speed, healed outcomes, and consultation quality. Only after that does scaling make sense - more service categories, better machine upgrades, stronger pigment range, retail aftercare, wholesale purchasing, or even training others.
What new artists often get wrong
Most beginner mistakes are not dramatic. They are small judgment errors that stack up. Buying too much too soon, learning from social clips instead of structured education, offering advanced services before mastering one category, ignoring healed results, and treating sanitation like a checklist instead of a discipline are the biggest ones.
The other common mistake is comparing your month three work to someone else's year five portfolio. PMU rewards repetition, observation, and restraint. Artists who last in this industry usually are not the ones who moved fastest. They are the ones who built correctly.
If you're serious about how to start doing permanent makeup, think like a working artist before you think like a shopper. Train well, source smart, keep your setup tight, and let your standards get established before your menu gets bigger. That approach is slower at the start, but it gives you something far more valuable than early momentum - it gives you a career you can stand behind.